There is a vast variety of platforms on the project management market nowadays. And sometimes, you’d need to try a couple of different options to find out which project management platform will fit your needs best.
This article is for you if you’re currently using any project management platform and now decided to give ClickUp a try. So, check it to learn about a smooth way of ClickUp data import.
A short description of the ClickUp platform
If you need to keep all of your projects in one place, ClickUp might be a proper solution for you. This project management platform will not only allow you to cope with your projects but also organize your team’s work and track their progress.
Furthermore, the ClickUp platform will be suitable for you if you’d like to create personalized workflows for all your projects and, thus, achieve your project goals effectively. So, if you give ClickUp a try, you’ll be able to boost your project management to a new level.

What data you can import to ClickUp
Check the following list of records you can import to ClickUp from any other project management tool from the list of Supported Platforms:
- Users
- Project/Task Lists
- Tasks
- Groups for Tasks
- Task Comments (Despite the fact you can’t migrate the fields of “Created At” Dates for Comments and Comment Authors, they will be added to the body of your Comments)
- Task Attachments, and Task Tags
- Custom Fields for Tasks
- Task “Started At” and “Due” Dates
- “Created” and “Updated” Dates
- Subtasks in Tasks
Note: Subtasks are the fields analogous to Tasks. If your source platform also supports the Subtasks data migration, you’d be able to transfer them to ClickUp and map their route via Migration Wizard.
So, go ahead to migrate the above-listed records from your current platform to ClickUp. Moreover, if you’d like to import anything else that is not on the list, contact us and discuss such a possibility with them. This way, you’ll be able to order a customized data migration and allow our data migration masterminds to personalize your СlickUp data import.
How to import your data to ClickUp
To migrate your records from your current management platform to ClickUp, follow these easy steps:
1. Open Migration Wizard, sign up or log in to your account, and click on the “Start Migration” button to initiate your data migration.
2. Connect your source platform to the tool by filling in the necessary credentials. Depending on a project management platform you’re migrating from, you might also need to configure your connection and click on the “Continue” button afterwards.
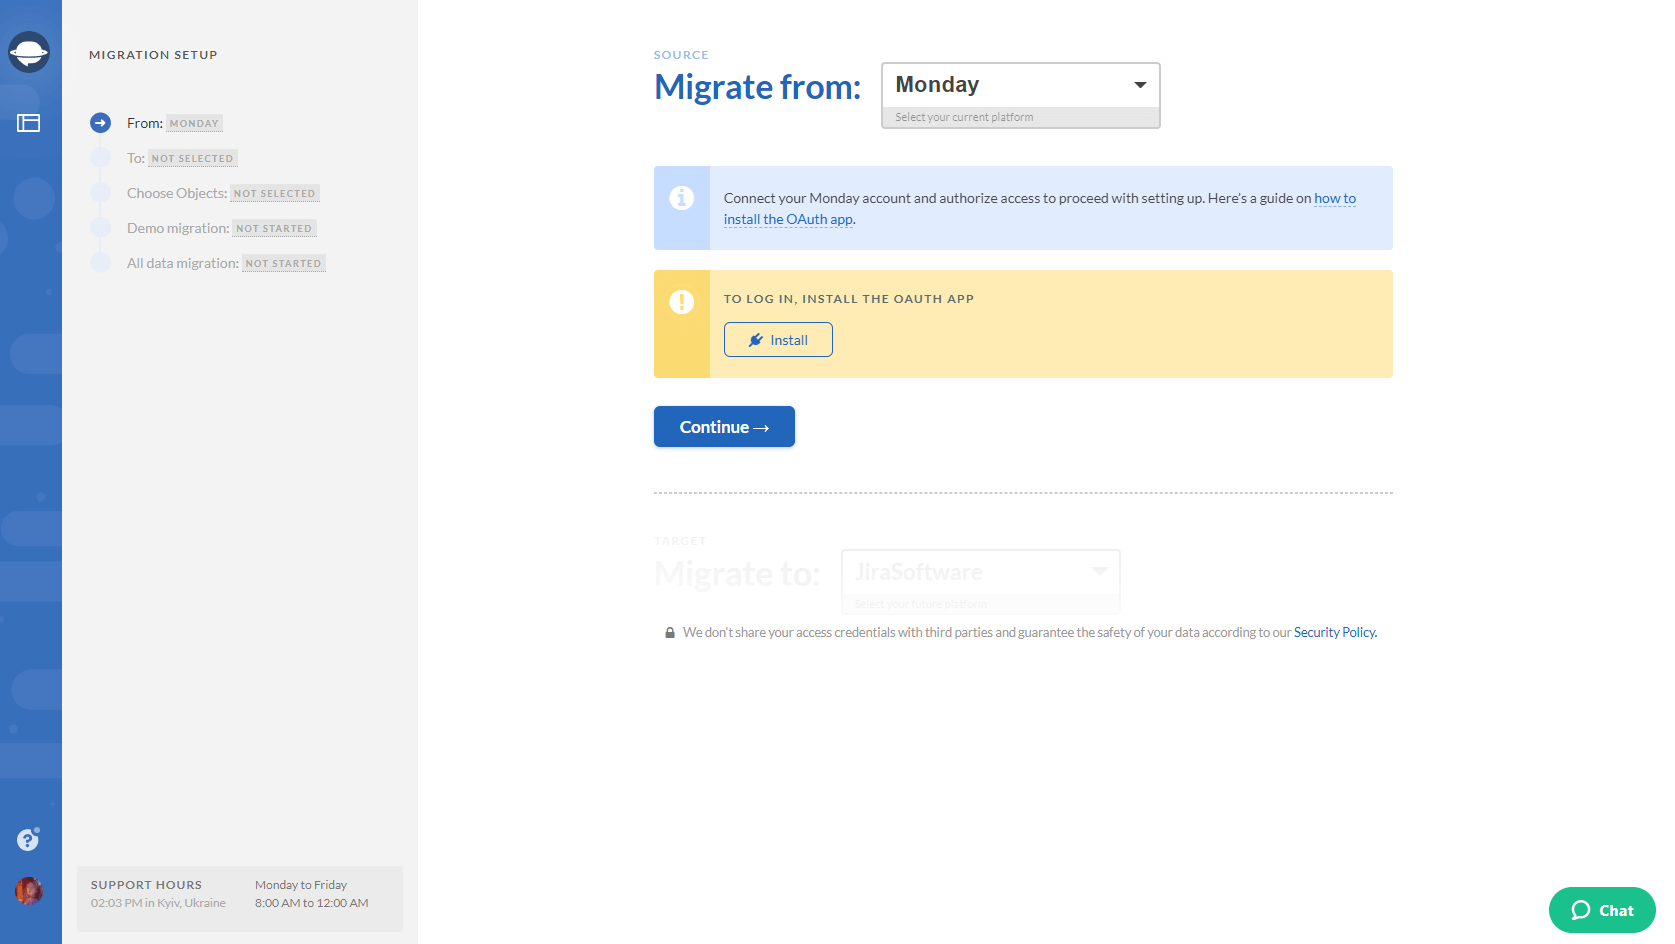
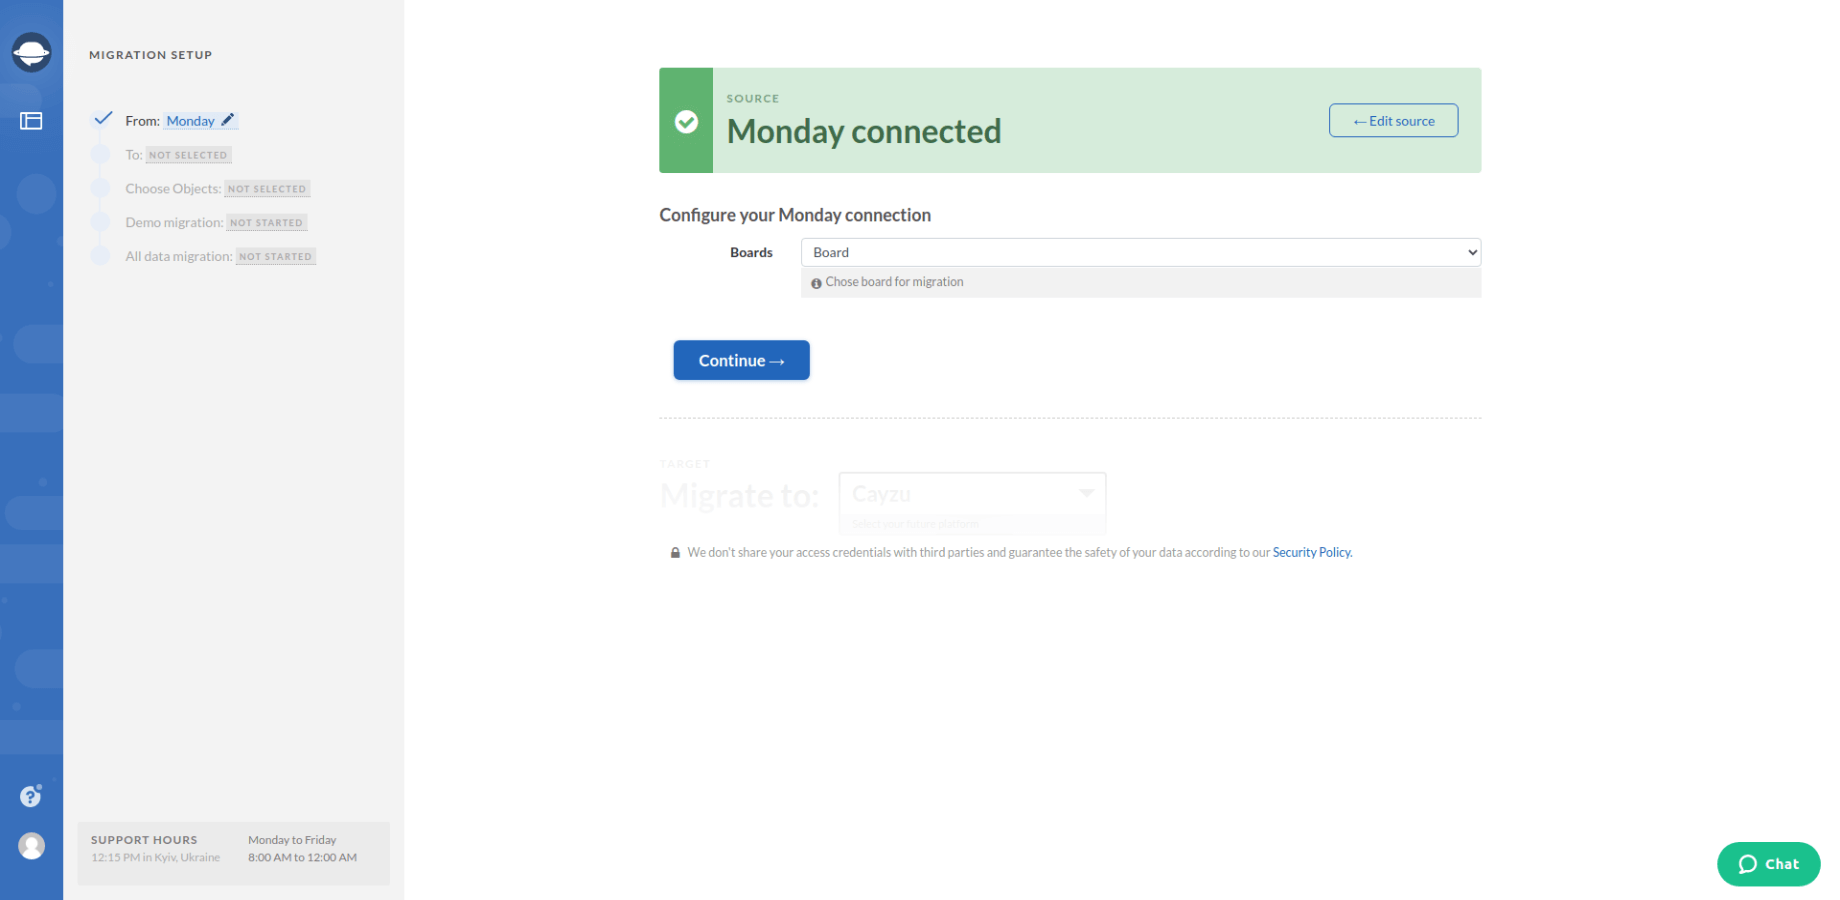
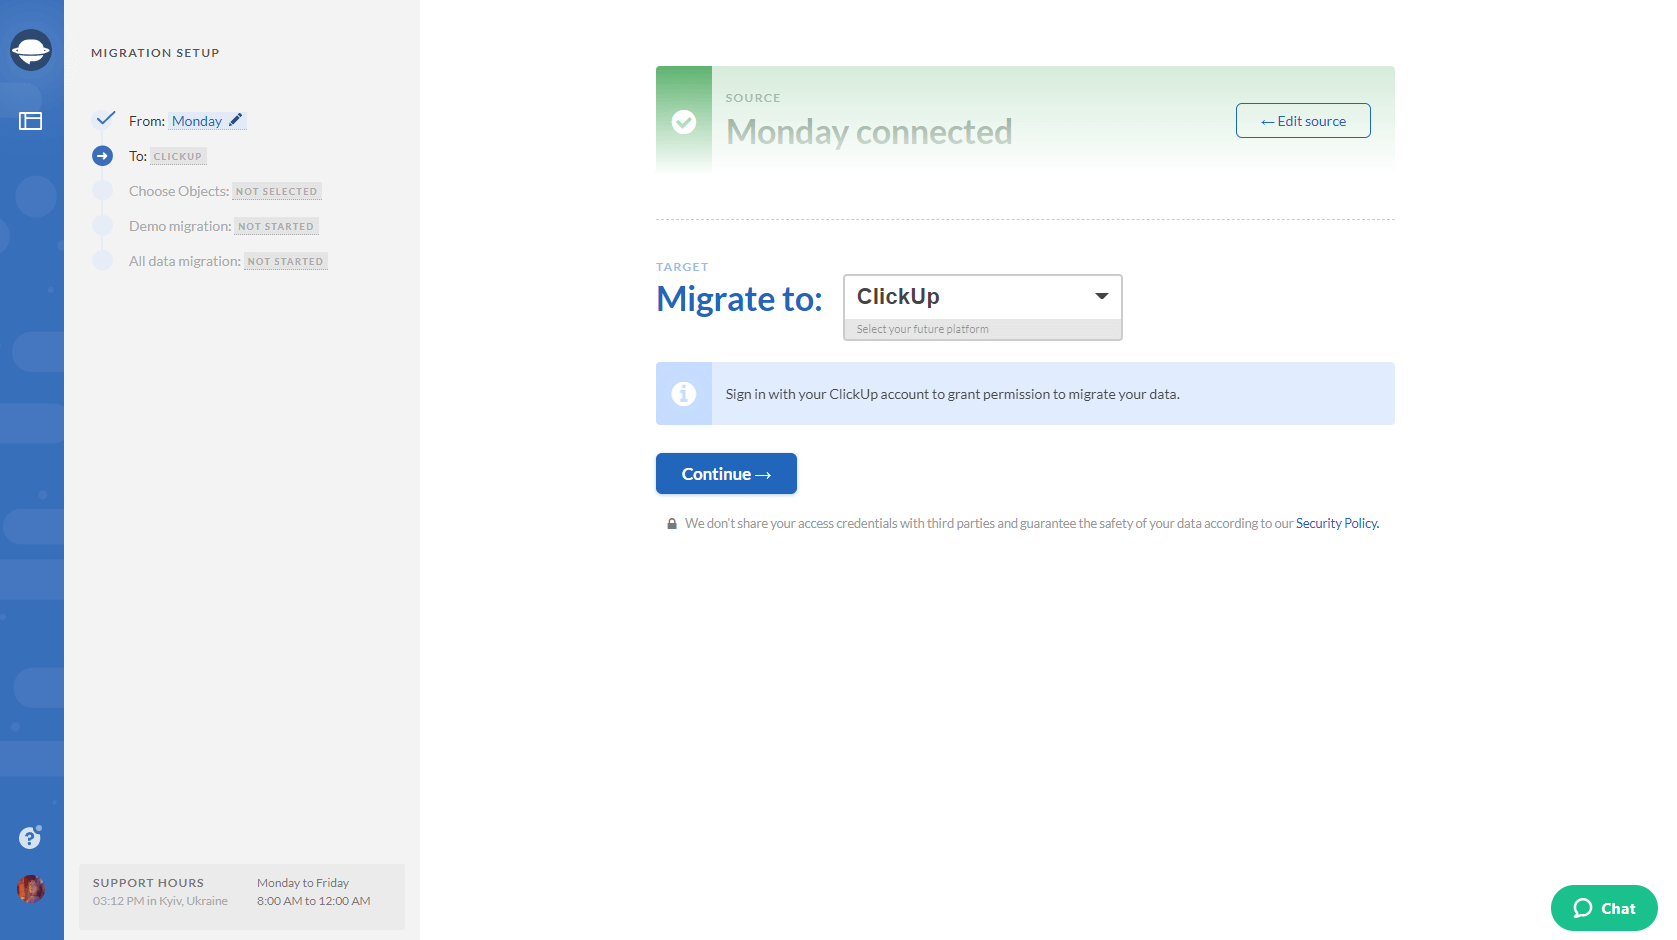
3. Now, connect ClickUp as your target platform to the Migration Wizard tool by filling in the required credentials.
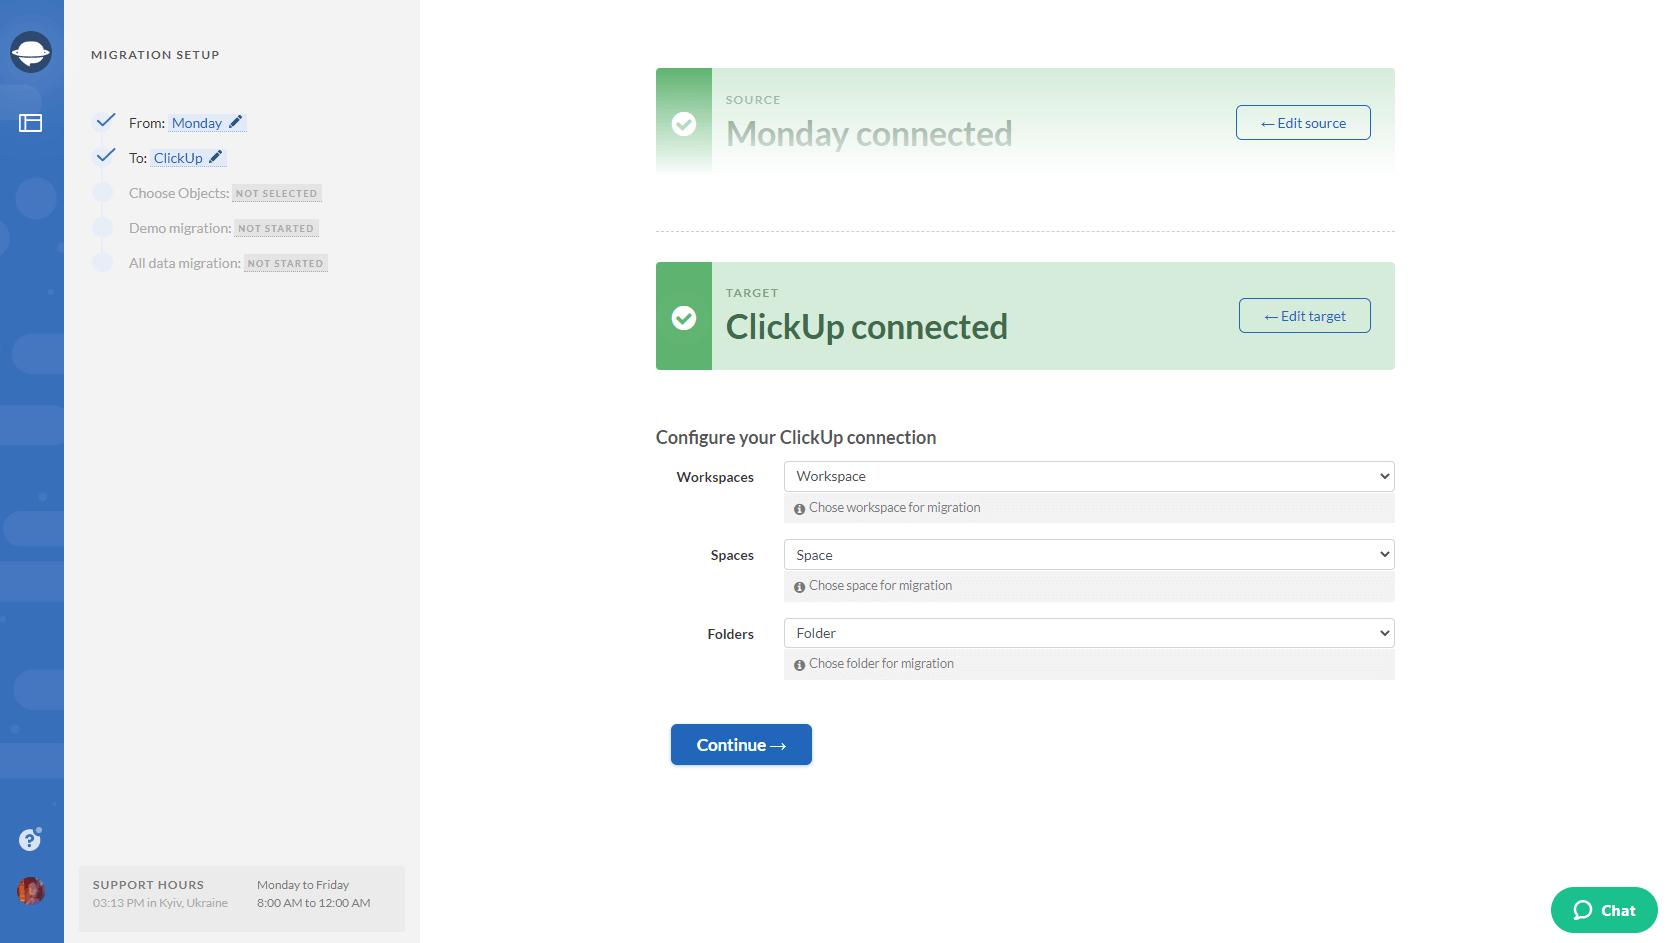
4. Configure your ClickUp connection by selecting Workspace, Space, and Folder for your data migration.
5. Select Tasks and Migration Wizard will open a task mapping form.
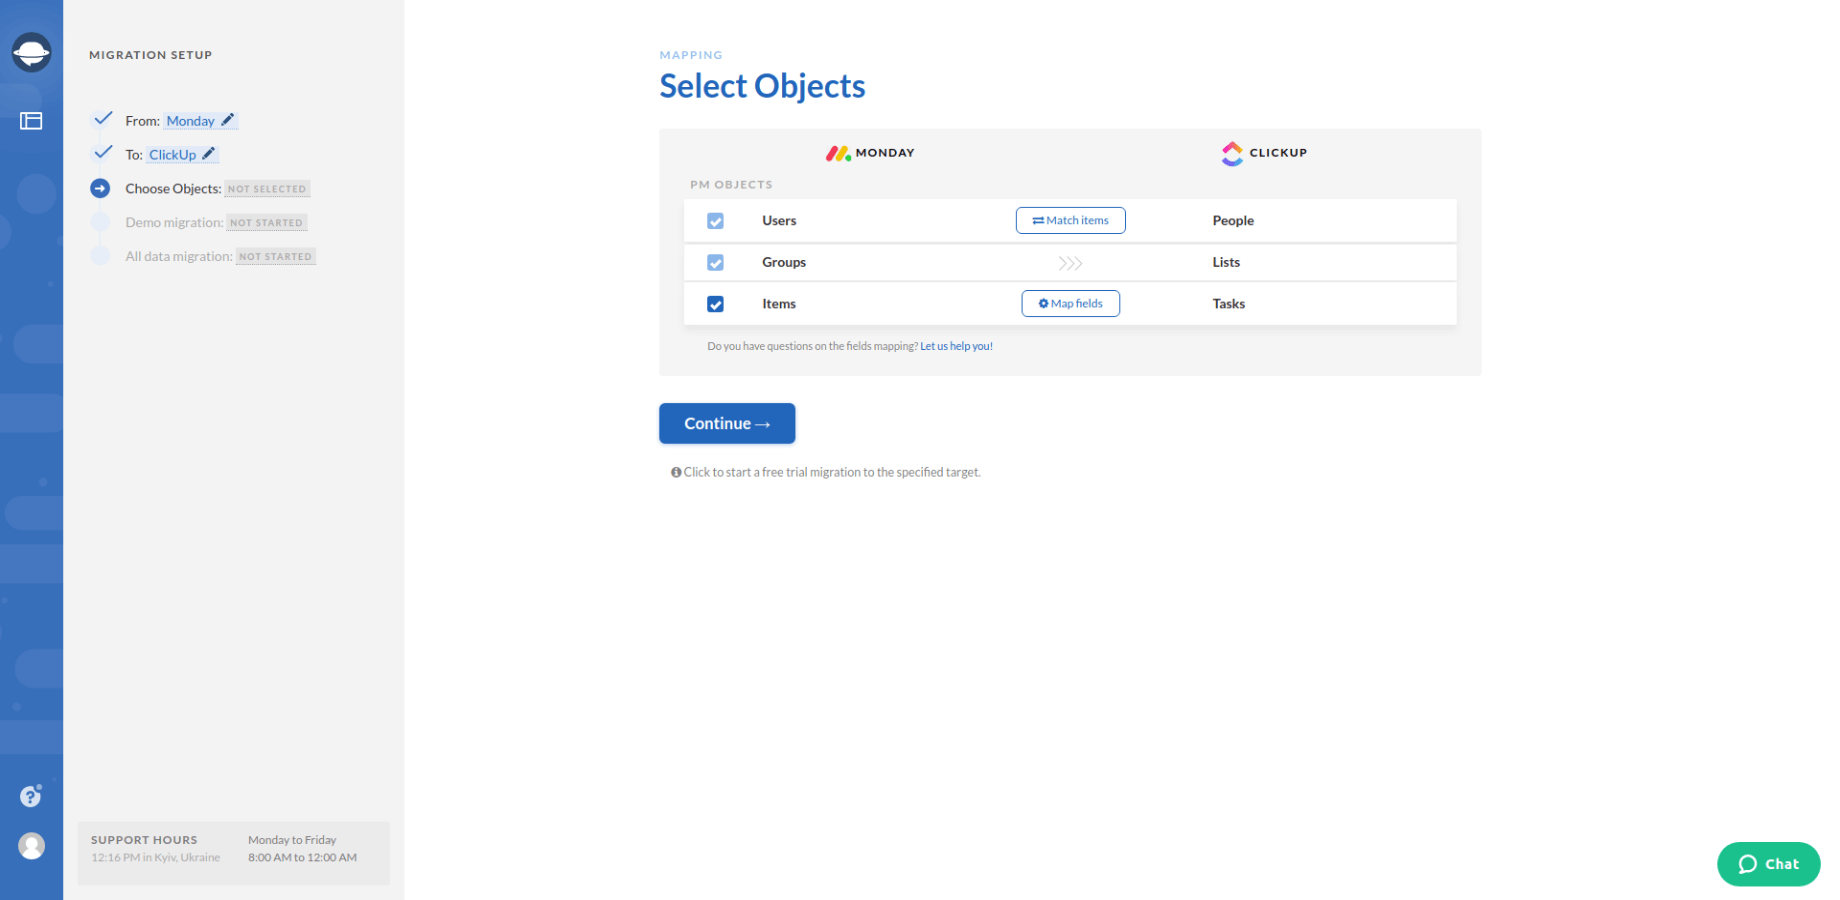
6. Map the route of your data to ensure that it migrates to the right places.
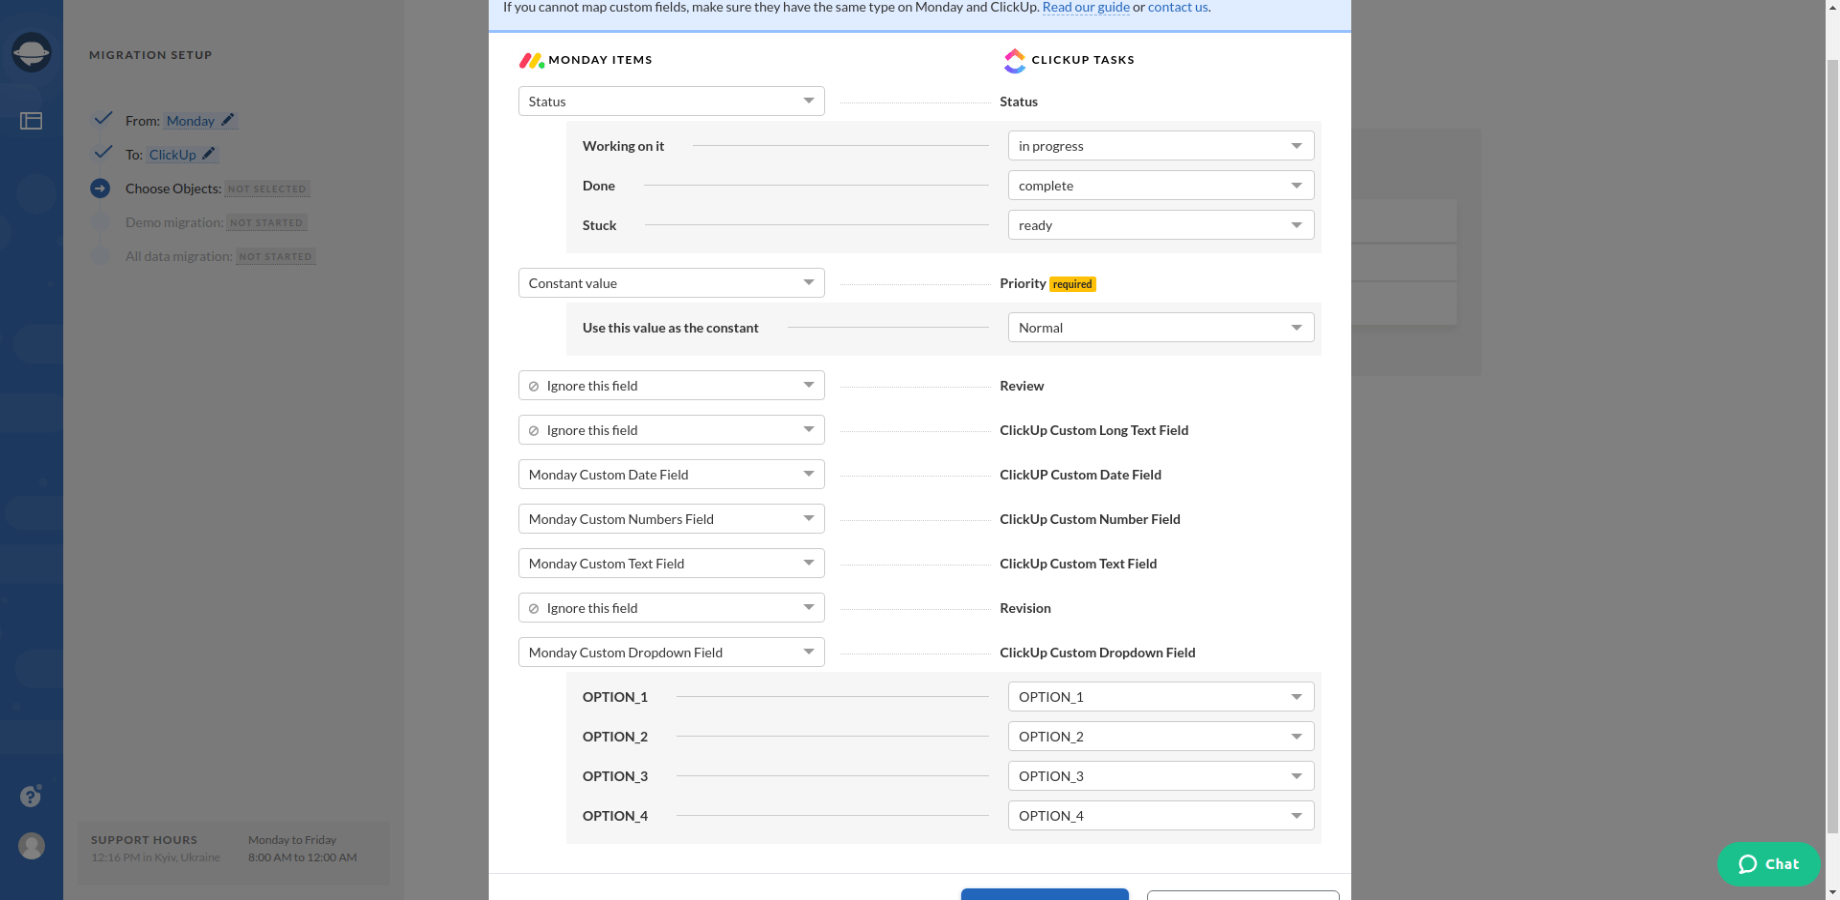
Note: You can also map the route of your SubTasks if your source and target platform support their migration.
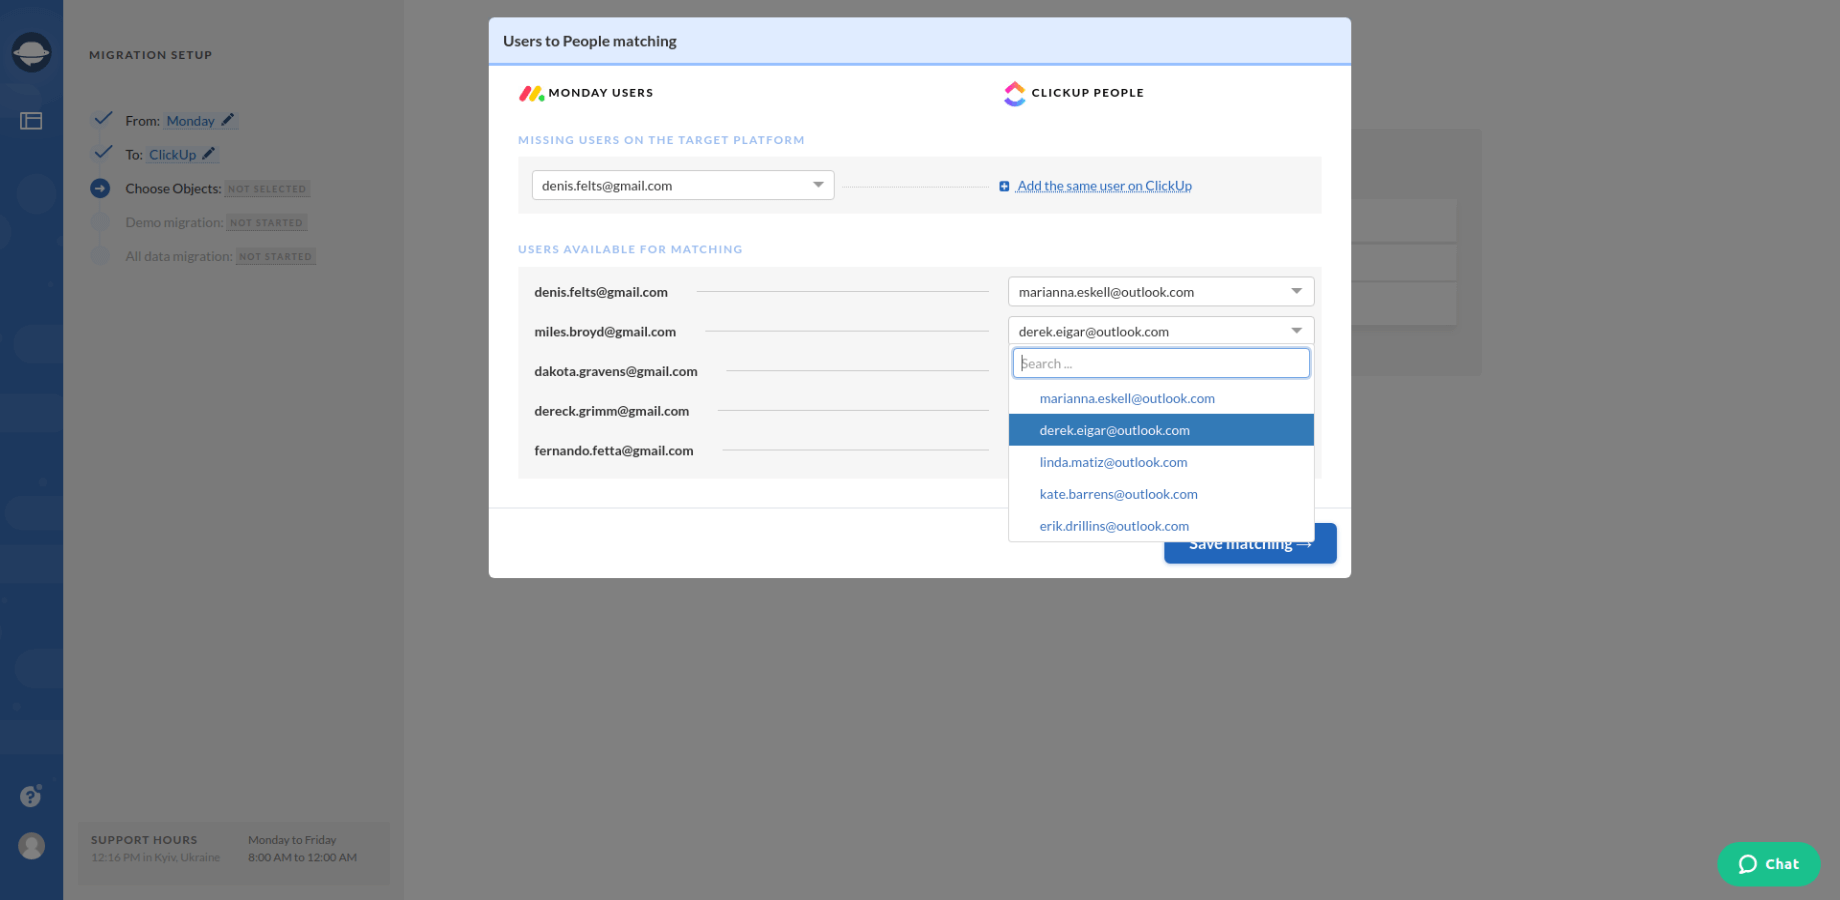
7. When Task mapping is done, move on to user matching. Click the Match items button and match users between the systems.
8. Start a free demo migration and wait till Migration Wizard generates your data migration preview.
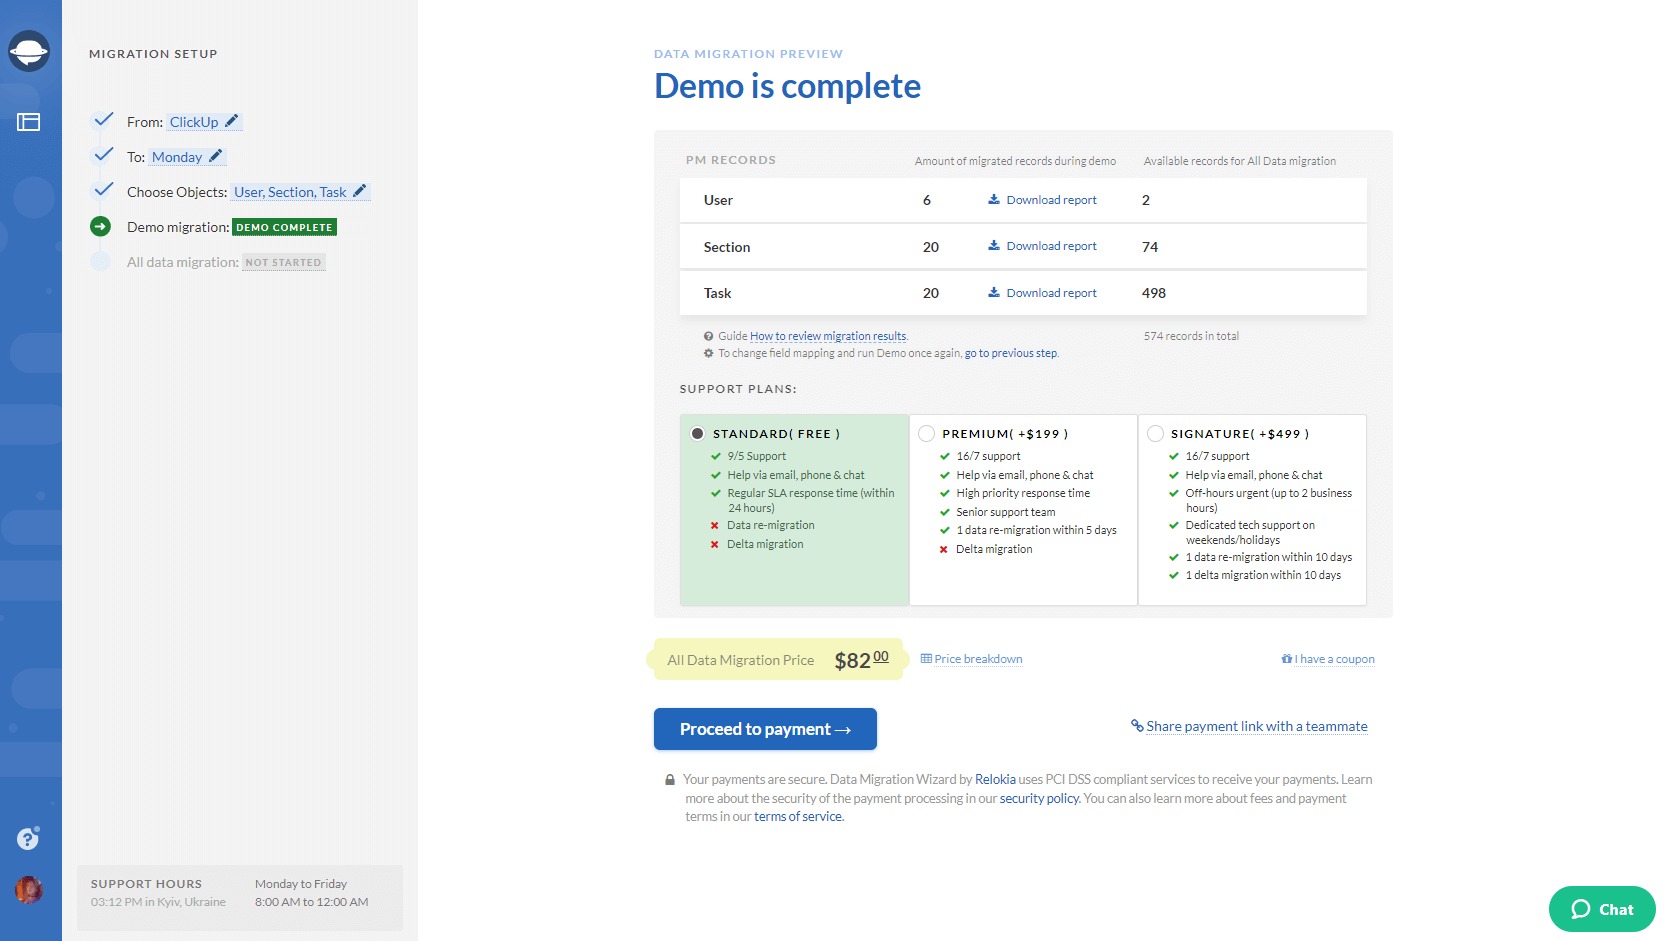
9. After your demo is complete, download a report and check the result of your ClickUp data migration.
Note: Proceed with the next step only if you’re happy with how your data transfer went. In case you’d still like to adjust the way your data migrates, contact us.
10. Initiate the full data migration to transfer all the necessary records from your current platform to ClickUp.
Import your ClickUp now!
So, we’ve figured out what records you can import to ClickUp and how you can do it. Therefore, simply contact our support team, and let’s import your data to ClickUp right away!


