Monday.com Data Migration Guides
How to install the OAuth app to connect Monday.com?
To migrate data to or from Monday.com, connect your account to Migration Wizard by installing the OAuth app.
To proceed with your Monday Data Migration, follow this guide:
1. Click on Install.
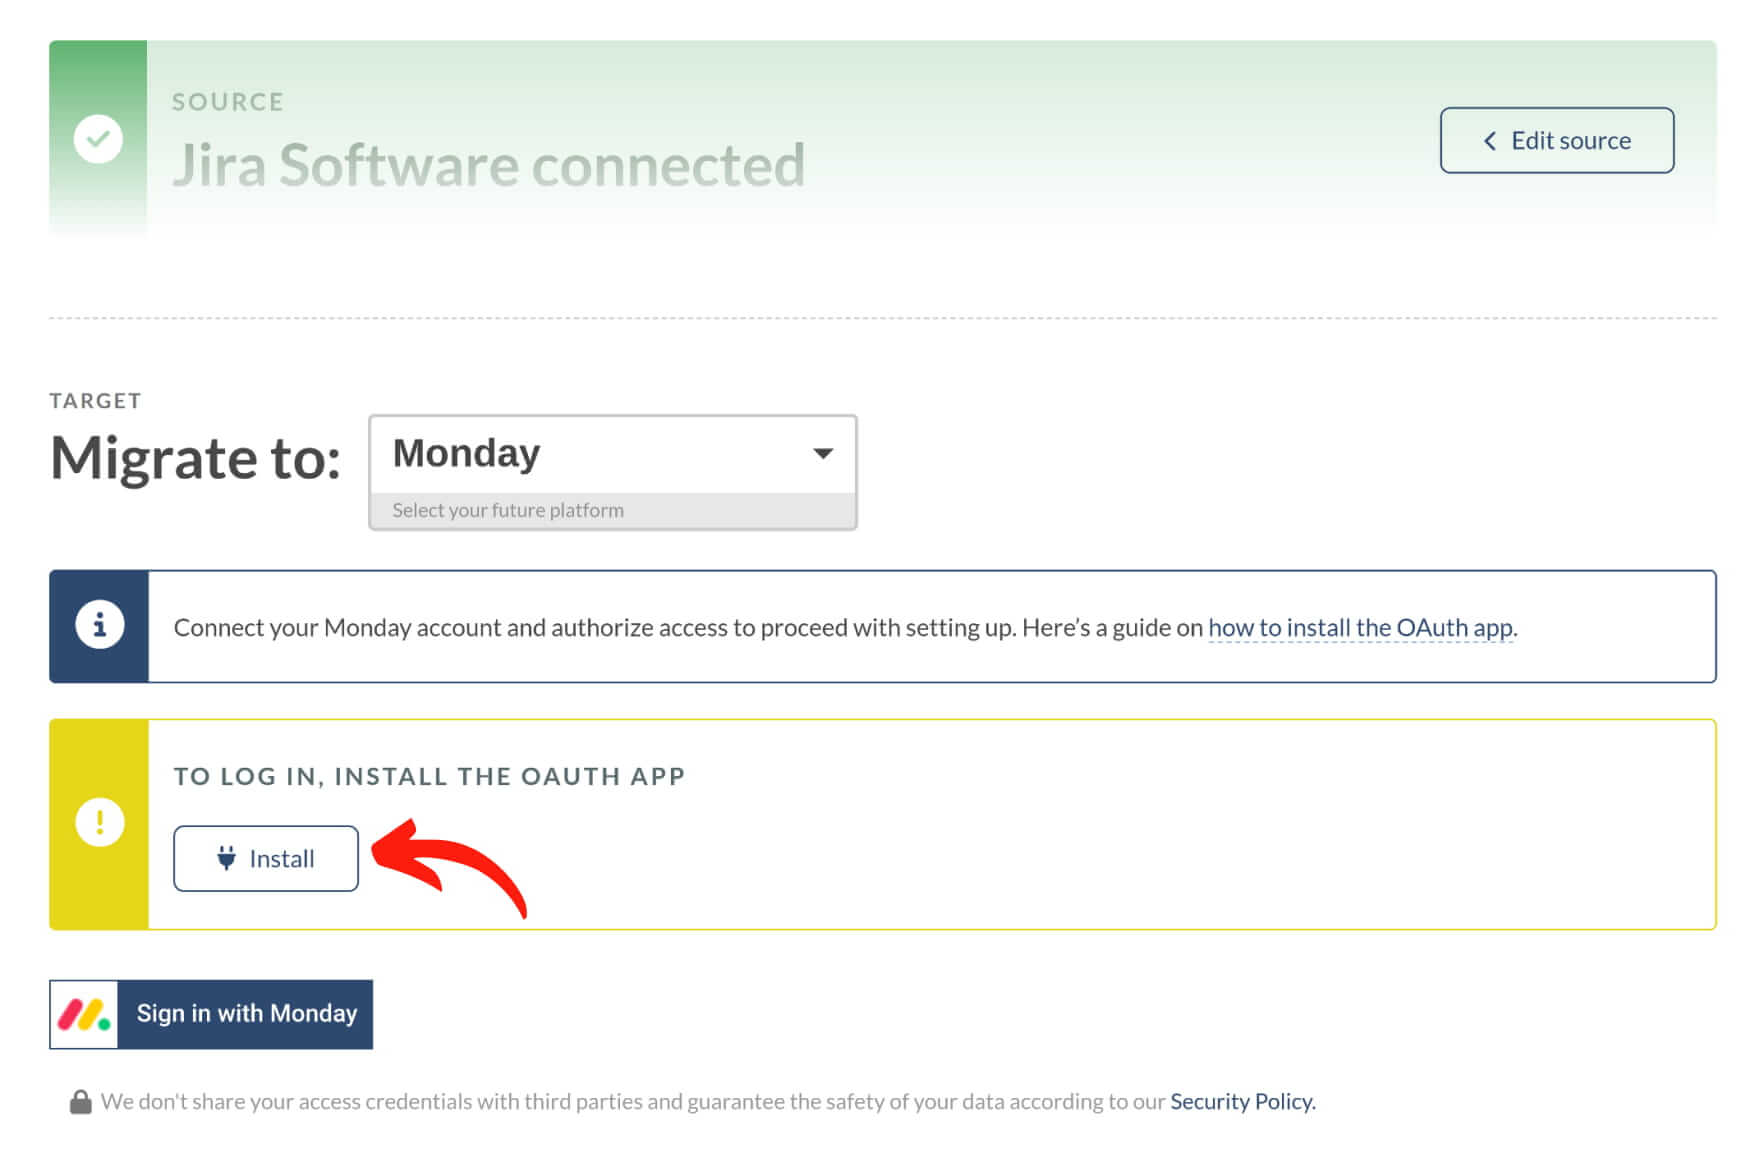
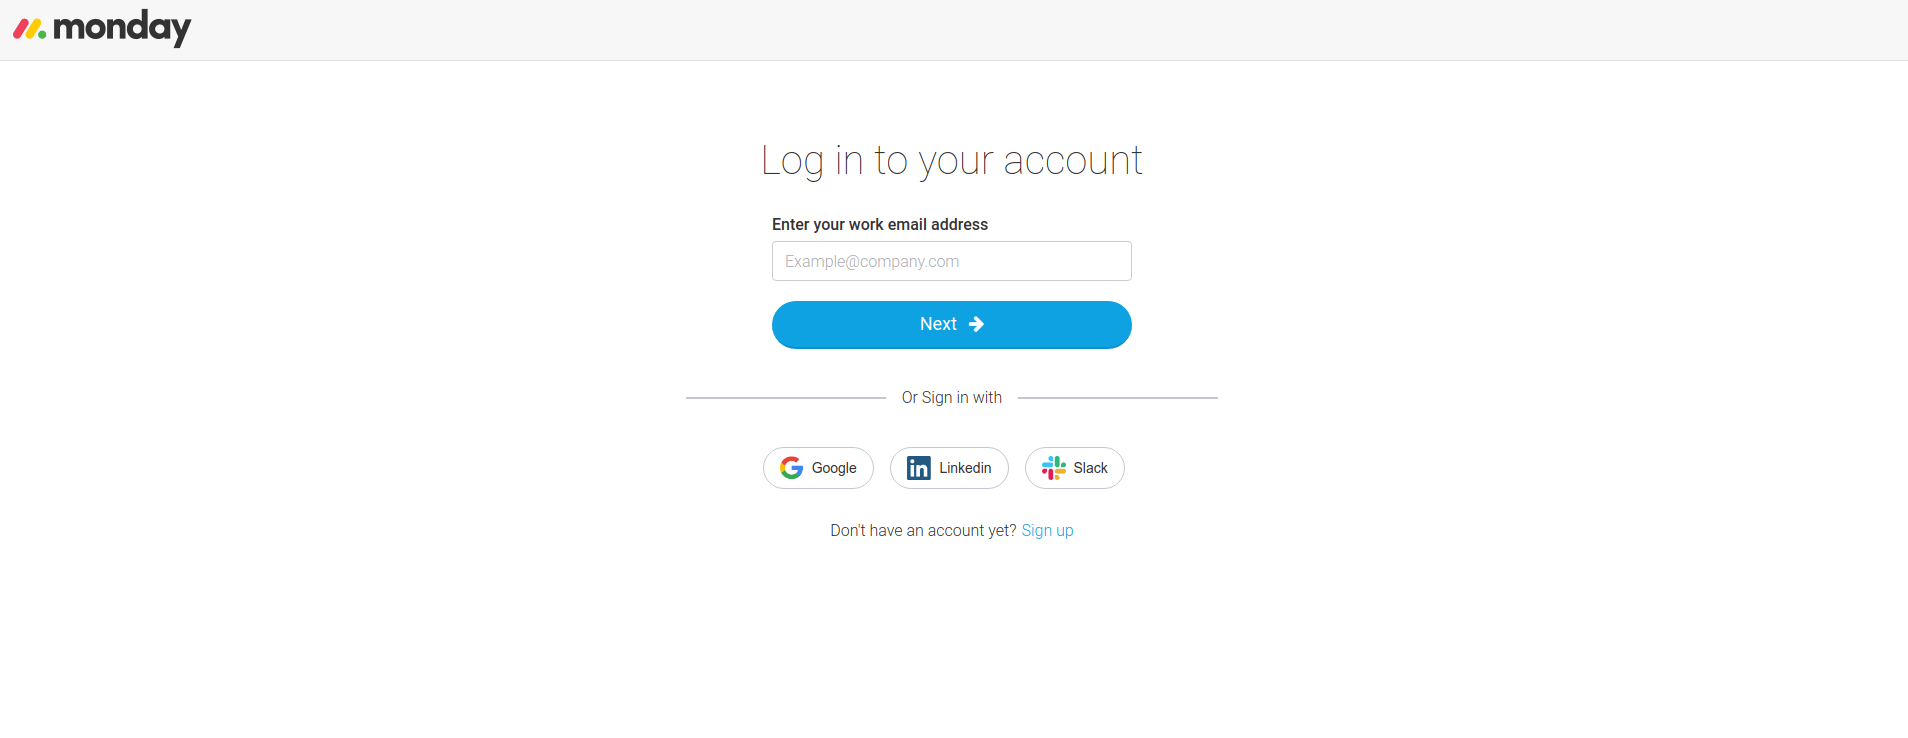
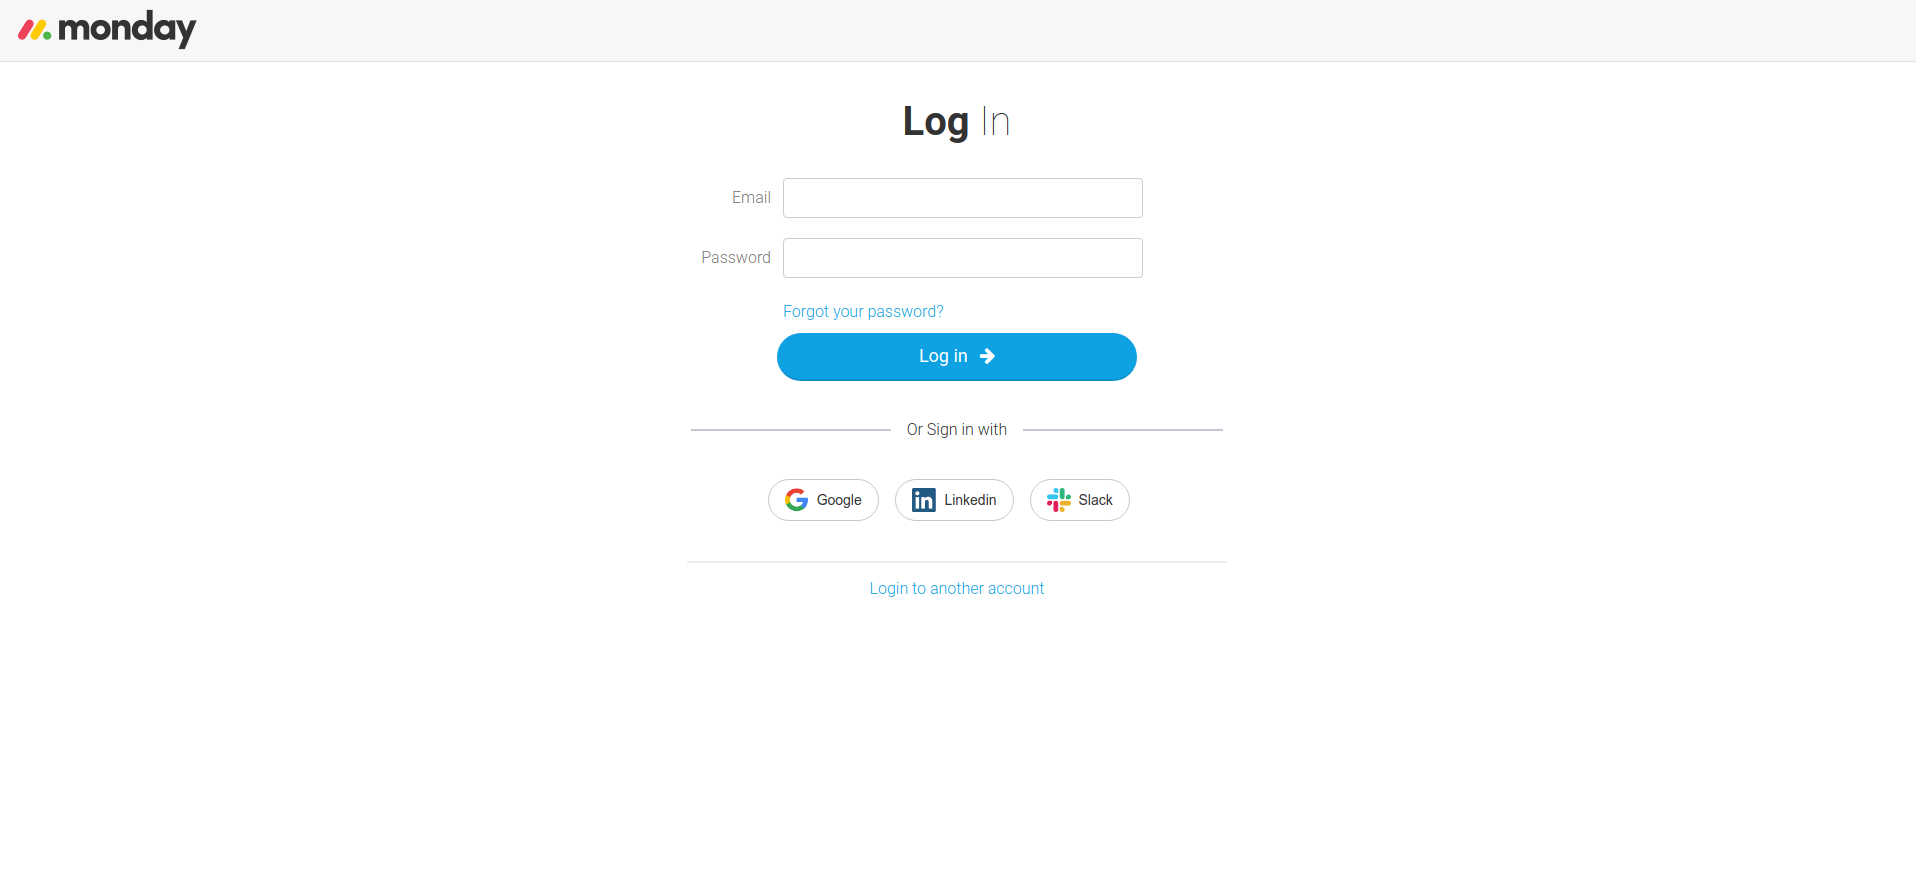
2. Sign in with your email and password.
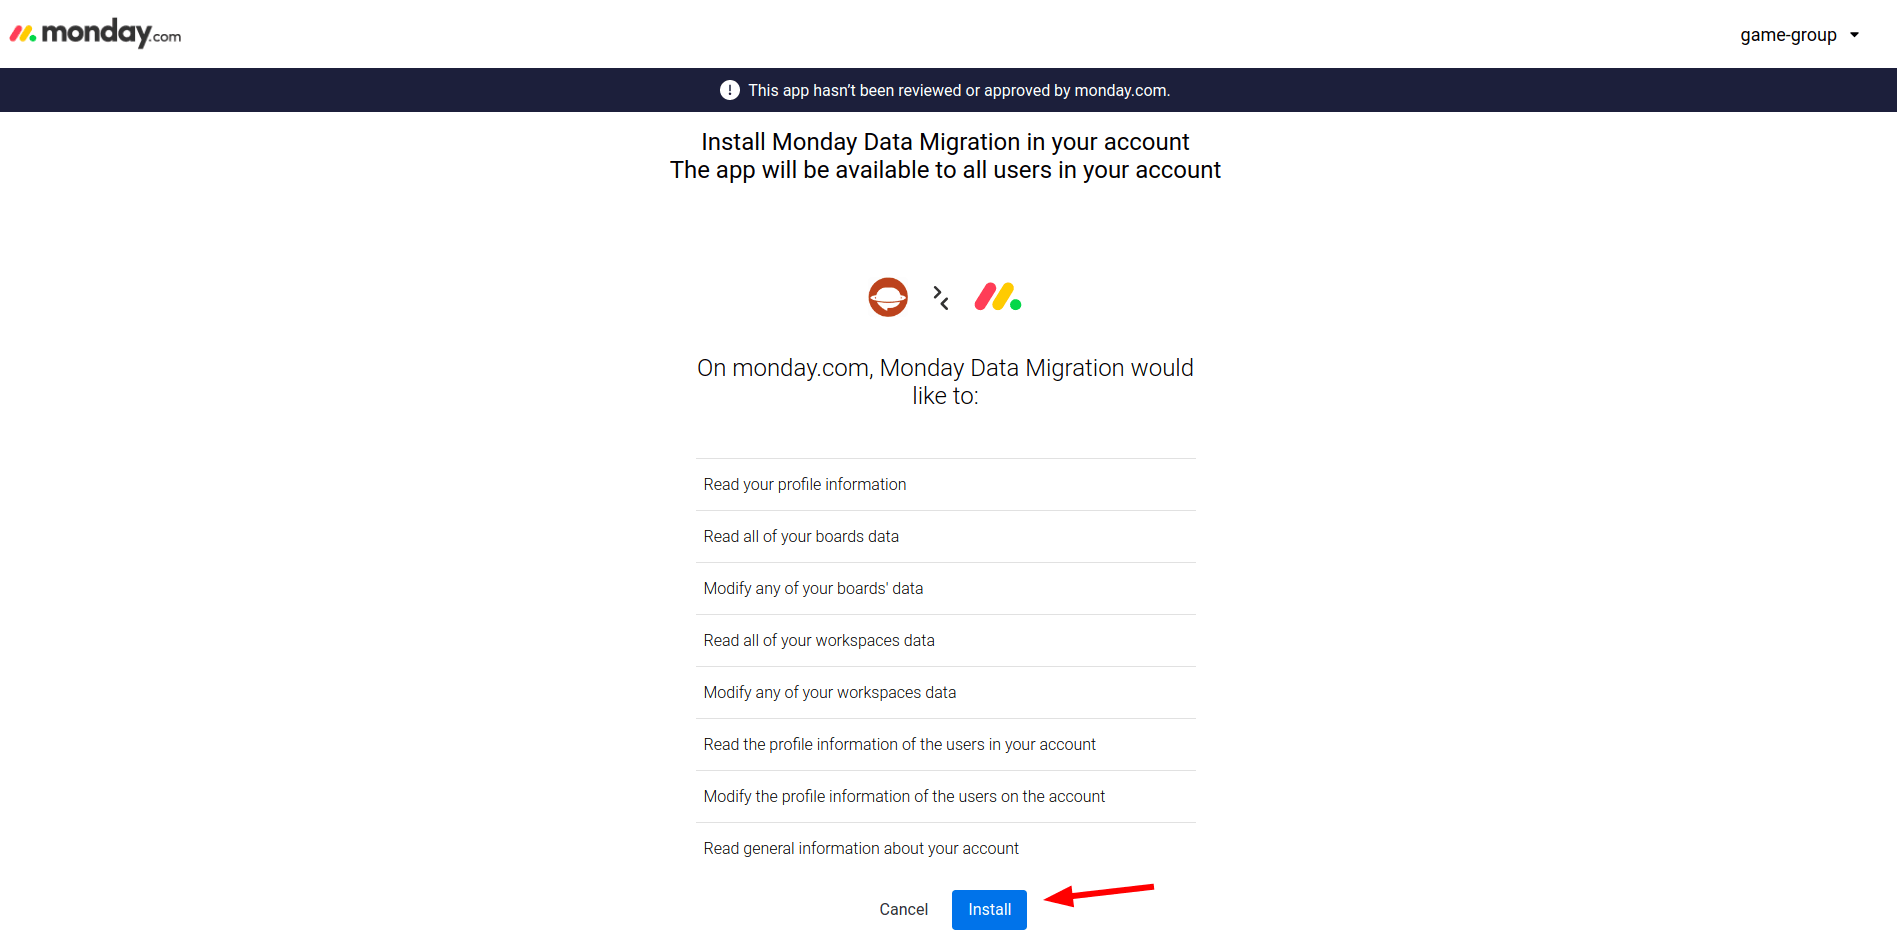
3. Press on Install.
4. Return to the Migration Wizard and click Continue.

5. Then grant access to your Monday account by clicking Authorize.
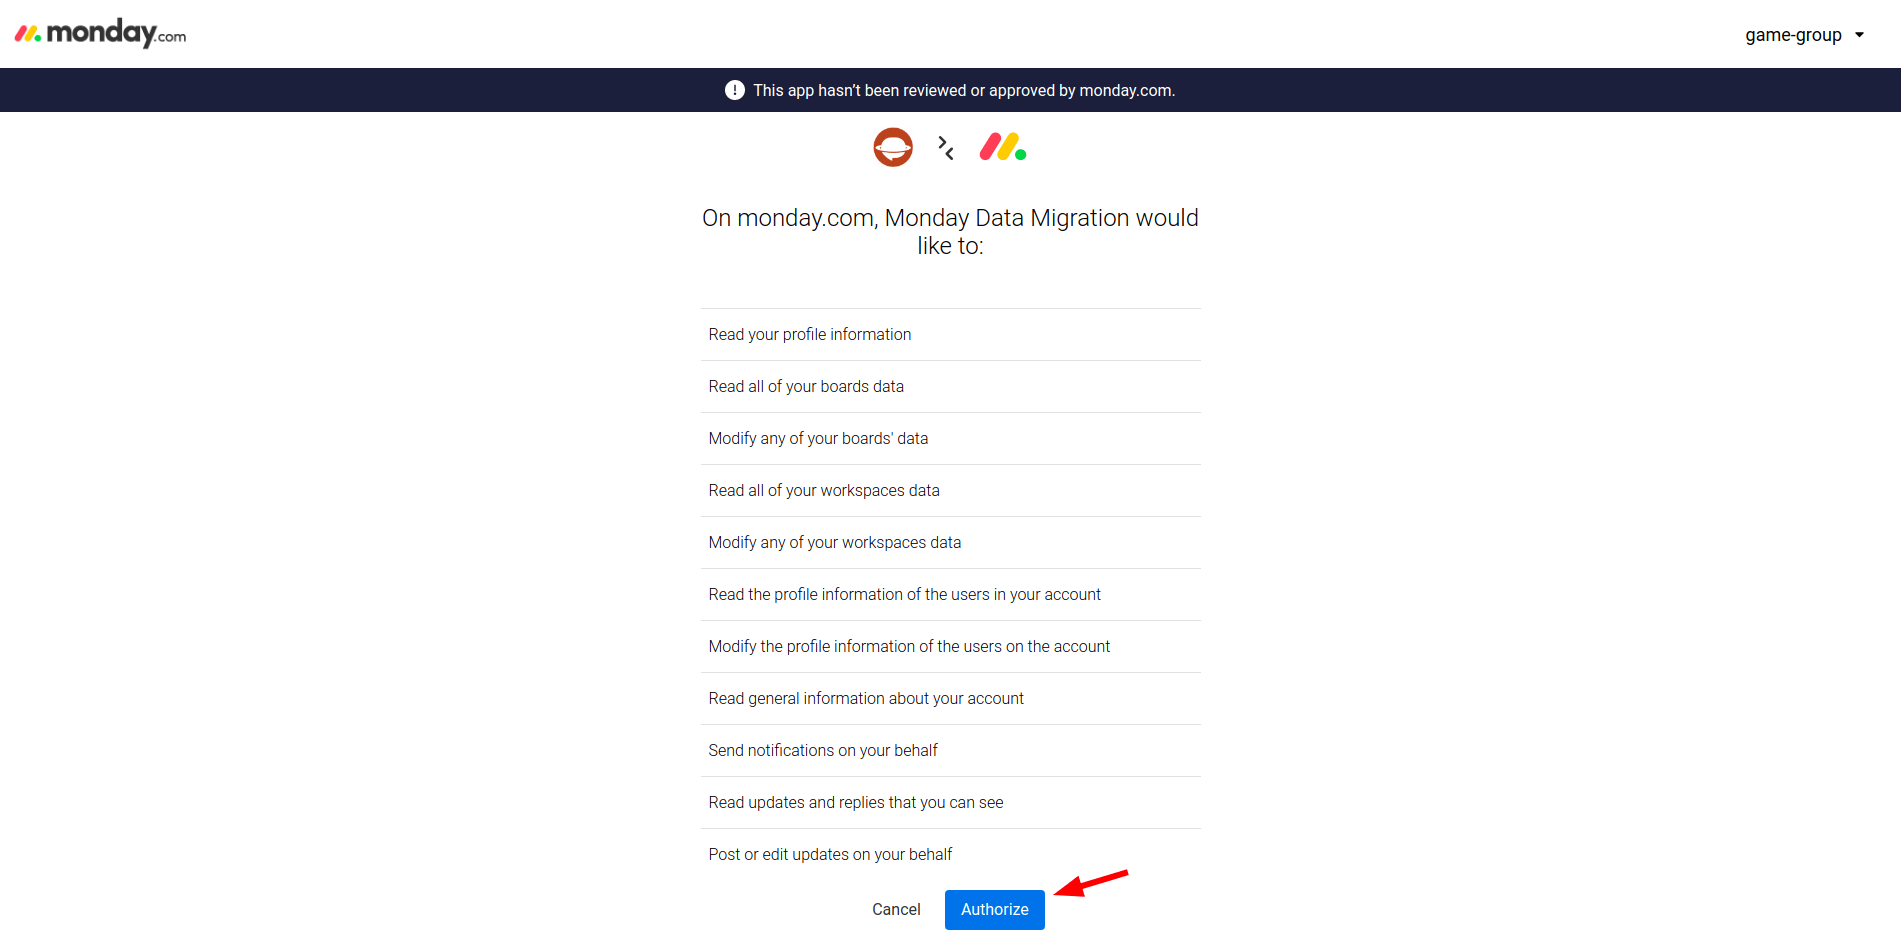
You’ve successfully connected your Monday.com account to the Migration Wizard.
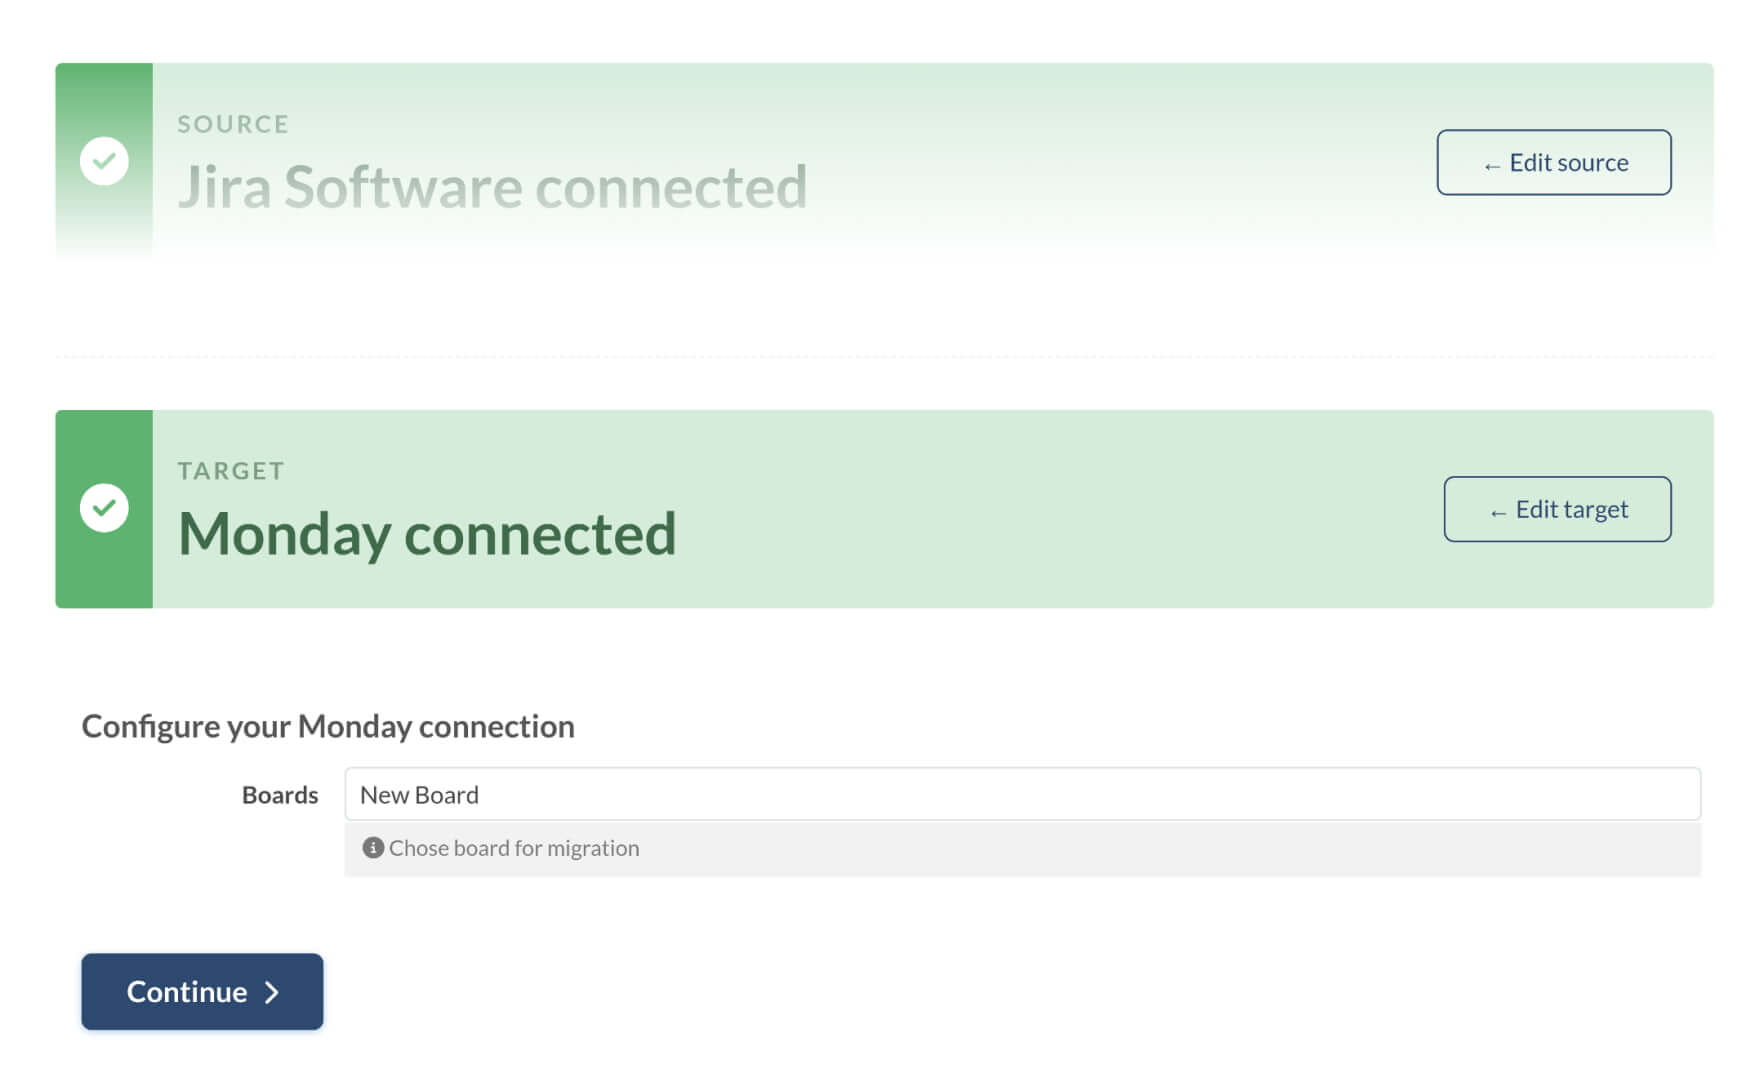
How to find migrated tasks in Monday.com?
When moving project data to Monday, ensuring that all items are migrated correctly is essential. One effective way to find imported items in Monday.com is using Item IDs. Item IDs are unique identifiers assigned to each item, making finding specific items within the platform effortless.
Here's a step-by-step guide on how to locate migrated items in Monday with their IDs:
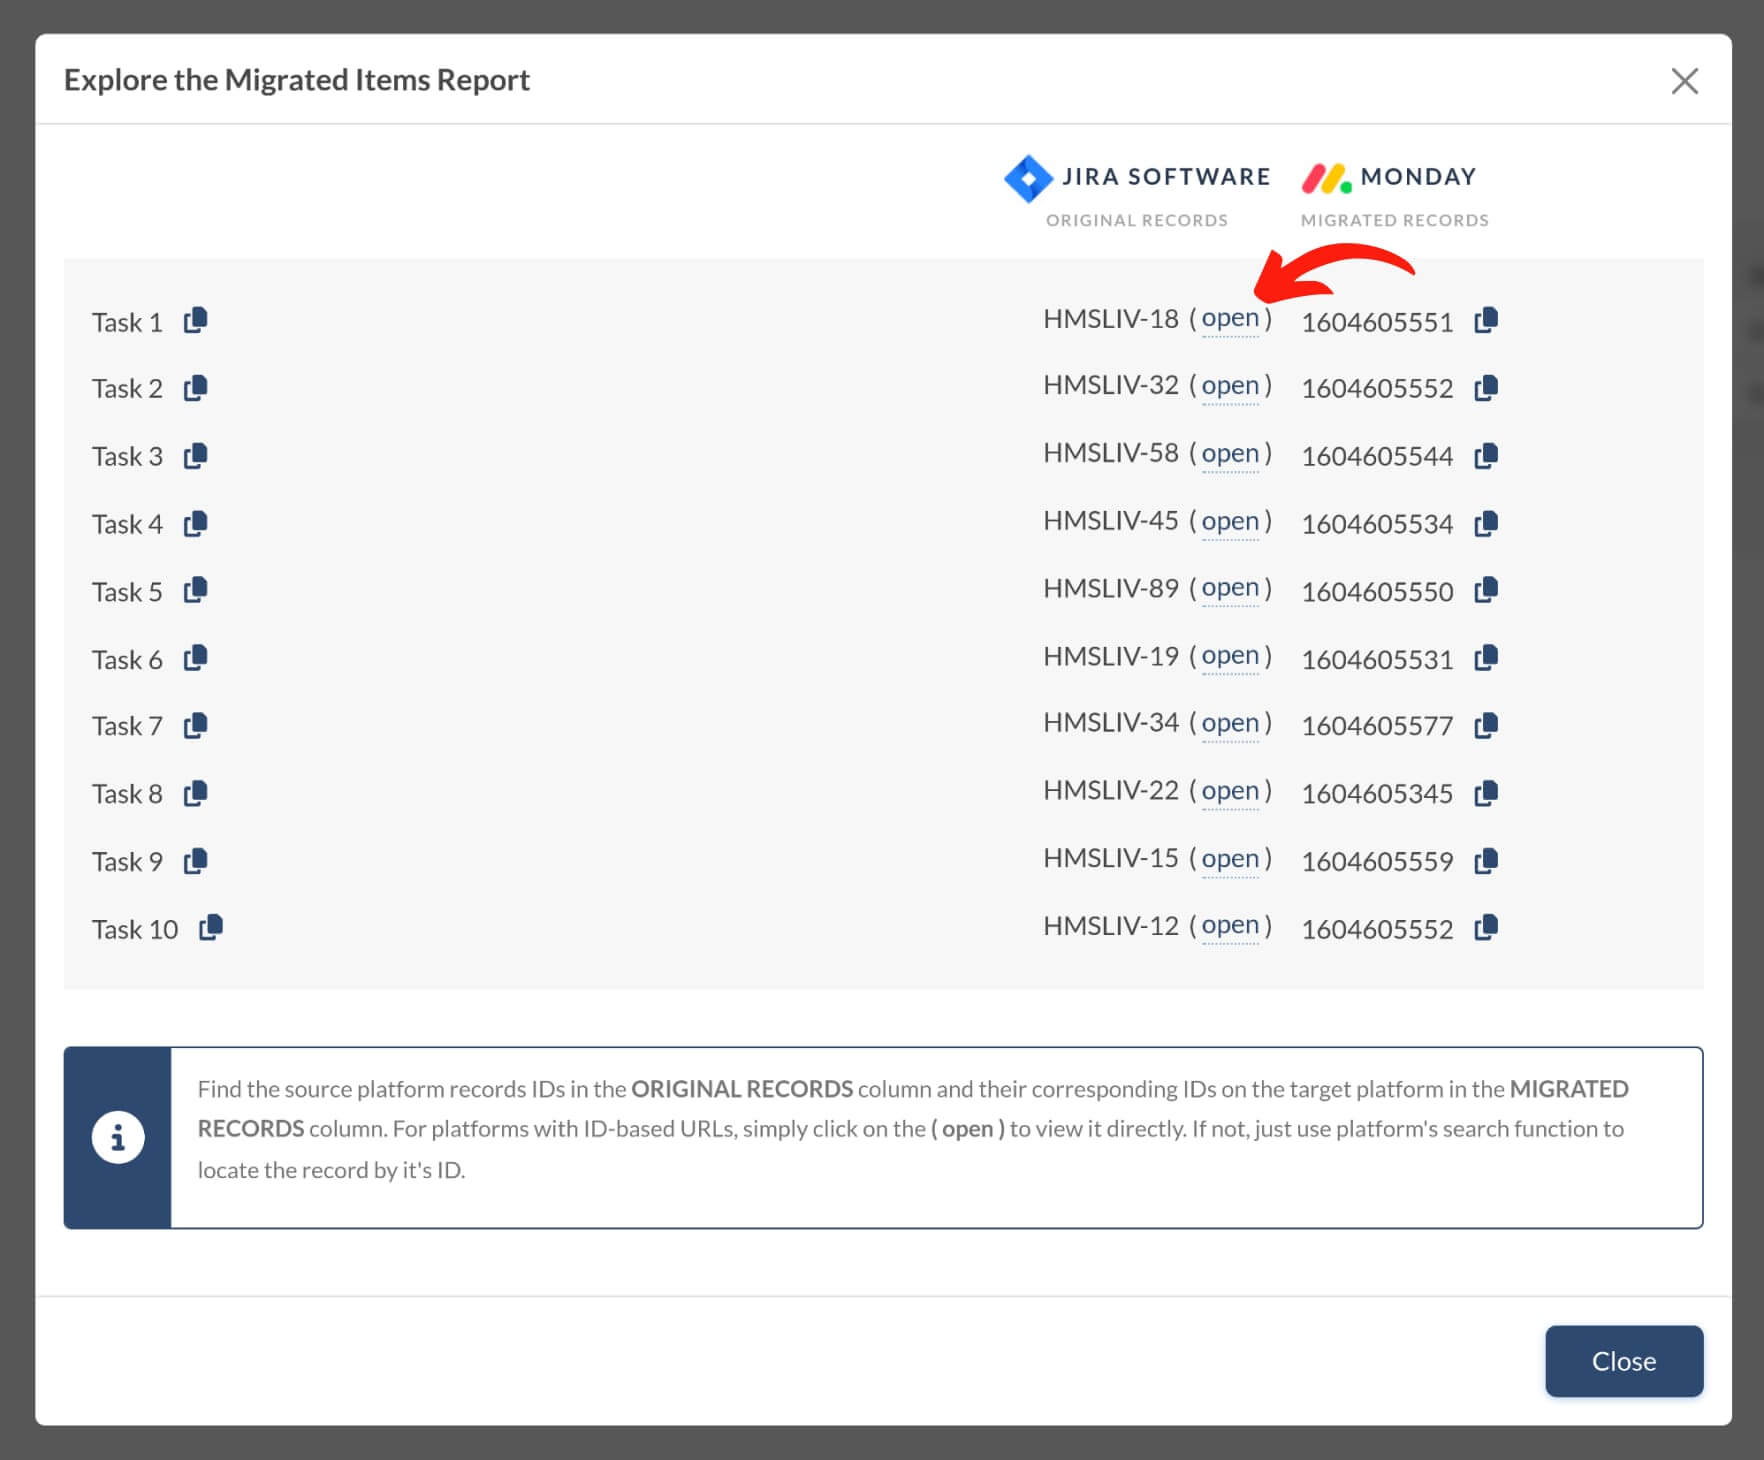
1. After completing the Demo Migration, you'll see a table with all the imported records, including Items and Users. Click on the migrated records to access the Migrated Items Report, which displays the record IDs transferred during the migration.

2. Locate the IDs for the target platform in the migrated records column and copy them.
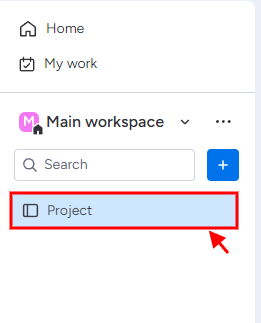
3. Sign in to your Monday account and navigate to the relevant project or board.
4. Select a table view to check the items.

5. Click on any item and go to the URL.
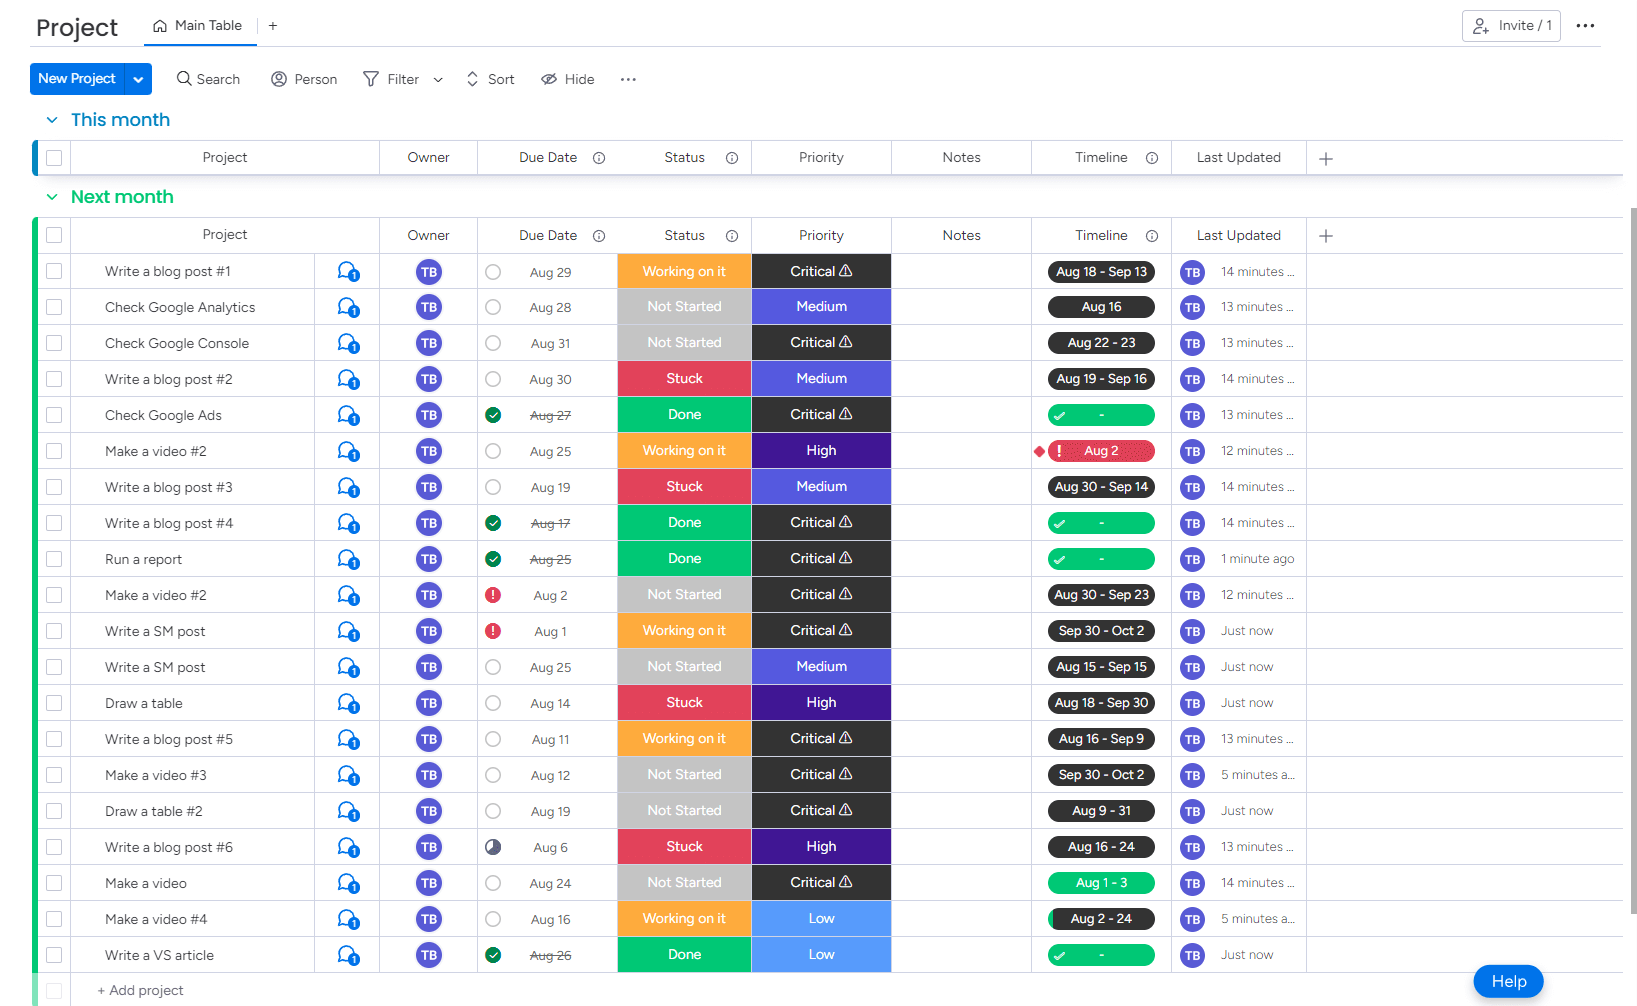
6. Replace its ID in the URL with the migrated item ID.
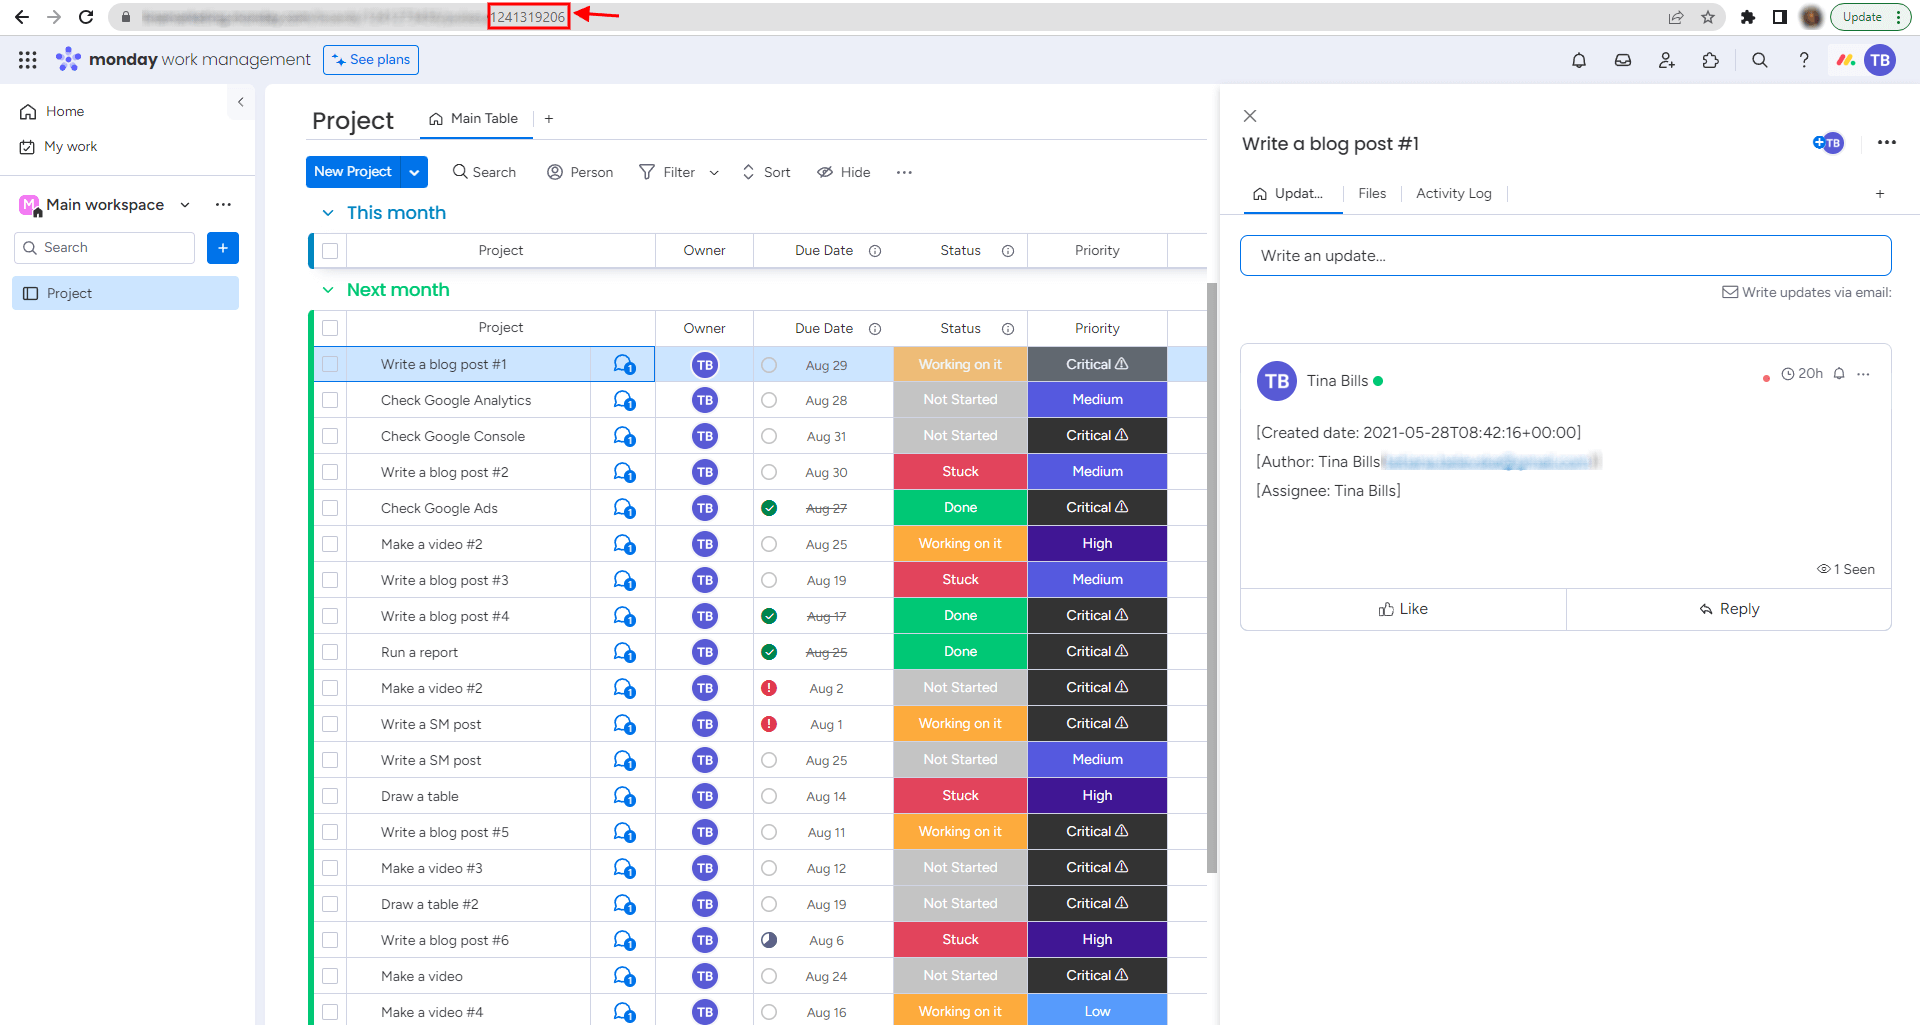
7. Check if comments, attachments, and custom fields have been migrated correctly.
8. Repeat this process for every migrated item.
With reports that include Item IDs, the Migration Wizard helps you quickly locate and manage your migrated items.