CSV Data Migration Guides
How to prepare a CSV file for data migration?
Data migration from CSV files can be valuable for many business needs. This guide covers various aspects of CSV data migration, including:
- Data entities and how to import them to your project management or collaboration software.
- CSV file requirements to ensure your project management data migration will succeed.
- A CSV sample* for importing tasks and record types to include in your header and custom fields.
- A CSV sample* for importing task comments and record types to include in your header.
- Tips on how to save your data in a CSV format.
What data can you import via CSV?
To import your project management data, you need to provide two CSV files with
Create separate files and upload them to the Migration Wizard. Check our requirements below to ensure proper CSV file formatting.
CSV file requirements
Each file must contain a heading row and a summary column. The heading row is necessary to determine and map the data objects. Ensure that:
- The header row has no punctuation (except for commas separating the columns).
- The header row is in English (you can use any other language for the content in the next rows).
- The headers don’t contain identical names.
- All header columns begin with a capital letter.
Pay attention to the following aspects:
- Make sure your CSV file is encoded in UTF-8. This ensures proper recognition and display of special characters and symbols, and prevents hiccups during the import process.
- Fields should be separated by commas.
- Use double-quote marks (") to capture data spanning multiple lines (e.x. tags, attachments, and descriptions).
- To attach files, provide a public URL to access the attachment. To add multiple attachments, separate them by commas and quote the values in the field. Note: attachment URLs support both HTTP and HTTPS protocols.
How to prepare the CSV files?
Download CSV file samples and use them when creating your import files. We have some hints for you here.
CSV file with Tasks (Download Sample)
Your CSV file with tasks should contain the following header columns:
| Header | Format | Field |
| TaskId | 1202396485730783 | Required |
| ParentID | 1202396485730783 | Optional |
| Project | Software | Required |
| Subject | Schedule kick-off meeting | Required |
| Type | Task | Optional |
| Tags | pending | Optional |
| Section | Engineering | Required |
| Description | Schedule a kick-off meeting for a new project | Required |
| Resolution | Open | Required |
| Priority | High | Optional |
| AssigneeEmail | sarah@yourcompanydomain.com | Optional |
| AssigneeName | Sarah Johnson | Optional |
| CreatorEmail | john@yourcompanydomain.com | Required |
| CreatorName | John Smith | Required |
| CreatedTime | YYYY-MM-DD HH:MM:SS | Required |
| UpdatedTime | YYYY-MM-DD HH:MM:SS | Optional |
| Attachments | "https://company.com/files/checklist.pdf, https://company.com/files/screenshot.png" | Optional |
| DueDate | YYYY-MM-DD HH:MM:SS | Optional |
| StartDate | YYYY-MM-DD HH:MM:SS | Optional |
Migrating custom fields
To import custom fields, add tags to column headers (task field names) so the Migration Wizard can identify them. Here is the list of tags you should use:
_select- dropdown (e.g.,ContentType_select)_date- time (e.g.,due_date)_integer- number (e.g.,TaskInternal_integer)_decimal- decimal (e.g.,Revenue_decimal)- Other columns in a file without a tag will be treated as string (text) at mapping
Migrate and map other custom fields as text fields using the _textArea tag.
File with Comments (Download Sample)
Your CSV with task comments should include the following headers:
| Header | Format | Field |
| CommentId | 344 | Required |
| TaskId | 554 | Required |
| AuthorEmail | john@yourcompanydomain.com | Required |
| Body | We need to investigate this case as quickly as possible | Required |
| CreatedTime | YYYY-MM-DD HH:MM:SS | Required |
| Attachments | https://company.com/files/checklist.pdf | Optional |
If a task has several comments, simply enter the same task ID for all of them. Be sure to verify that the comment IDs are not duplicated.
Import your CSV files
Once you’ve prepared your CSV files, it's time to log in to your account and start the import.
Converting Excel, Numbers, LibreOffice Calc, or Google Sheets to CSV
If you're working with spreadsheet data, converting it to CSV format is straightforward. Whether you're using Excel, Numbers, LibreOffice Calc, or Google Sheets, locate the "Save As" option and click the ".CSV" format, similar to saving as ".XLS" or ".TXT."
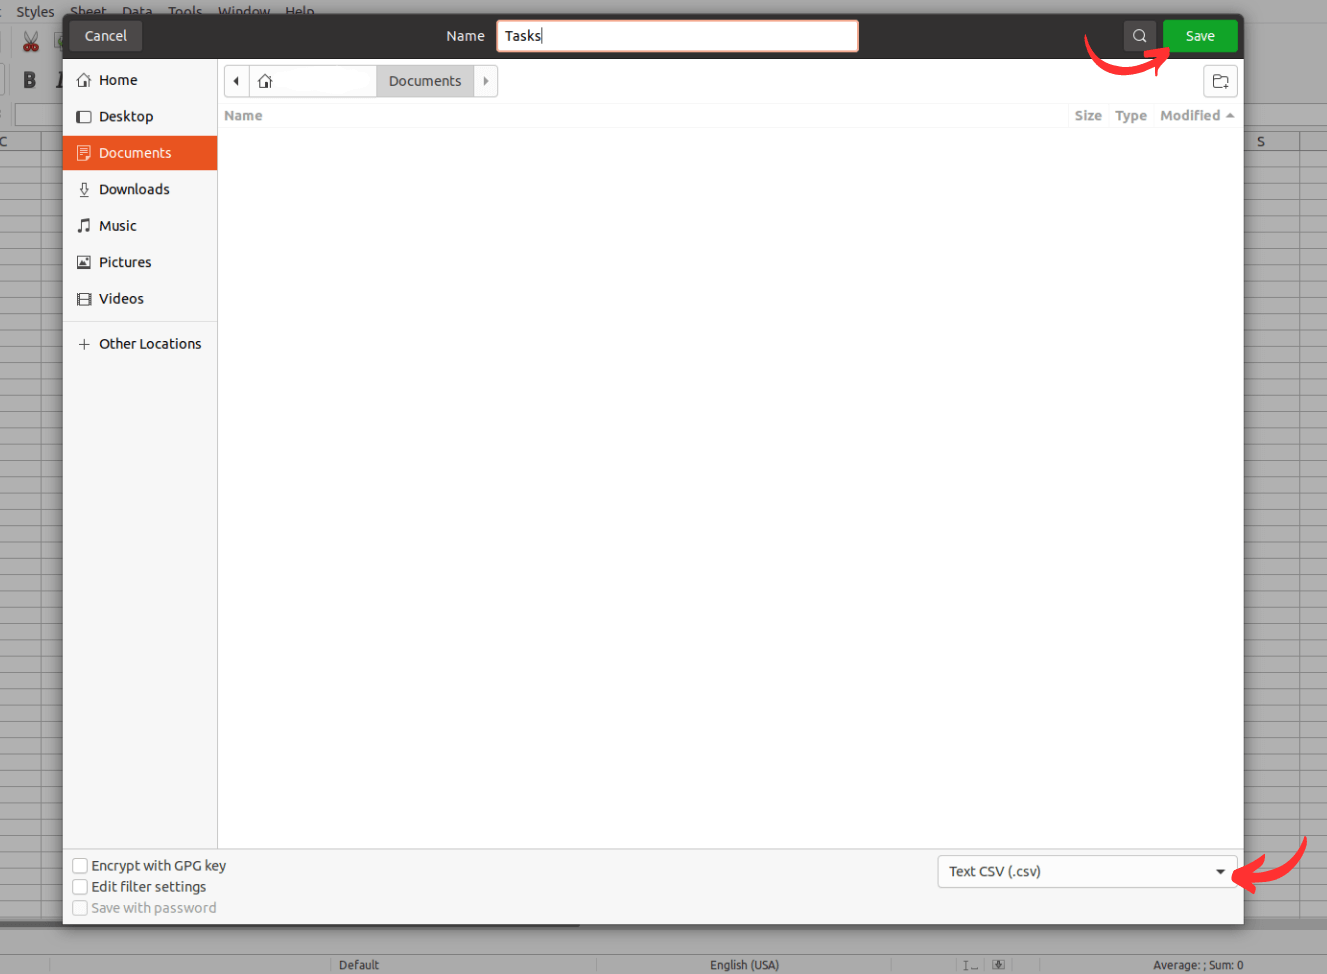
When you select the CSV format and save your file, the conversion will occur automatically, preserving your data. You can also use the "Export to" or "Download" options to get a CSV file.
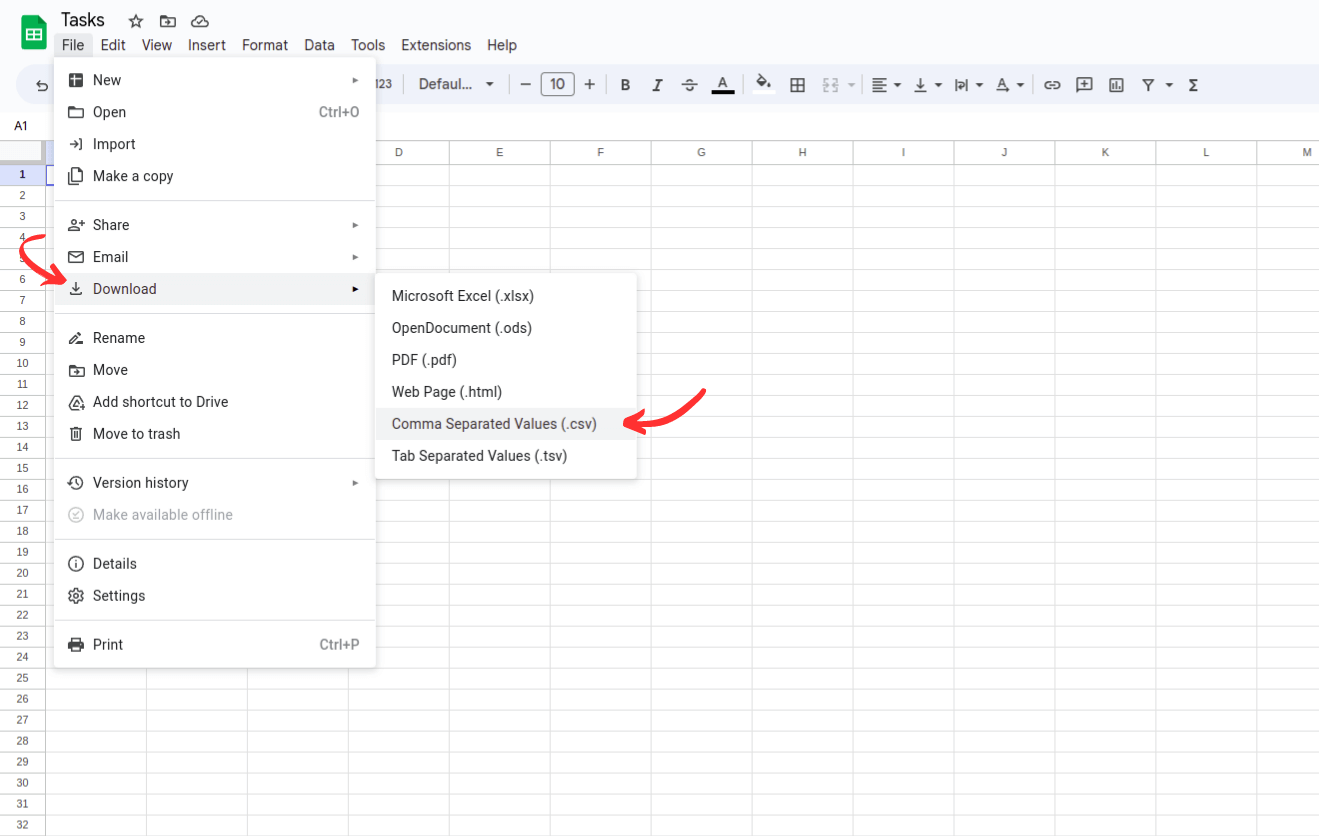
Exporting data to CSV
When exporting data to CSV, you're not simply creating a file from the tabular data within a spreadsheet. Instead, you're downloading data from a database in CSV format, which creates a versatile file that can be edited in various applications, transferred across different devices, or used for backups.
Note that not all programs or applications support CSV downloads, so you may need to rely on third-party tools to obtain the desired data.
Using Notepad or Text Edit, etc. to CSV
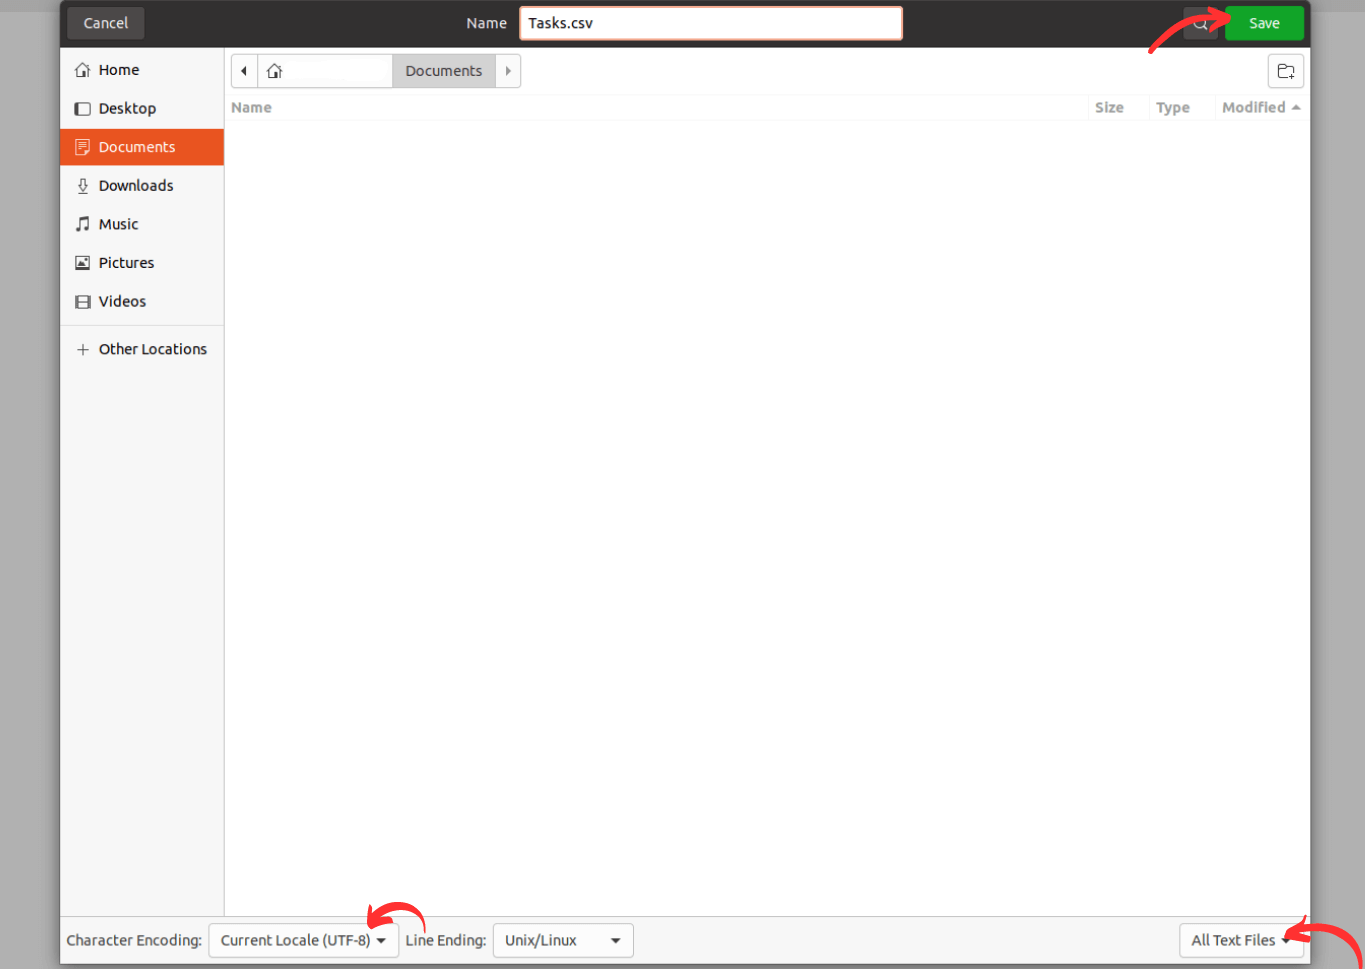
Although it's not the conventional method, you can manage small amounts of data using a text editing program like Notepad or Text Edit. Here's how: structure the data using commas or another widely recognized delimiter, where each delimiter represents a different data "column."
Then, choose "Save As" and select the "CSV" format from the available options. Keep in mind that some text editors may require you to manually add the ".csv" extension to the file name, such as "File.csv."
How to migrate data to CSV?
Want to migrate your project data to CSV? The process is simple and will streamline your organization and analysis tasks. Ready to get started? Follow these steps using our Migration Wizard:
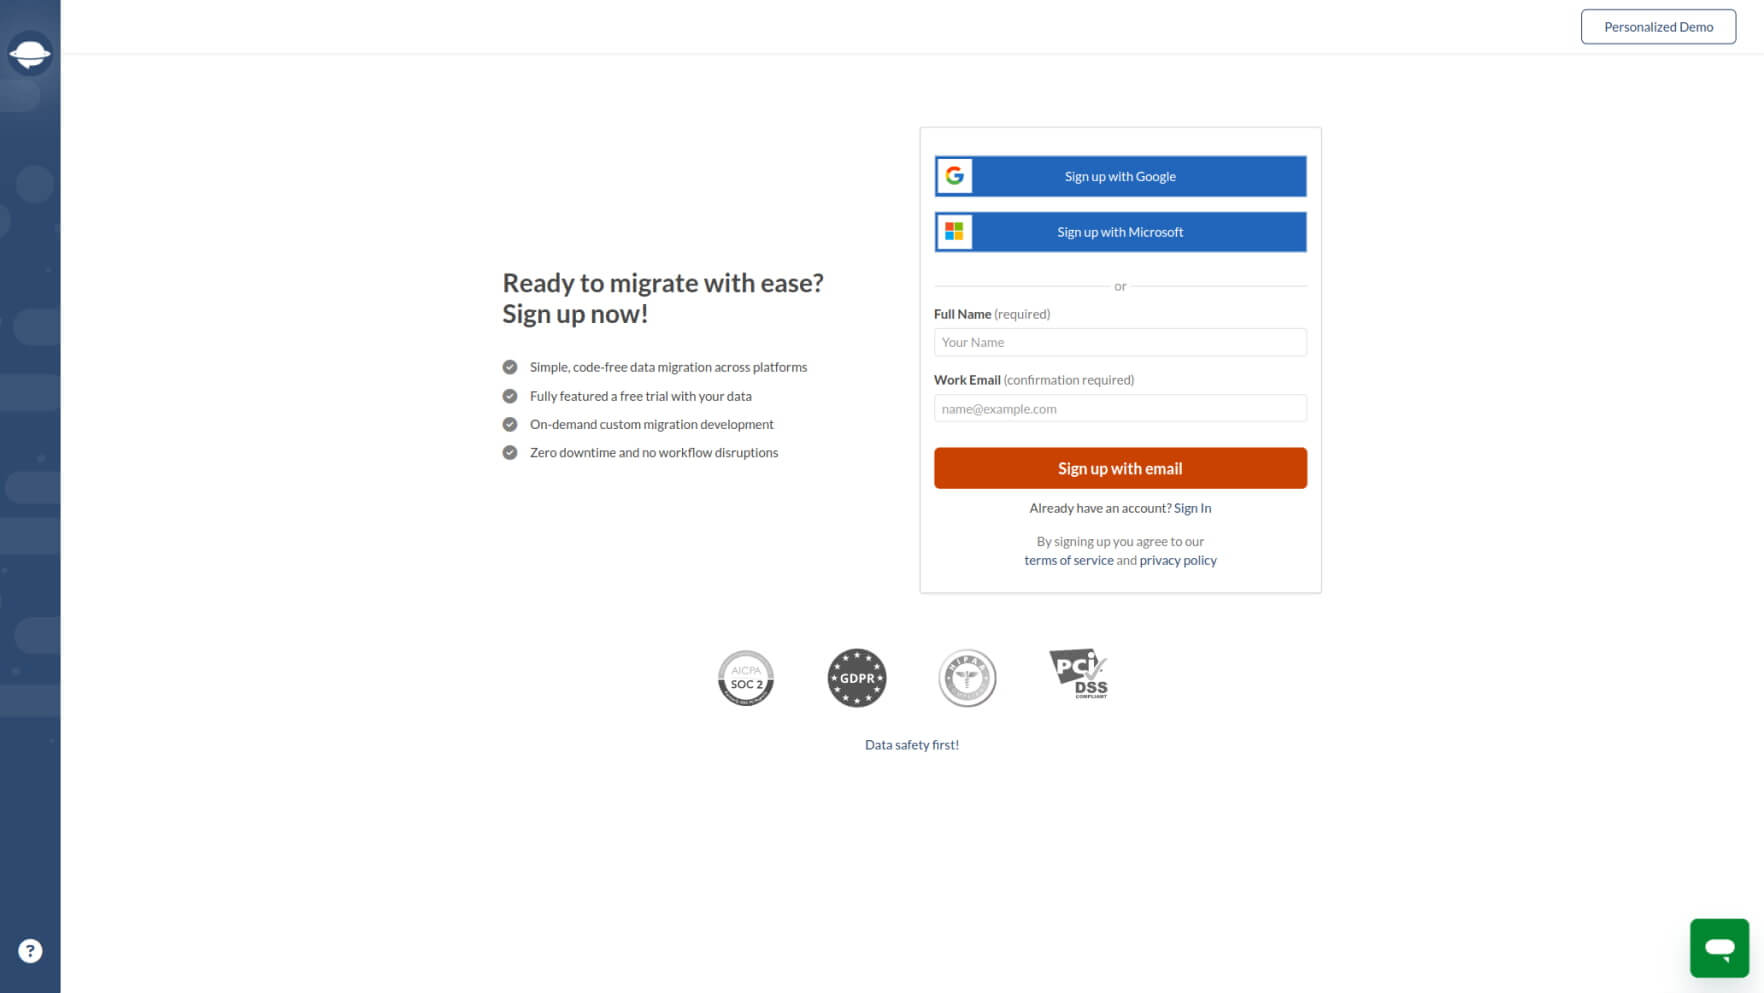
1. Head over to app.relokia.com and create your account, or if you already have one, sign in to continue.
2. Click the Start new migration button.
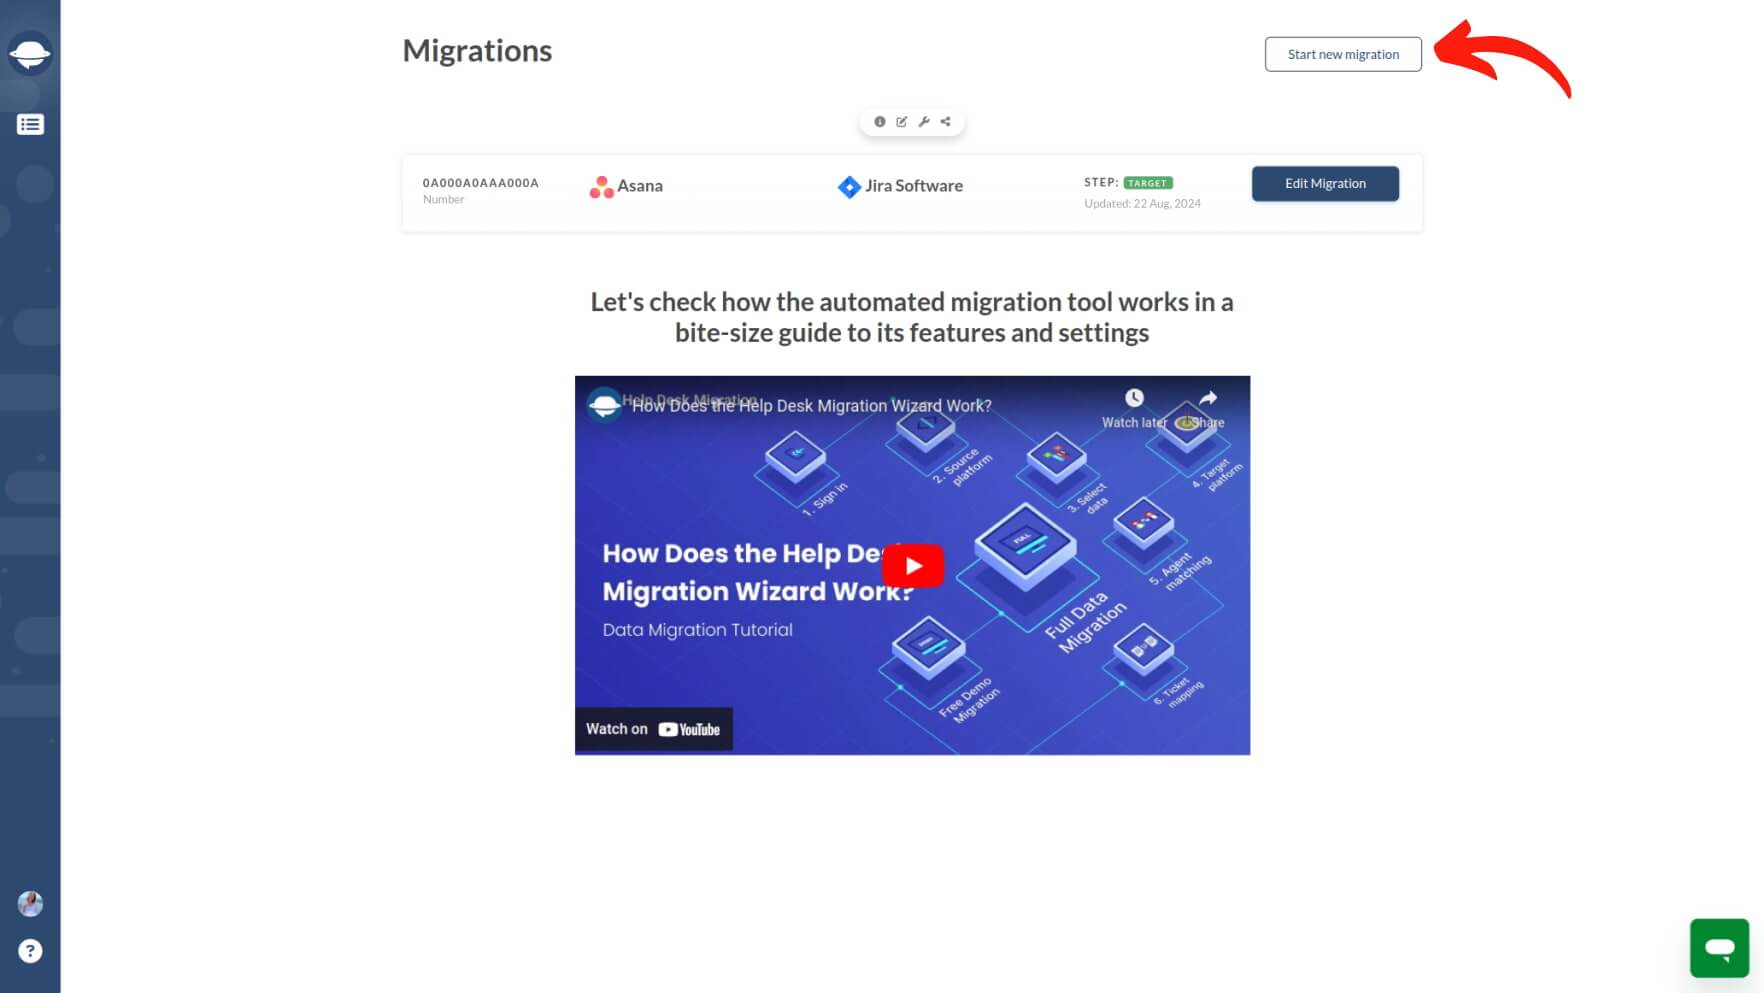
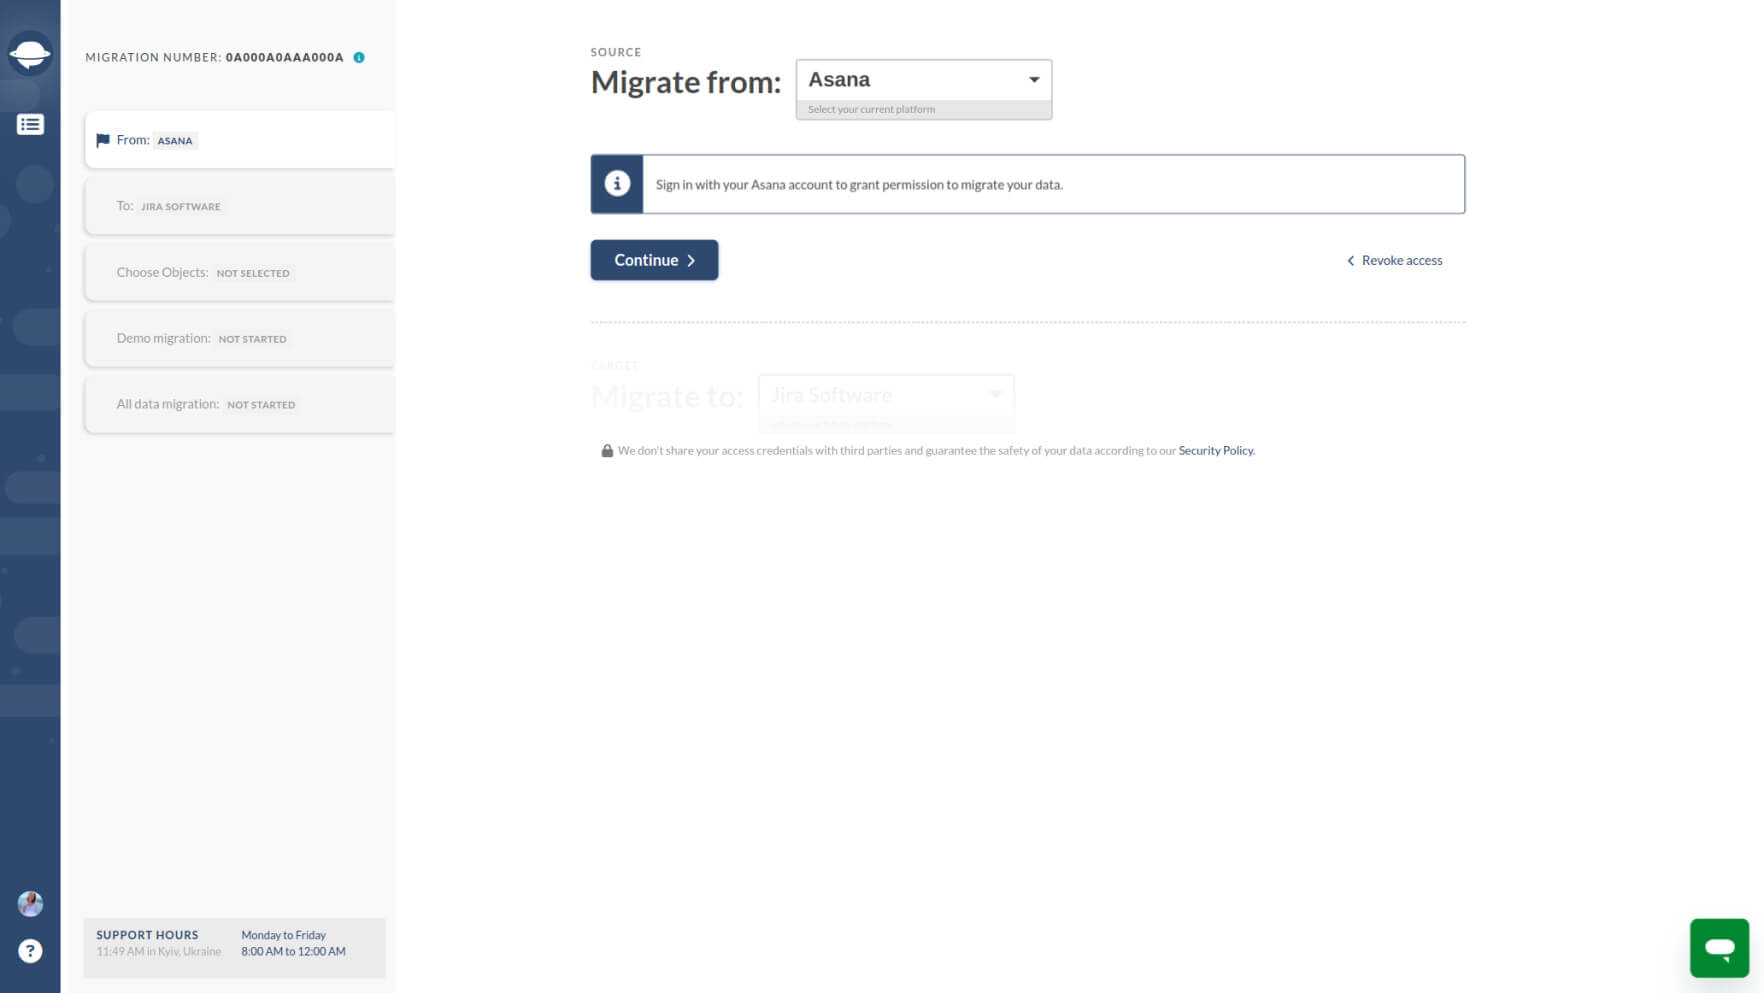
3. Choose the project management platform from which you wish to export data. Provide the necessary access credentials to establish the connection.
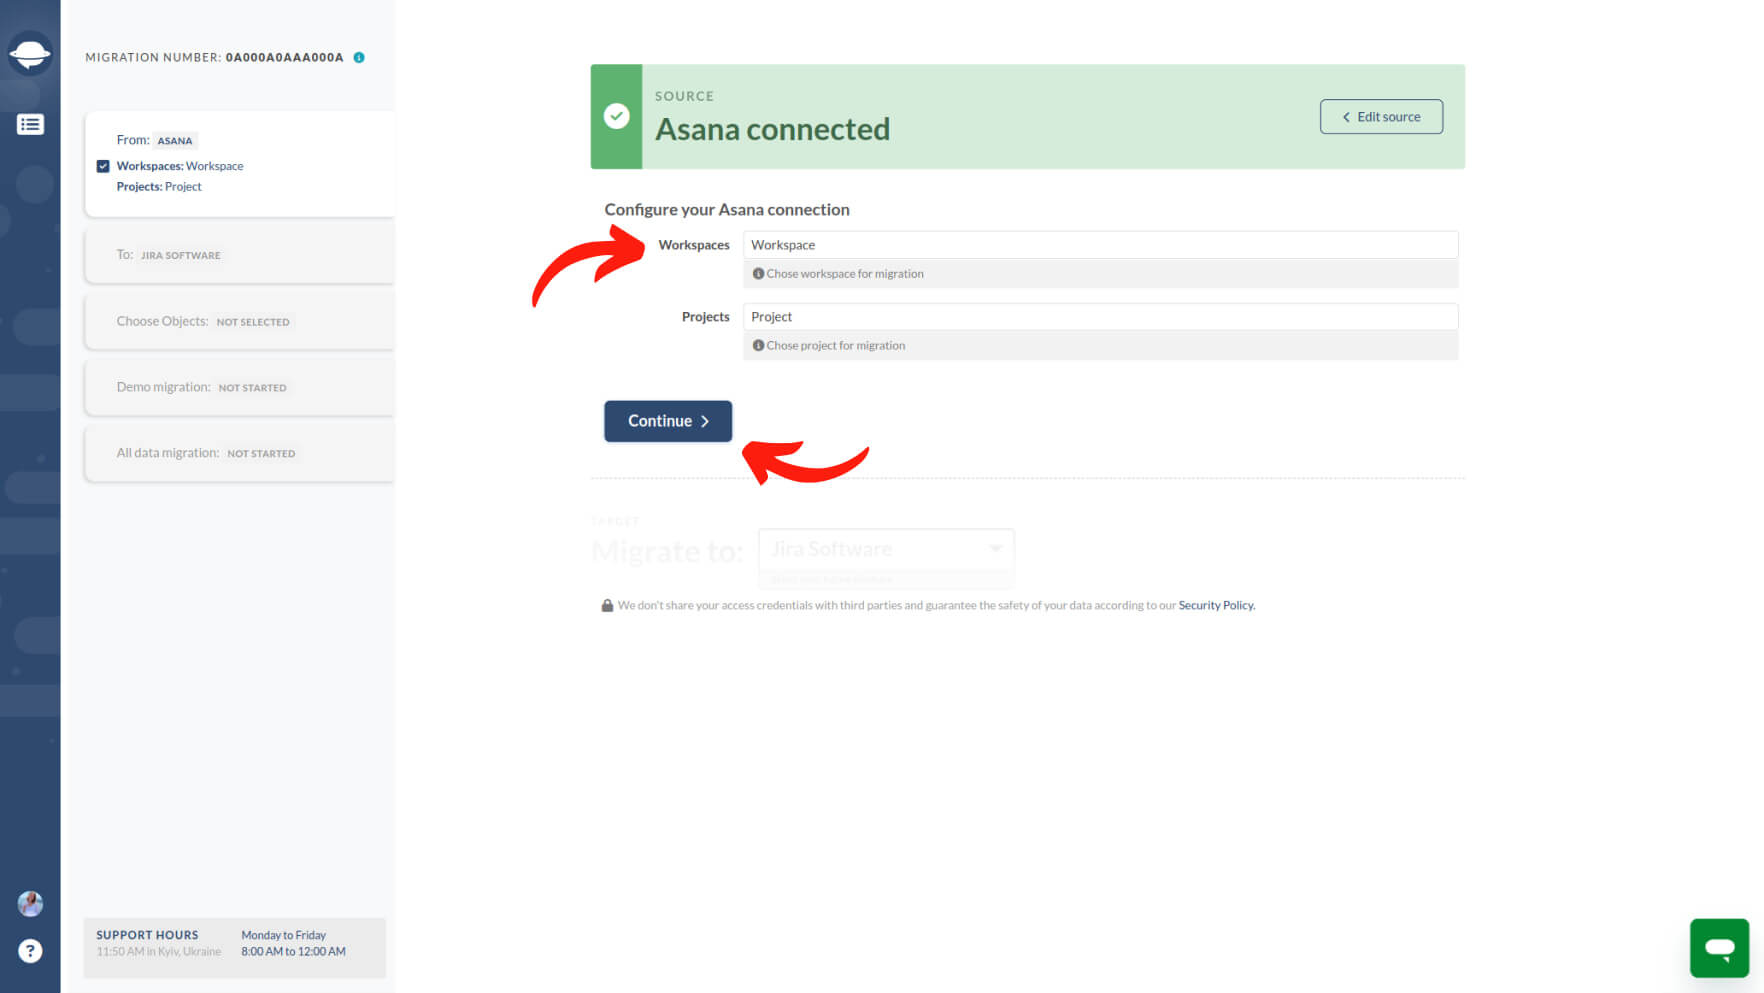
4. It's time to select the project or workspace you want to export to CSV format.
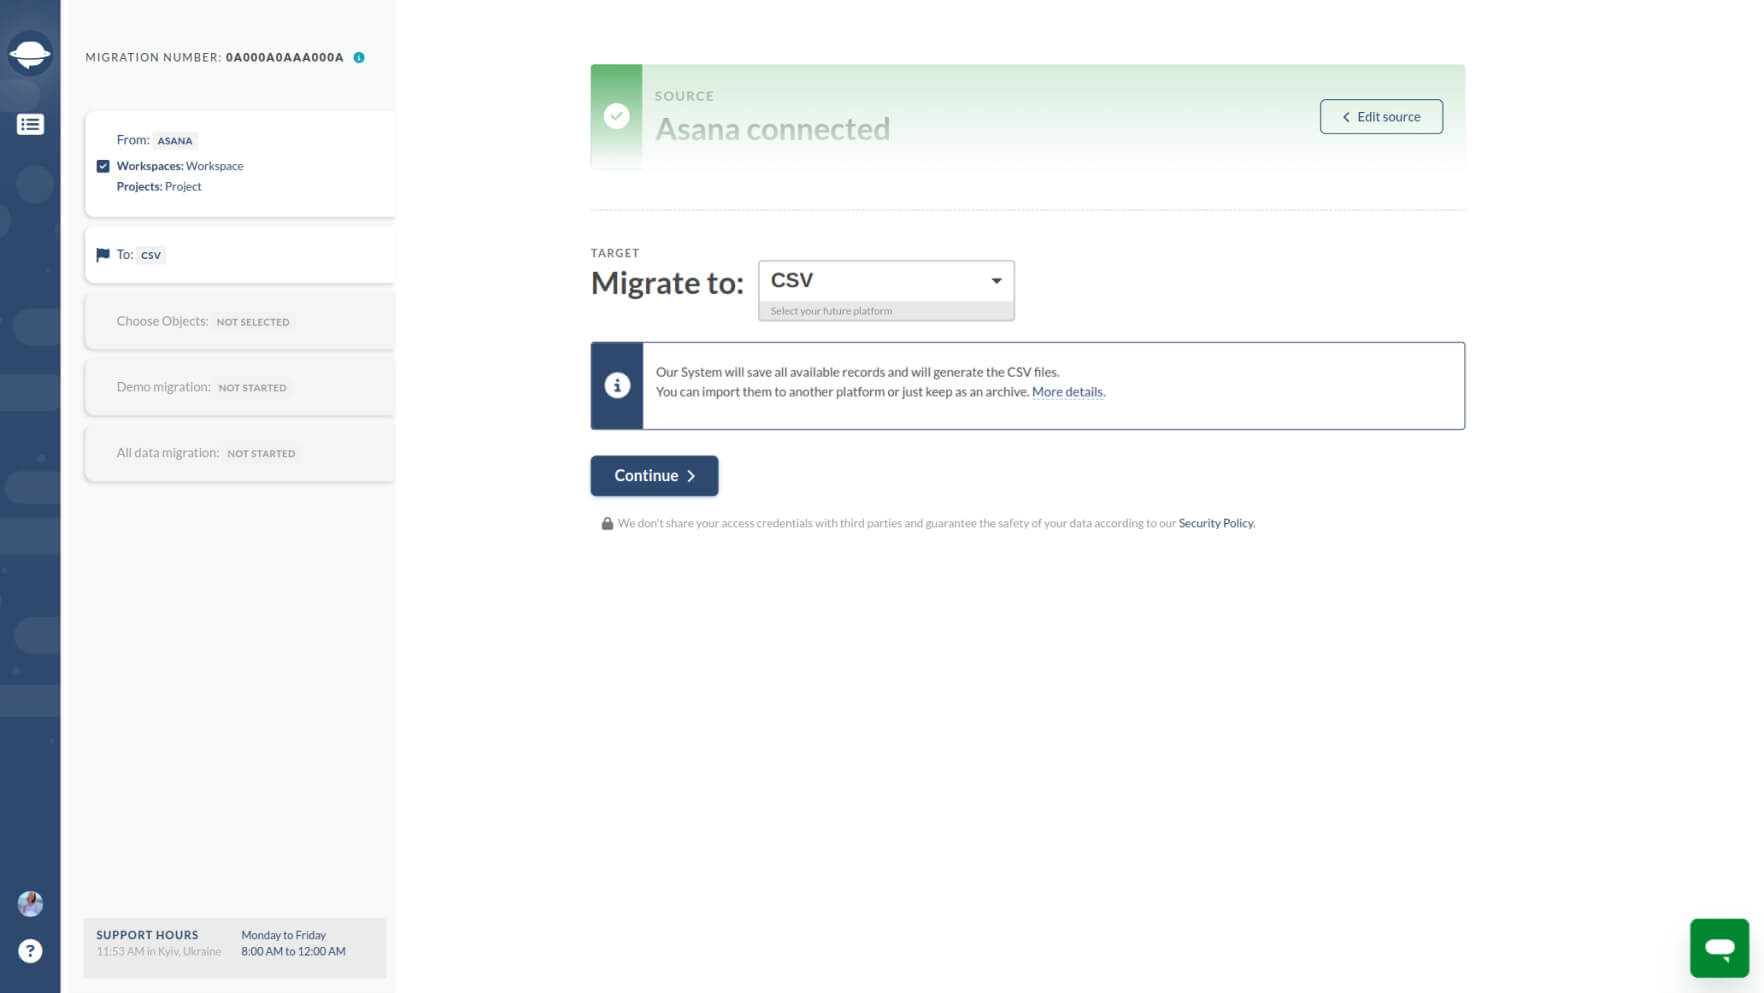
5. To make CSV your destination format, select it and click Continue.
6. Check the corresponding boxes to Indicate the records you want to export.
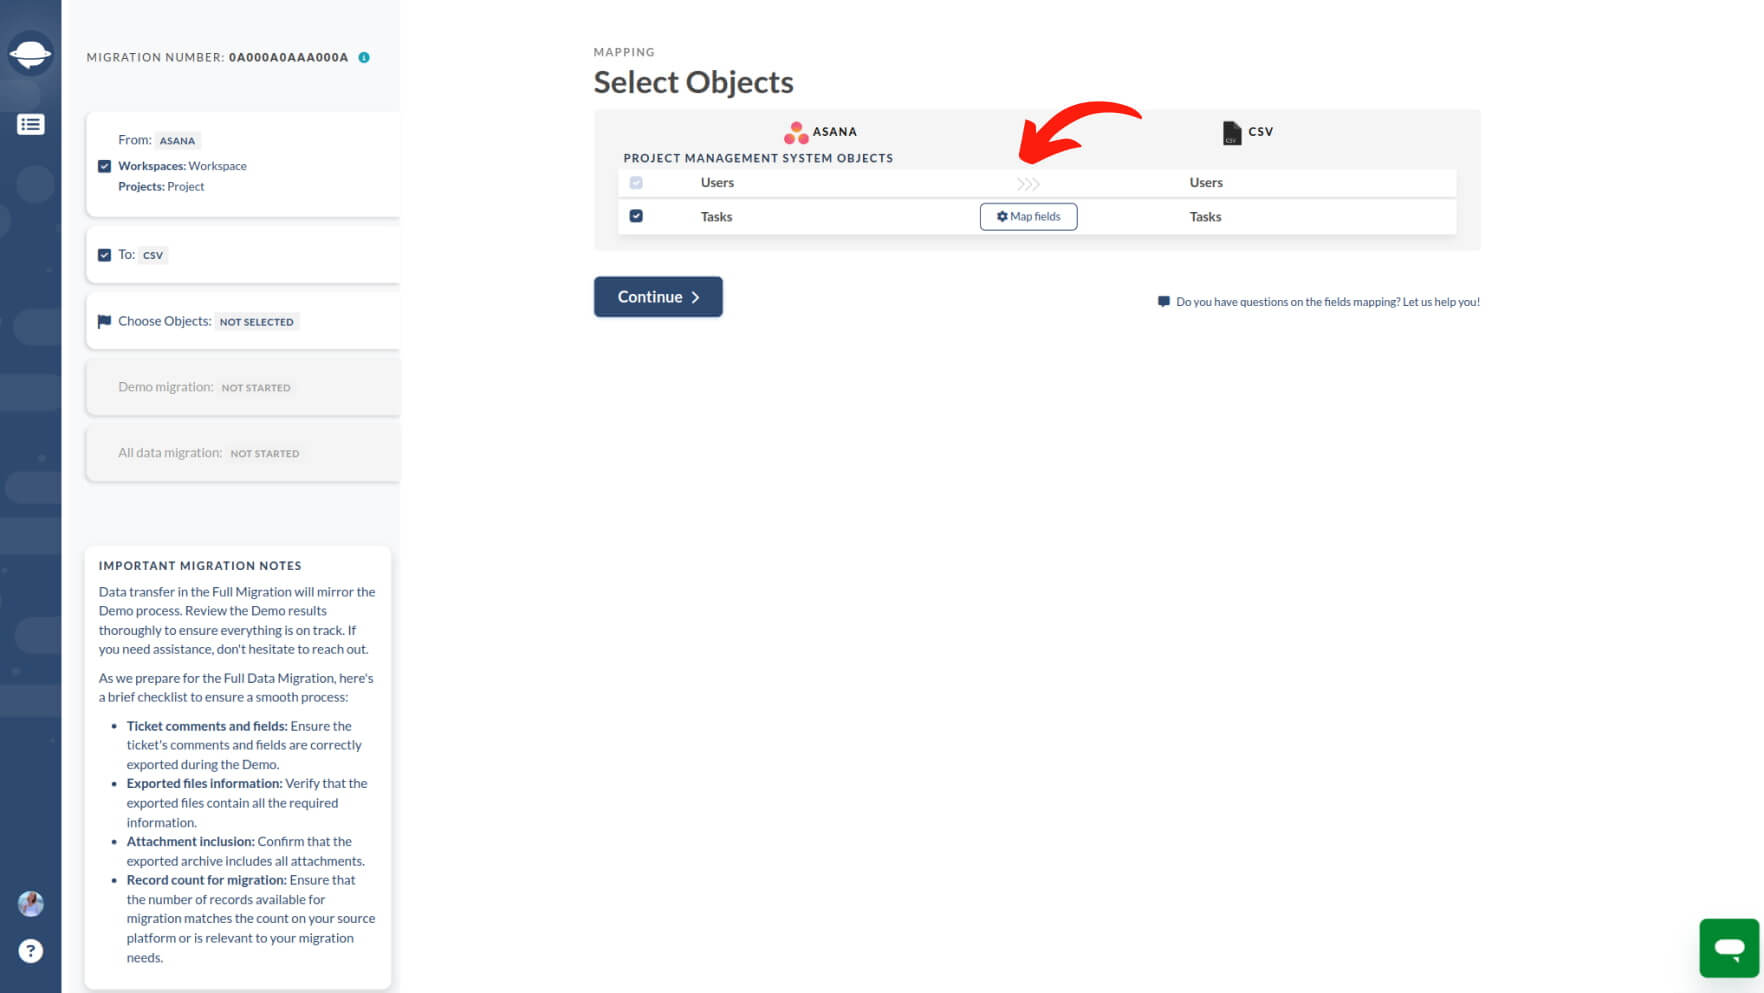
Selecting the "Task" box will prompt you to map the corresponding status fields.
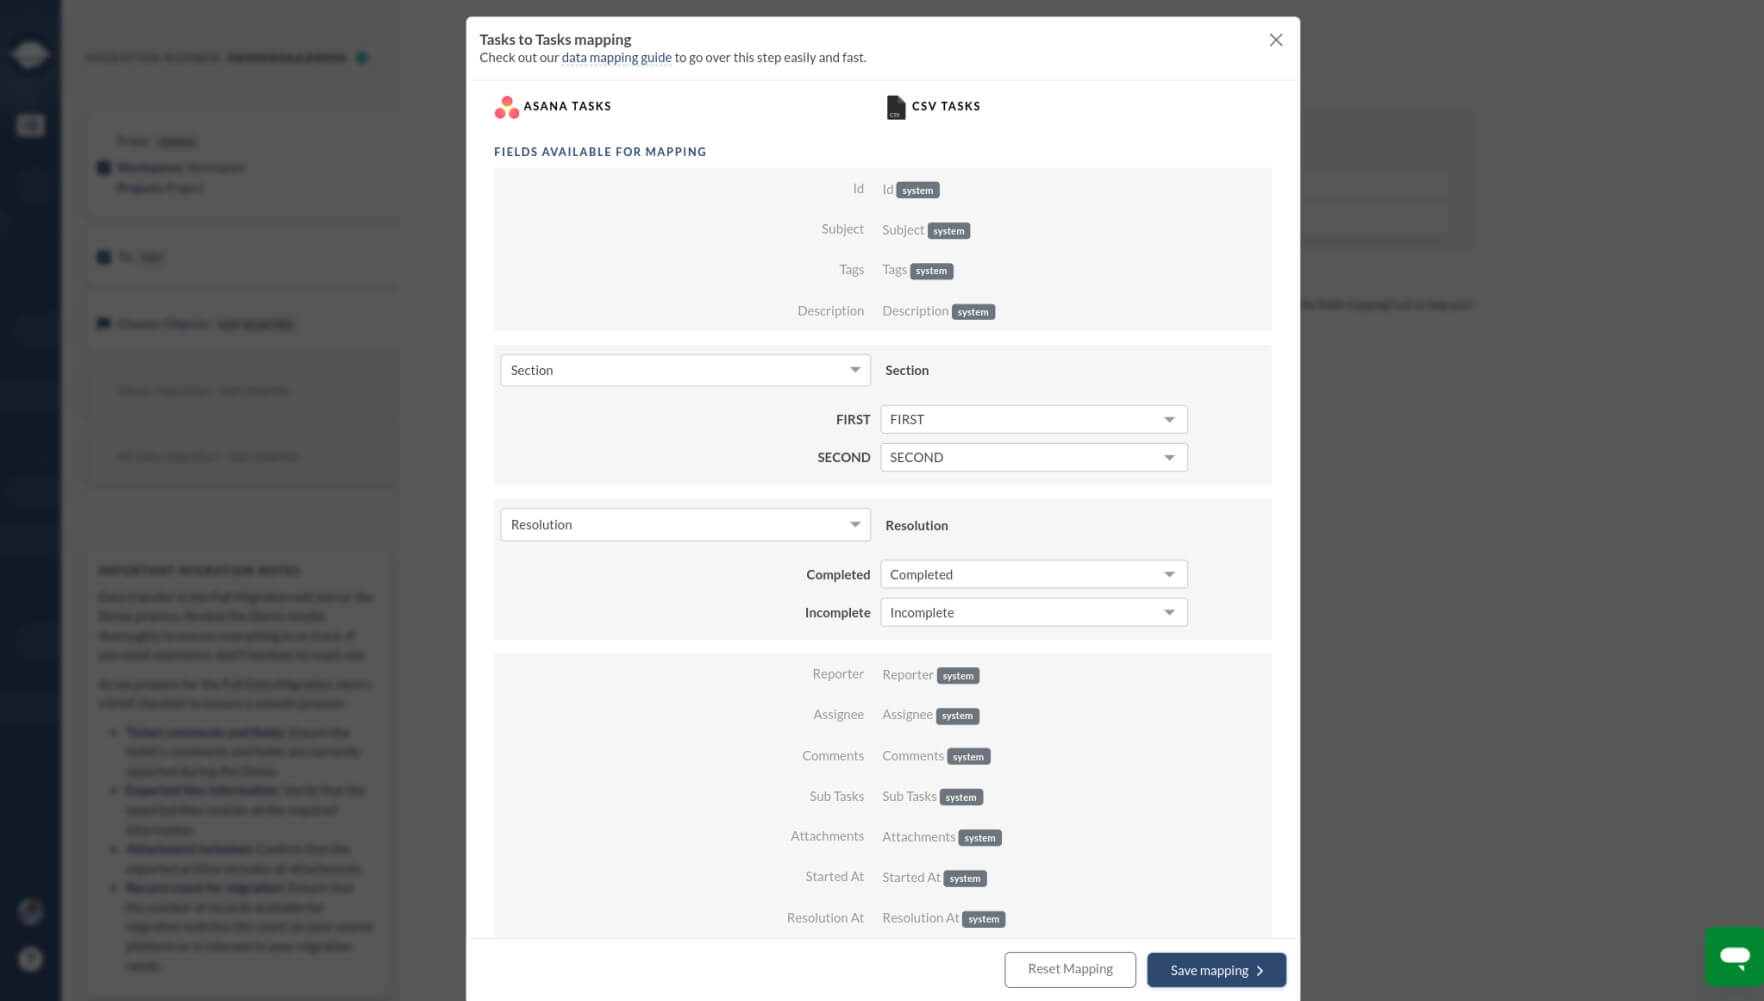
7. Save the mapping configuration and click Continue to start the Demo export.
8. As the export occurs, the Migration Wizard will generate a handy archive containing Demo results, including both Users and Tasks.
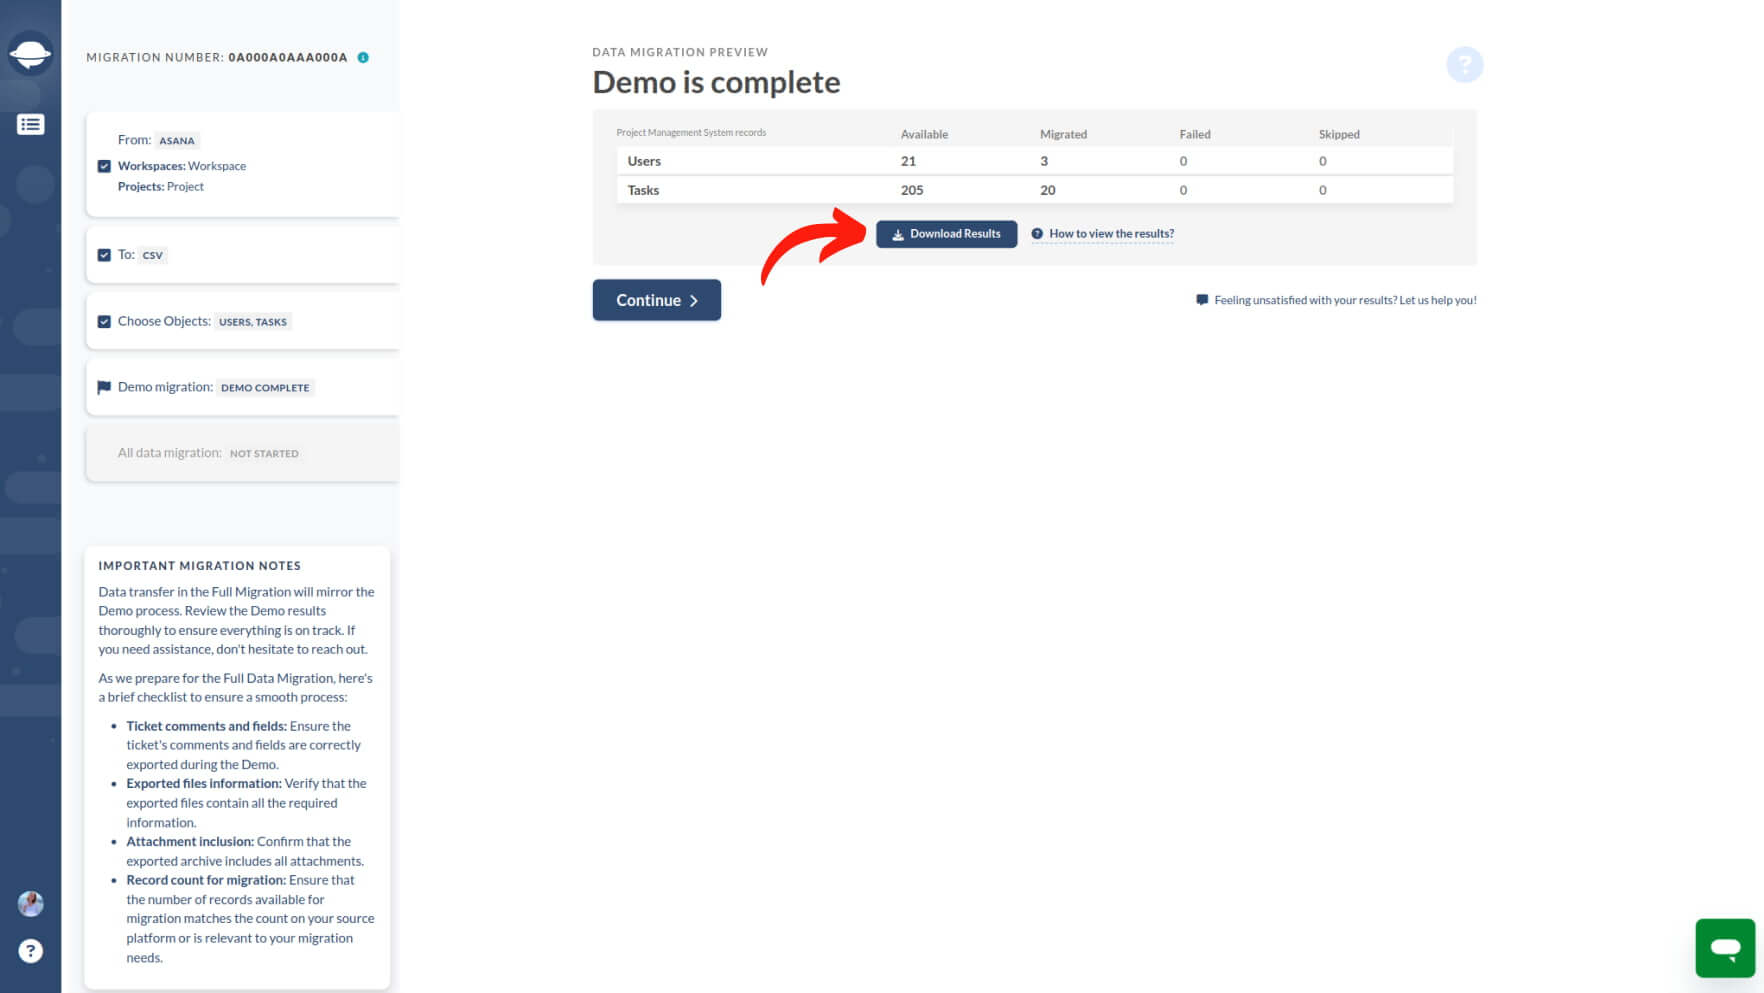
Click Demo Migration results and open the .zip file, and carefully inspect the spreadsheet files for Tasks and Users. Double-check the formatting and ensure all the necessary records are present. If everything looks good, you're ready to move on to the Full Data Migration.
What do you need to do during the Full Data Migration?
You can either close the tab and let the migration run automatically — an email will notify you when it's done — or log in to your account to periodically check the progress.
Once the Full Migration is completed, you can download the final files by clicking the corresponding buttons.
How to open CSV in Excel?
To open a CSV (Comma-Separated Values) file in Excel, follow this step-by-step guide:
- Open Excel: Launch Microsoft Excel on your computer.
- Go to the 'File' Menu: Click on the 'File' menu located in the top-left corner of the Excel window.
- Select 'Open': Choose the 'Open' option from the menu.
- Choose the CSV file: Once you've located the CSV file, select it by clicking on it once.
- Select 'Open': Click the 'Open' button in the bottom-right corner of the window.
- Check Import Wizard (if needed): In some versions of Excel, an Import Wizard may appear. Ensure the settings match your preferences for how the data should be imported (e.g., delimiter settings if the file isn't comma-separated). Then, proceed with the 'Finish' or 'OK' button.
- CSV file in Excel: Your CSV file should now be open in Excel, displaying its contents in spreadsheet format.
Remember, if the CSV file uses a delimiter other than a comma (such as a semicolon or tab), Excel might not automatically recognize the correct format upon opening. In such cases, the Import Wizard will allow you to specify the delimiter used in the CSV file to format the data in Excel properly.
How to open CSV in Numbers?
To access CSV files in Numbers on your macOS device, follow these steps:
Save the CSV file to your device and locate it.
Right-click on the file and choose "Open With" → "Numbers."
If the file doesn't display correctly, click "Adjust Settings."

In the Import Settings dialog, select your delimiter and click "Update Table." For more advanced adjustments like file encoding (e.g., UTF-8), click on "Advanced Settings."
The file will now open as a spreadsheet in Numbers and be ready for editing.