Get ready to skyrocket your Zoho Projects export right away. No need to move your data manually or hope that you can improve your workflow with your current project management platform. Here is a handy guide to how to export data from Zoho Projects automatedly.
Take a look.
Why Should You Go for Automated Zoho Projects Export?
Data is what drives your project, and the amount of your data never stops growing. That means your data migration needs to be painless, well-planned, and automated. Especially, when you migrate from one project management system to another one entirely.
Project Management Migration service is your perfect solution because:
- It provides a cloud-based app so you can start your migration from anywhere and anytime.
- You can test the tool with the Free Demo migration and see how your data migrates.
- You reduce manual data entry and save your time.
- A straightforward interface lets you run the data migration on your own.
Zoho Projects Export List: What Data Can You Switch?
Our app supports migration of such Zoho Project data as
- Task lists
- Group for tasks
- Tasks along with comments, attachments, tags, and custom fields
- Subtasks
- “Started at”, “Due”, “Completed at”, “Created”, and “Updated” dates of tasks
- Users
Note: In case you want to customize your data migration, contact our support representatives for further details.
How to Set up Your Zoho Projects Data Migration?
1. Log in to Migration Wizard and press Start Migration.
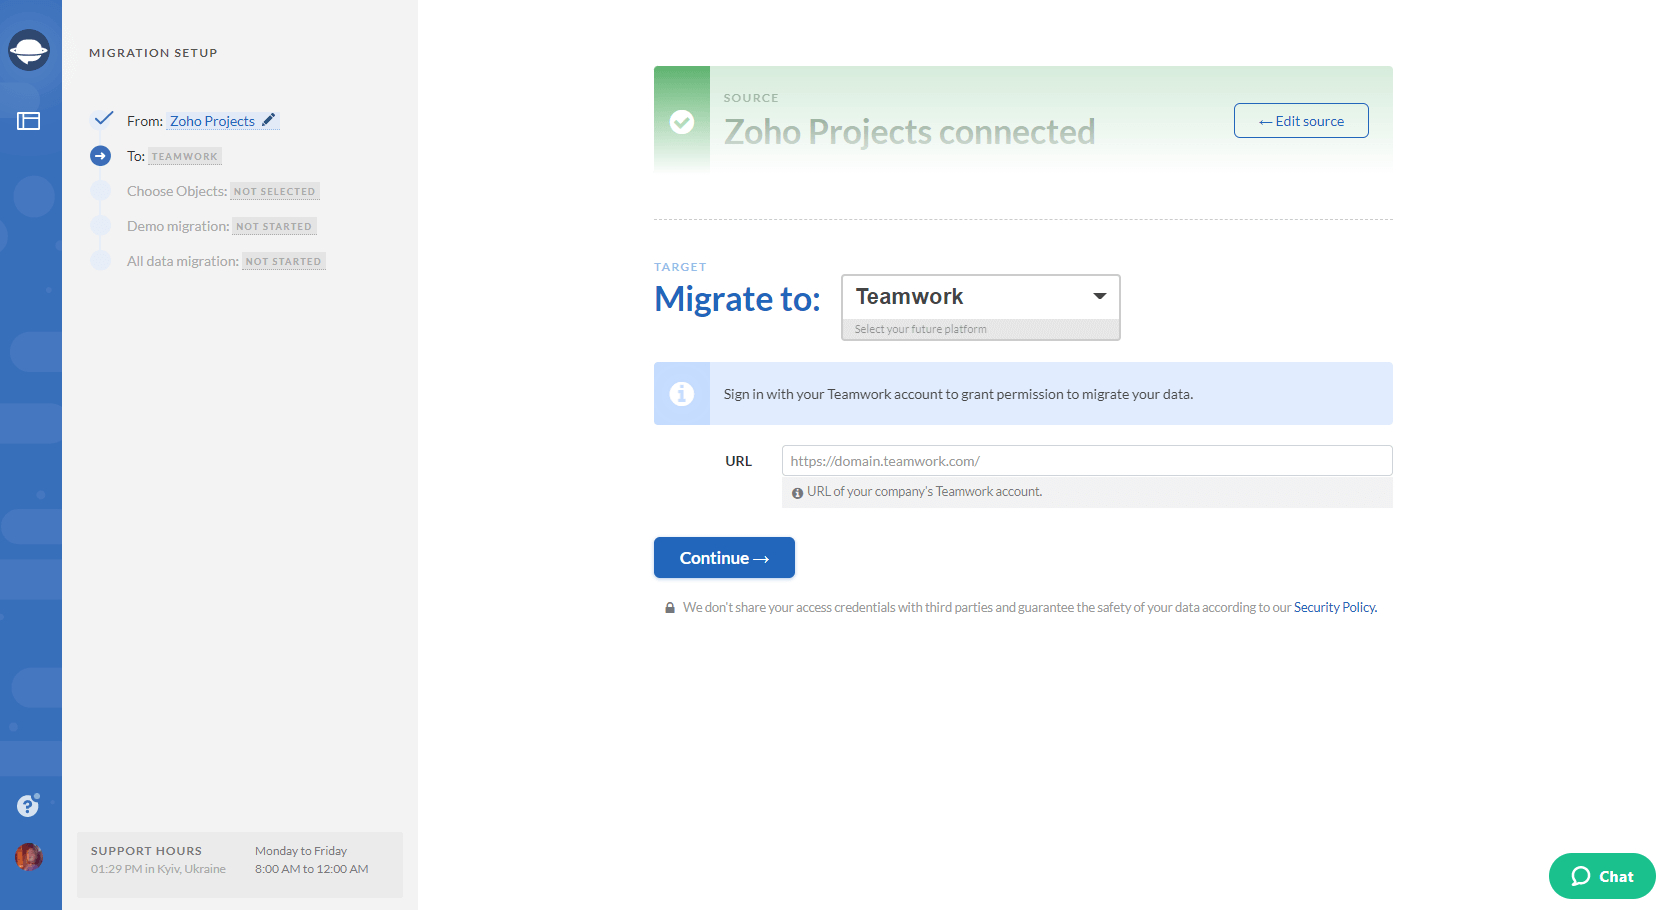
2. Pick Zoho Projects as your source project management platform and sign in with your account.
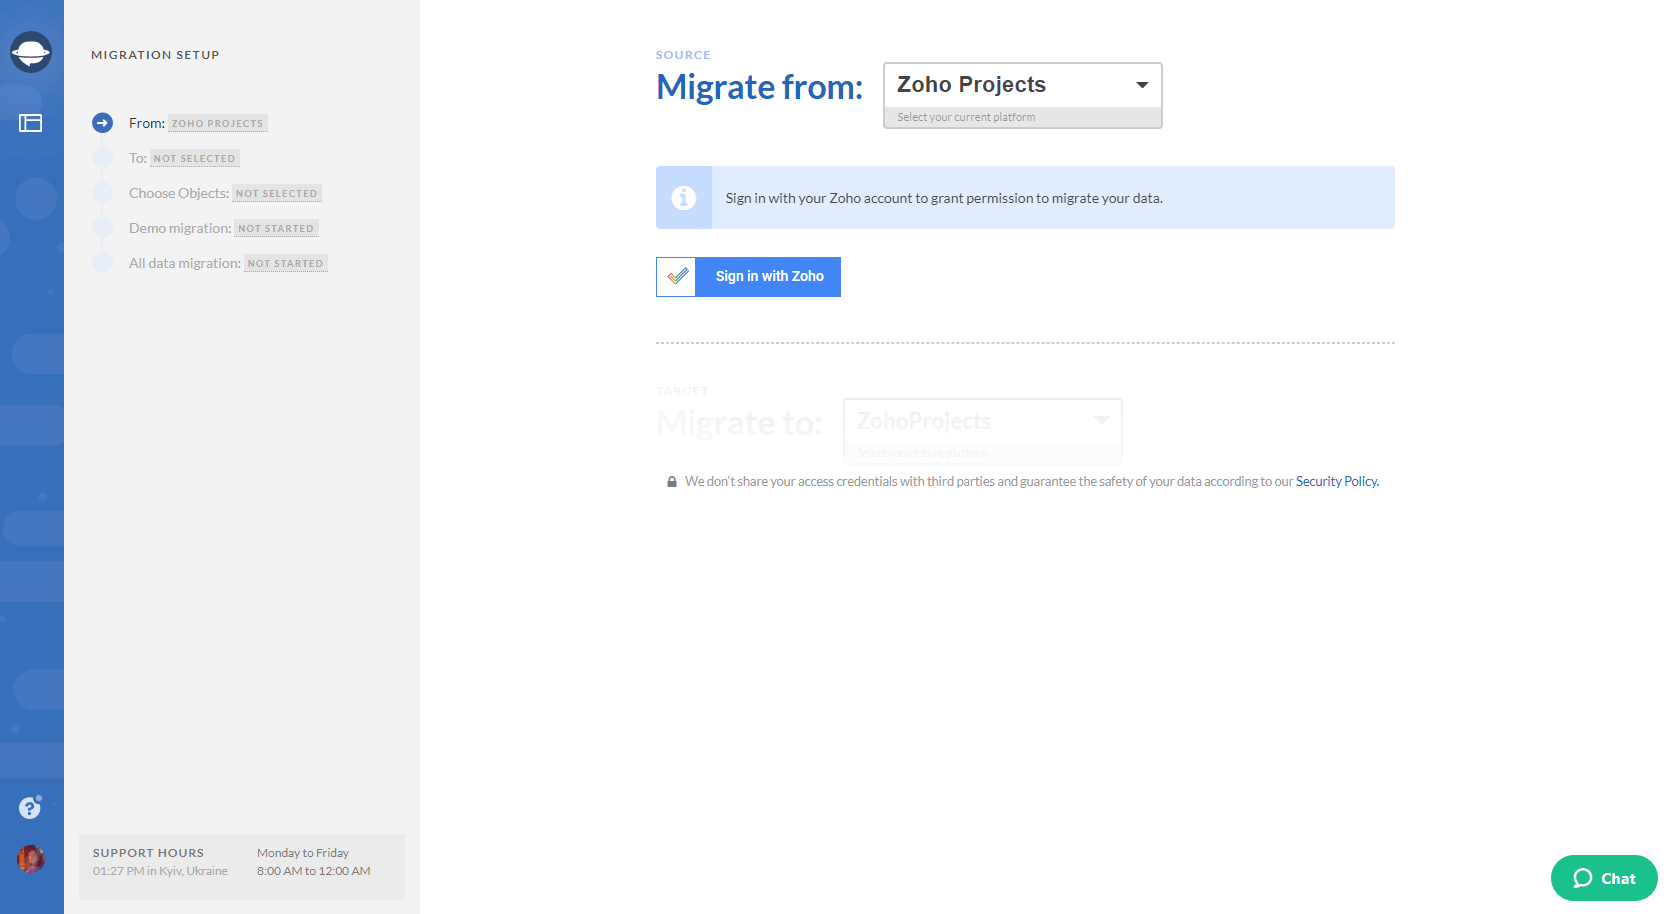
3. Configure your Zoho Projects connection by selecting the needed Portal and Project.
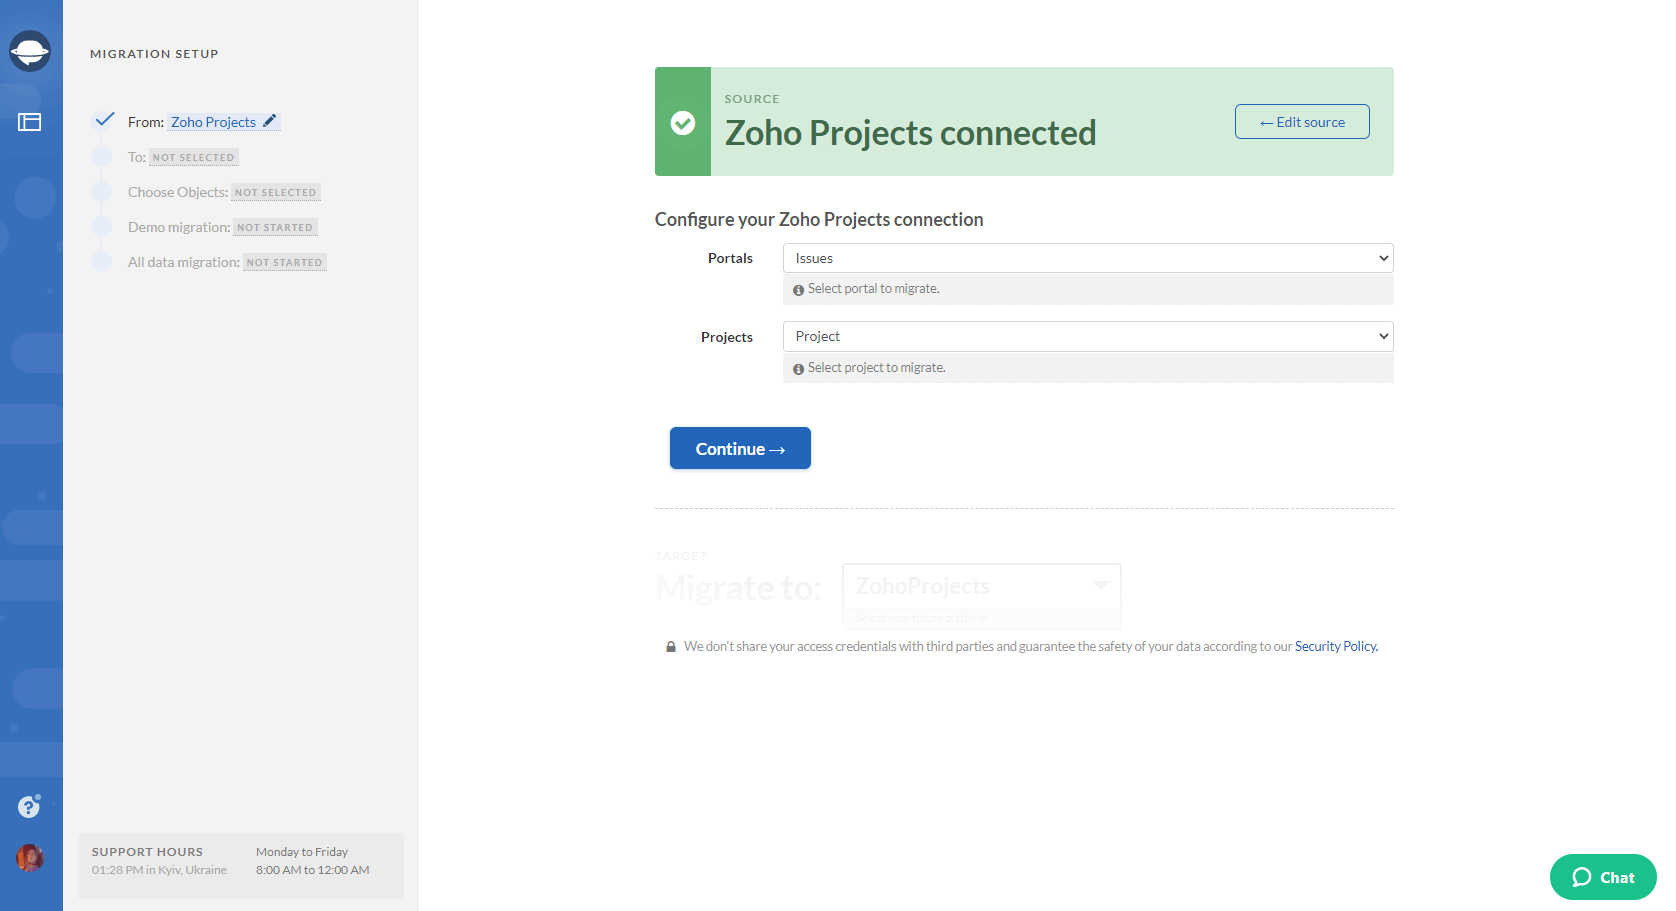
4. Choose your target project management platform and fill in the form with the access credentials.
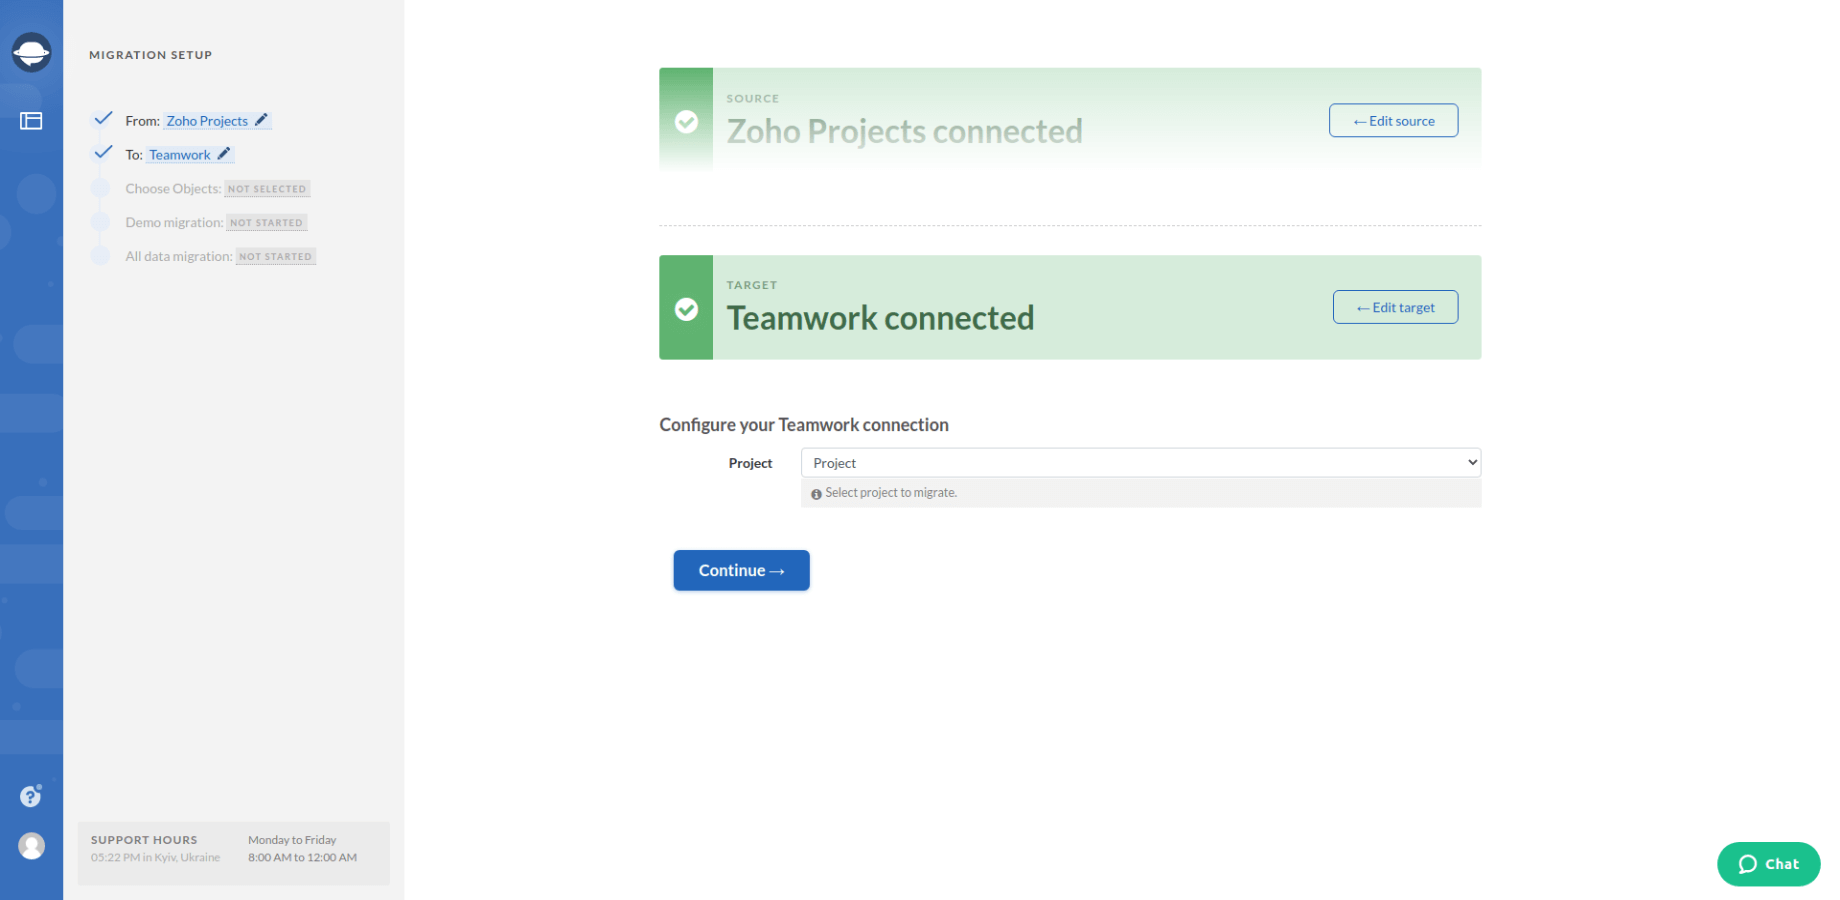
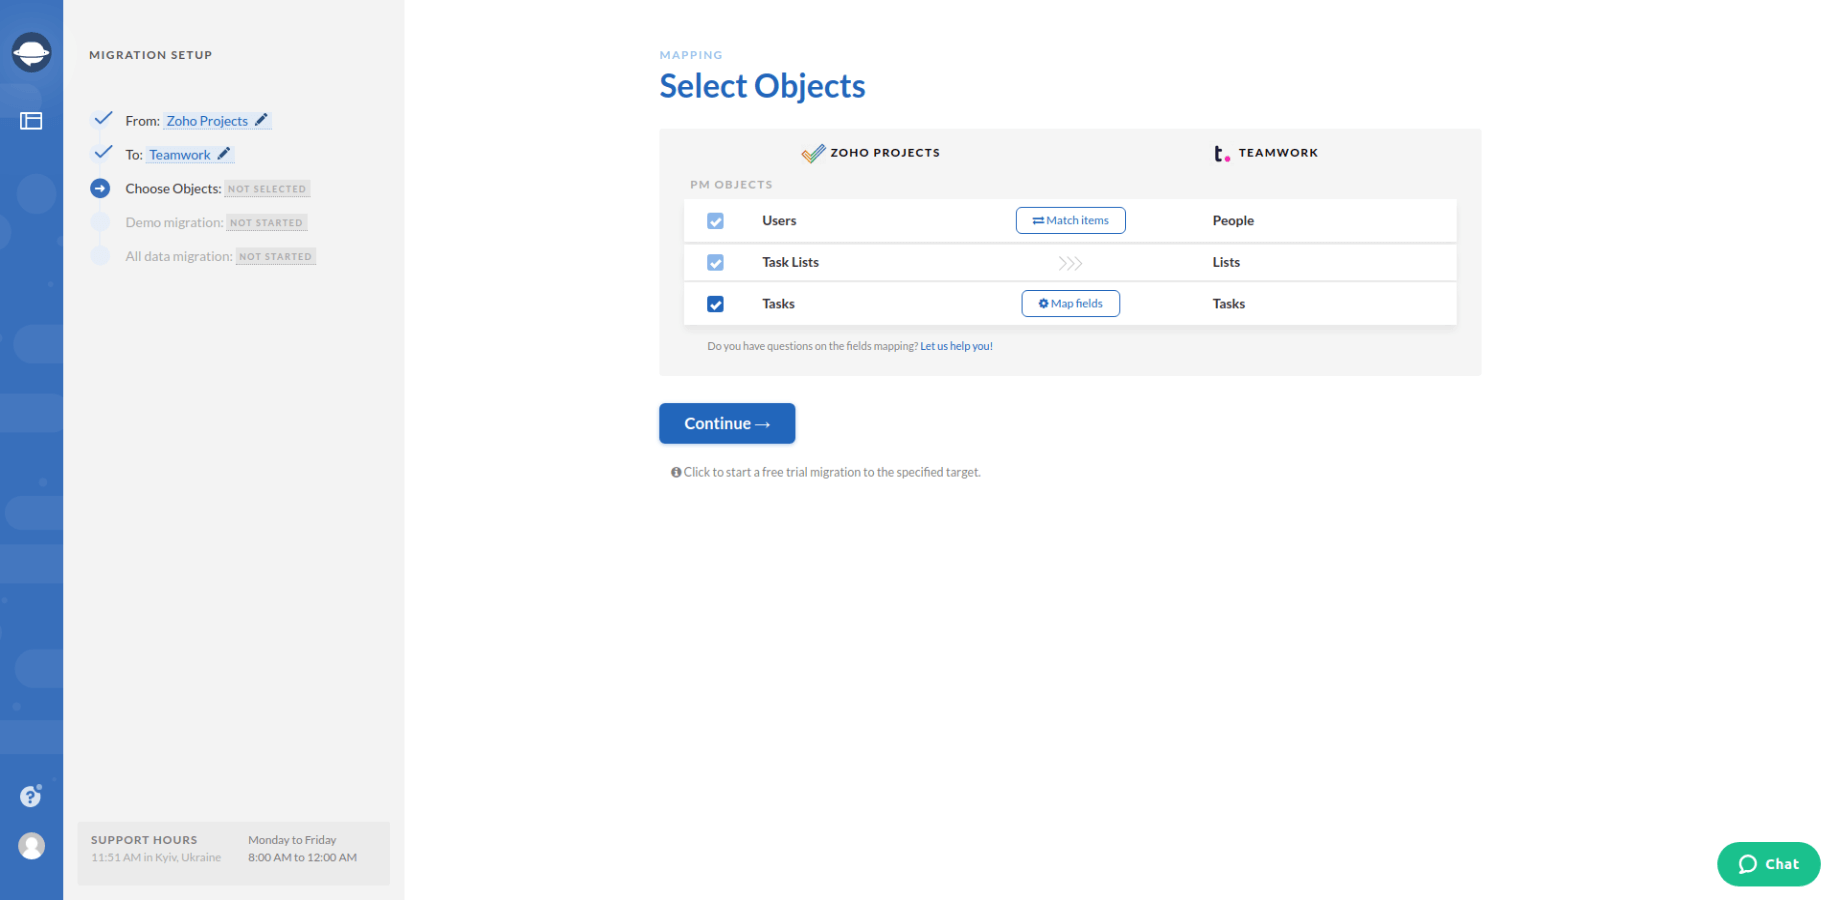
5. The next step is to select the records that you want to export from Zoho Export. Select Tasks and Migration Wizard will open a task mapping form.
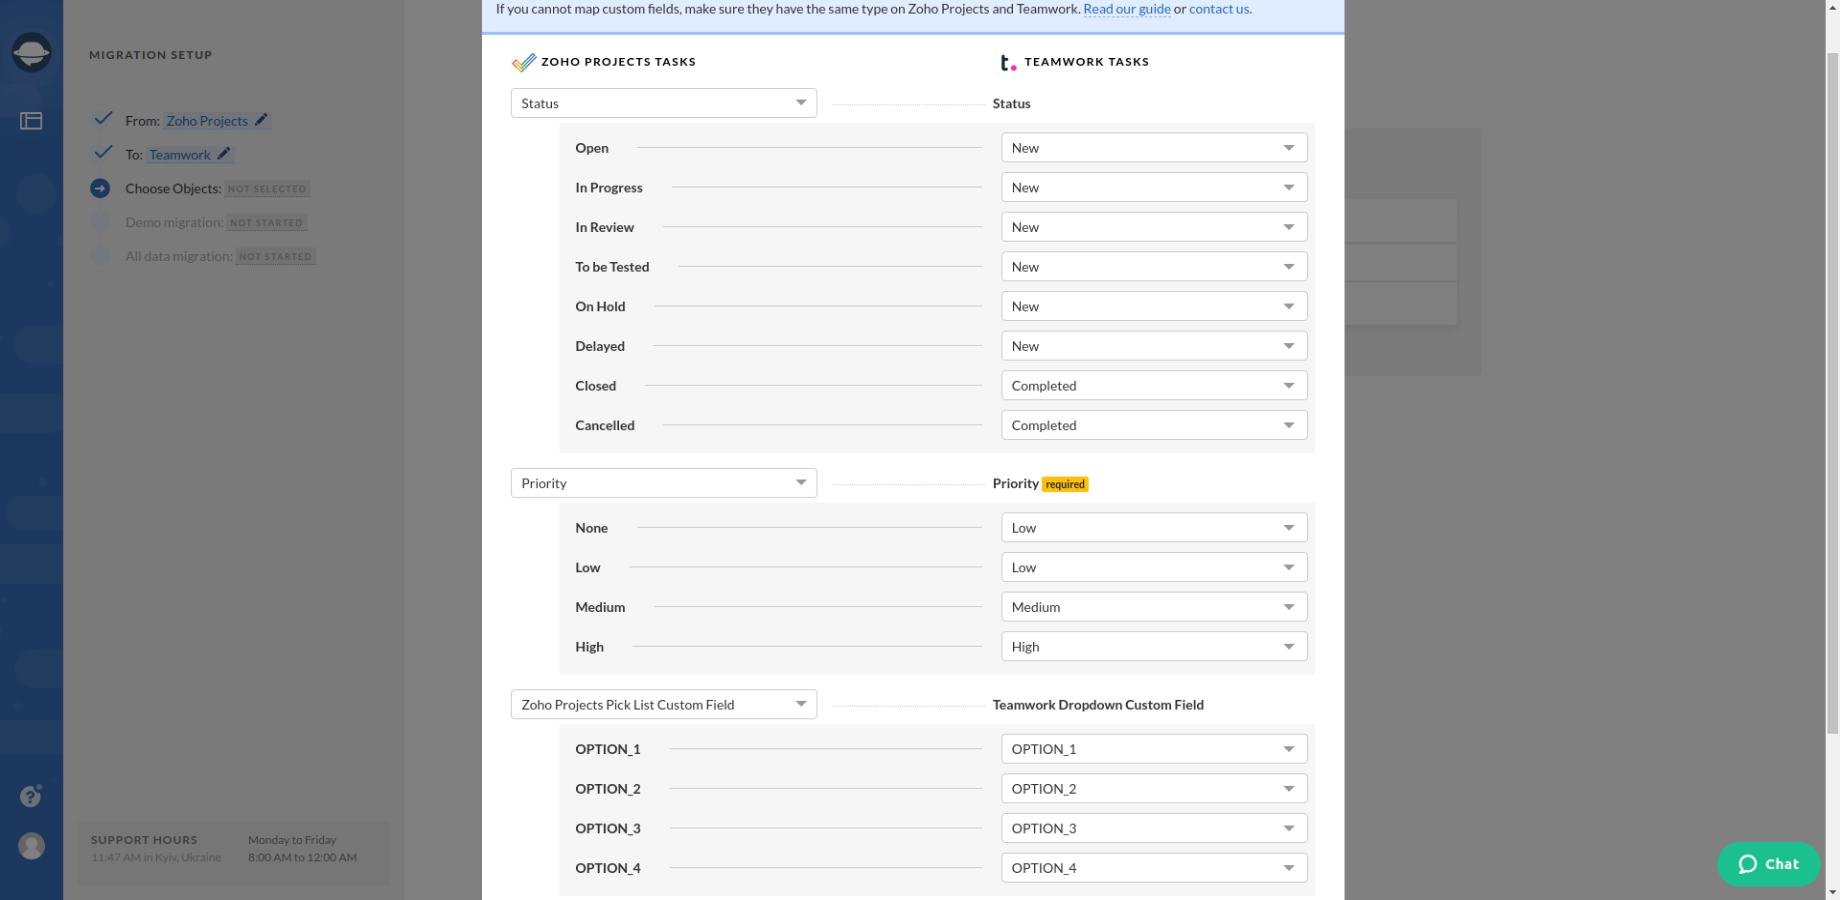
6. Set up the mapping of task fields. As soon as you’ve matched all values, click on Save mapping.
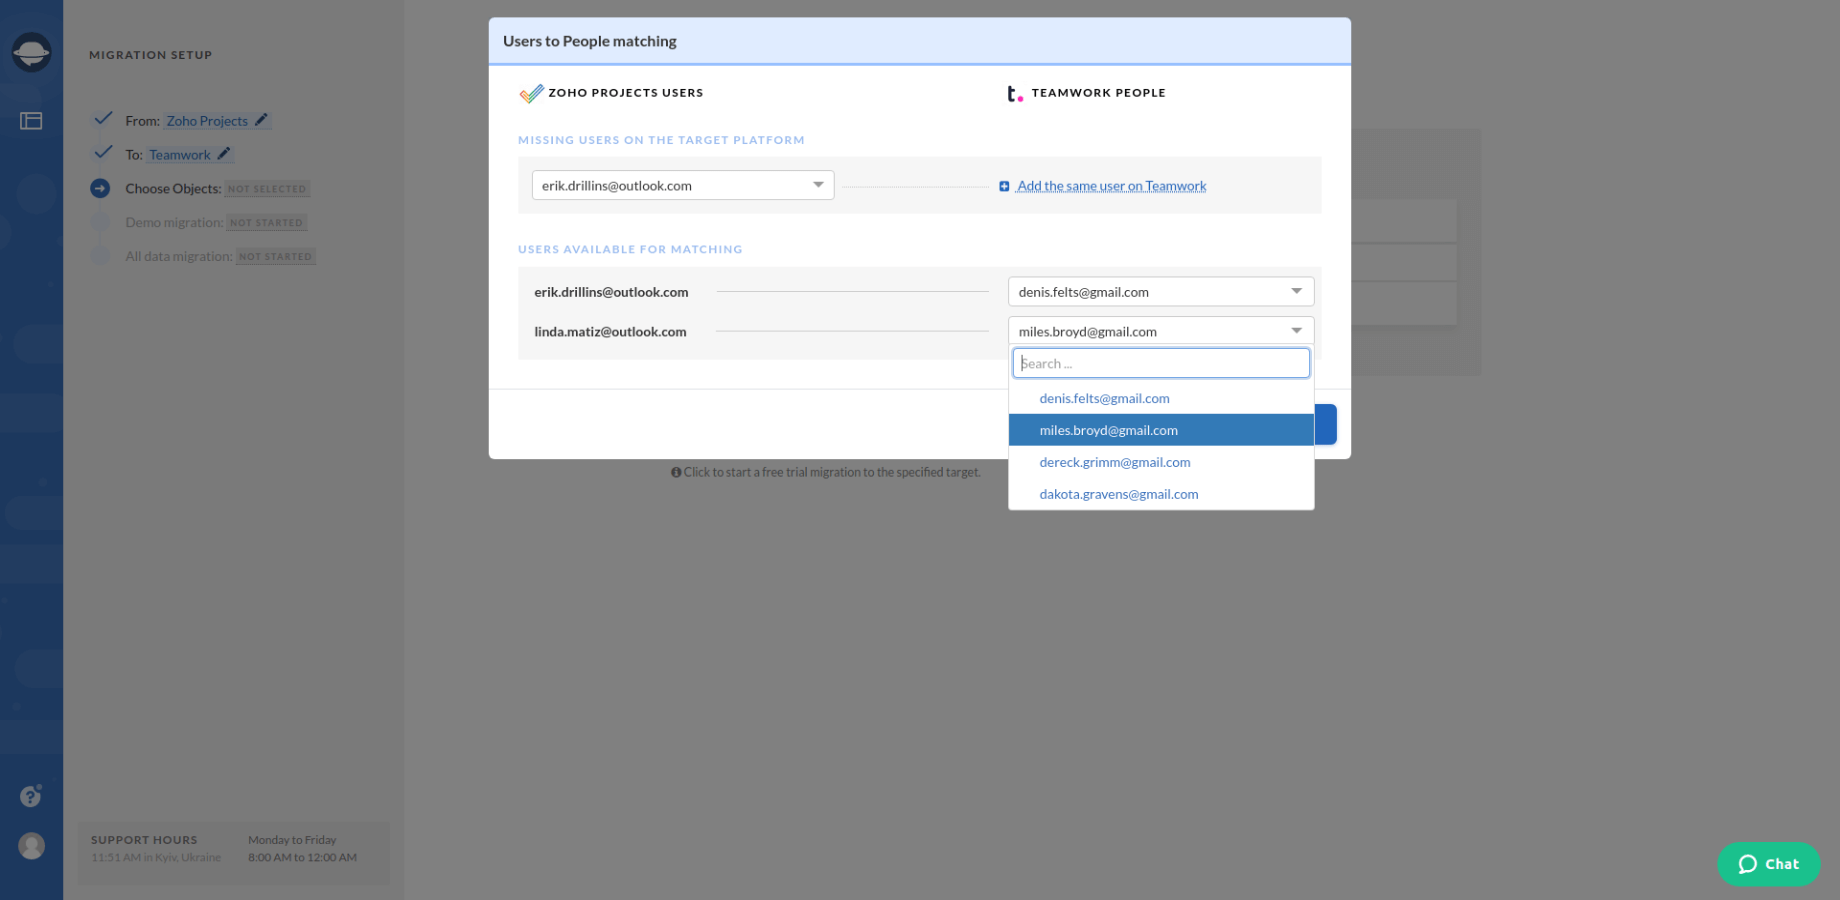
7, When Task mapping is done, move on to user matching. Click the Match items button and match users between the systems.
8. When you’ve completed all steps, start a Free Demo migration and see if your data migrates correctly. You can check the results of a Free Demo by pressing on the Download report next to users, task lists, and tasks.
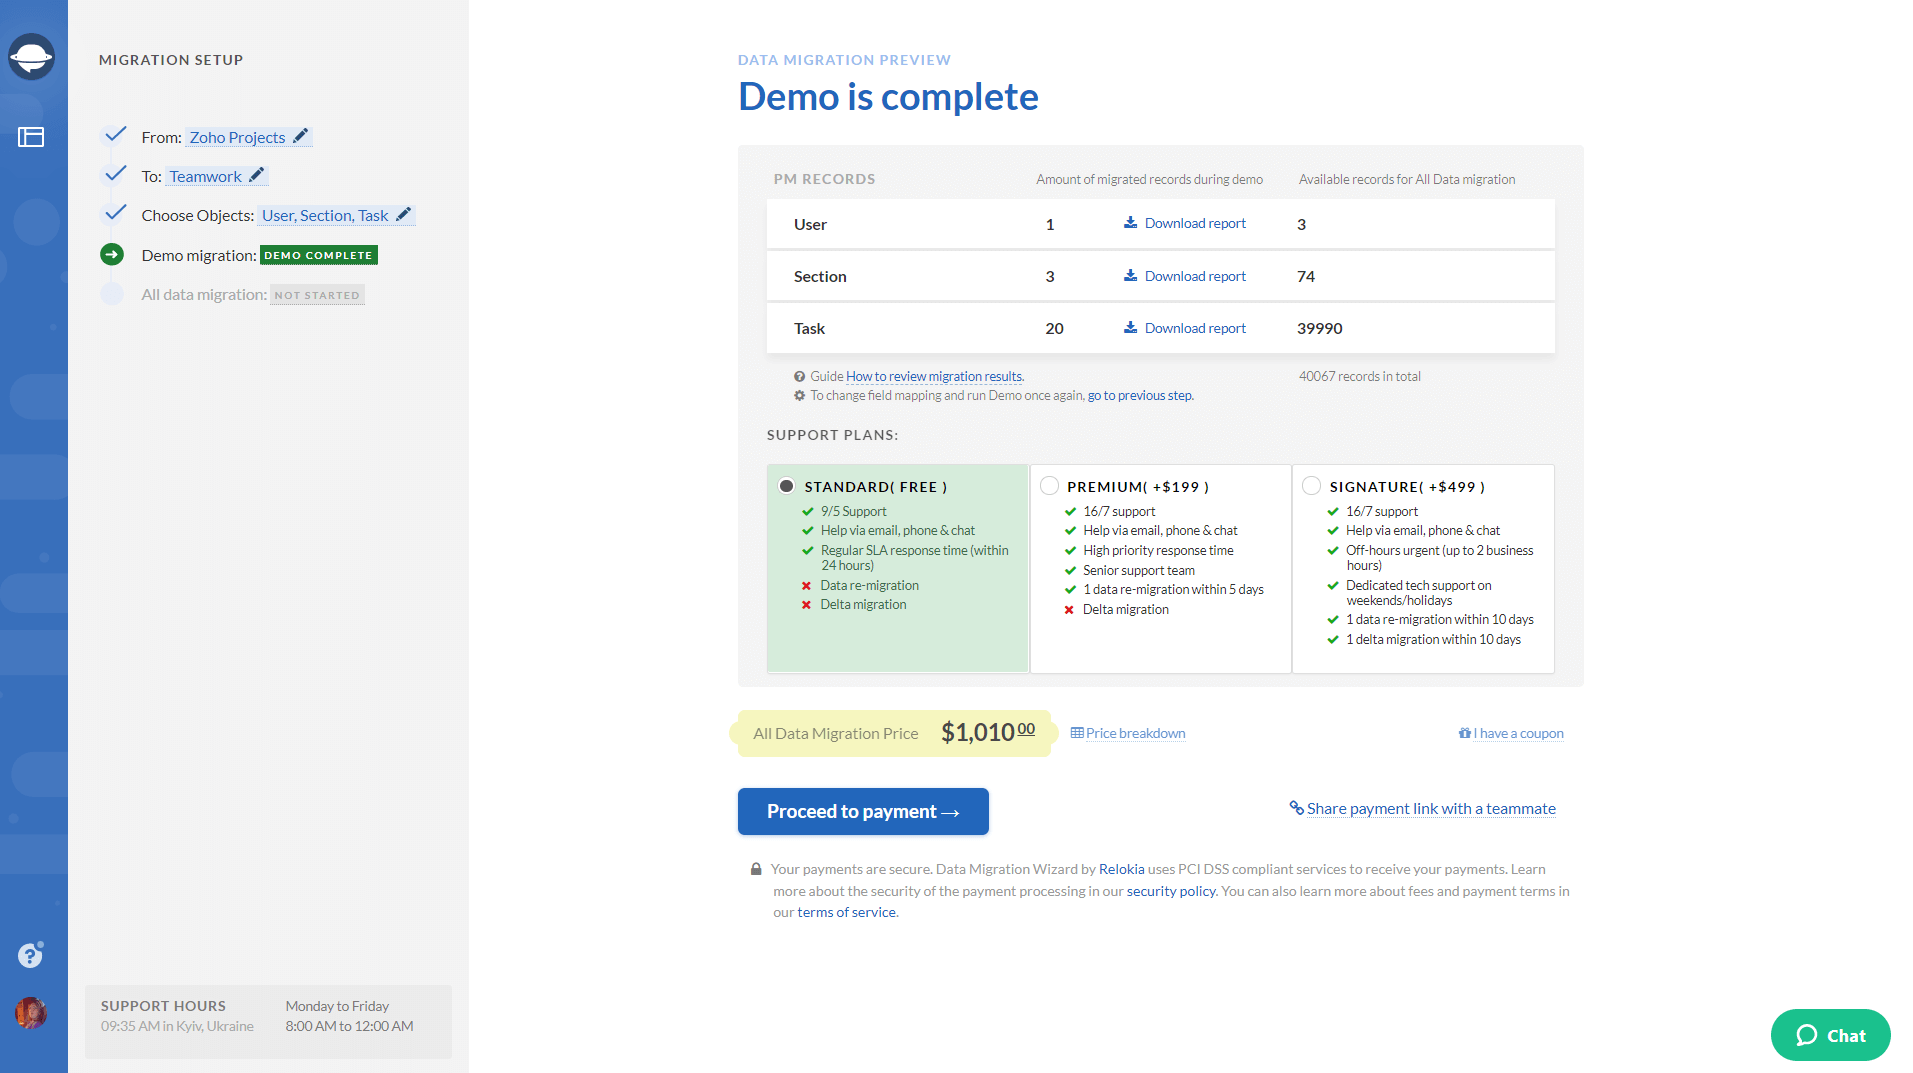
10. Perform the Full Data Migration or schedule it if you are satisfied with the results of your Free Demo migration.
Note: In case any questions appear before/during/after the data migration, drop a line to our support team.
Final Steps
To launch your Zoho Projects export successfully, double-check the following aspects:
- Ensure you’ve created your account on your target platform. If you still haven’t made your choice, you can look through the list of Supported platforms on our site.
- Make sure you have access credentials to source and target platforms to enable a data transfer.
- Study the account settings on both project management systems. You need to have admin rights to run a data migration.
Switching to a new project management system is a tough task, but with all this information you can do it just like that. So, if you consider Zoho Projects data export right now or want to schedule one, Project Management Migration is at your service.
