Still think that the data migration process is unbearably difficult, expensive, and time-consuming? Well, it means that you haven’t tried Migration Wizard yet. From now on, you can set up the transferring process on your own with the help of an automated data migration tool. Keep reading this article for more details.
Migration Wizard tool in a nutshell
Migration Wizard is a tool that, as its title suggests, can truly add some magic to your data migration process. Being fully automated and intuitive, it allows you to transfer your records from one platform to another on your own and without any exceptional technical knowledge. Moreover, it’s more secure and less time-consuming if compared to migrating your data in a manual way.
In other words, the Migration Wizard tool will help you to migrate your data from one platform to another in an automated and user-friendly way. Check how to set up the transferring process in the step-by-step instruction below.
How automated data migration works
In order to set up your data migration on your own, follow these easy steps:
1. Go to Migration Wizard and sign in or log into your account.
2. Select a source of your data migration from a variety of Supported Platforms. Fill in the necessary credentials to connect it to the tool.
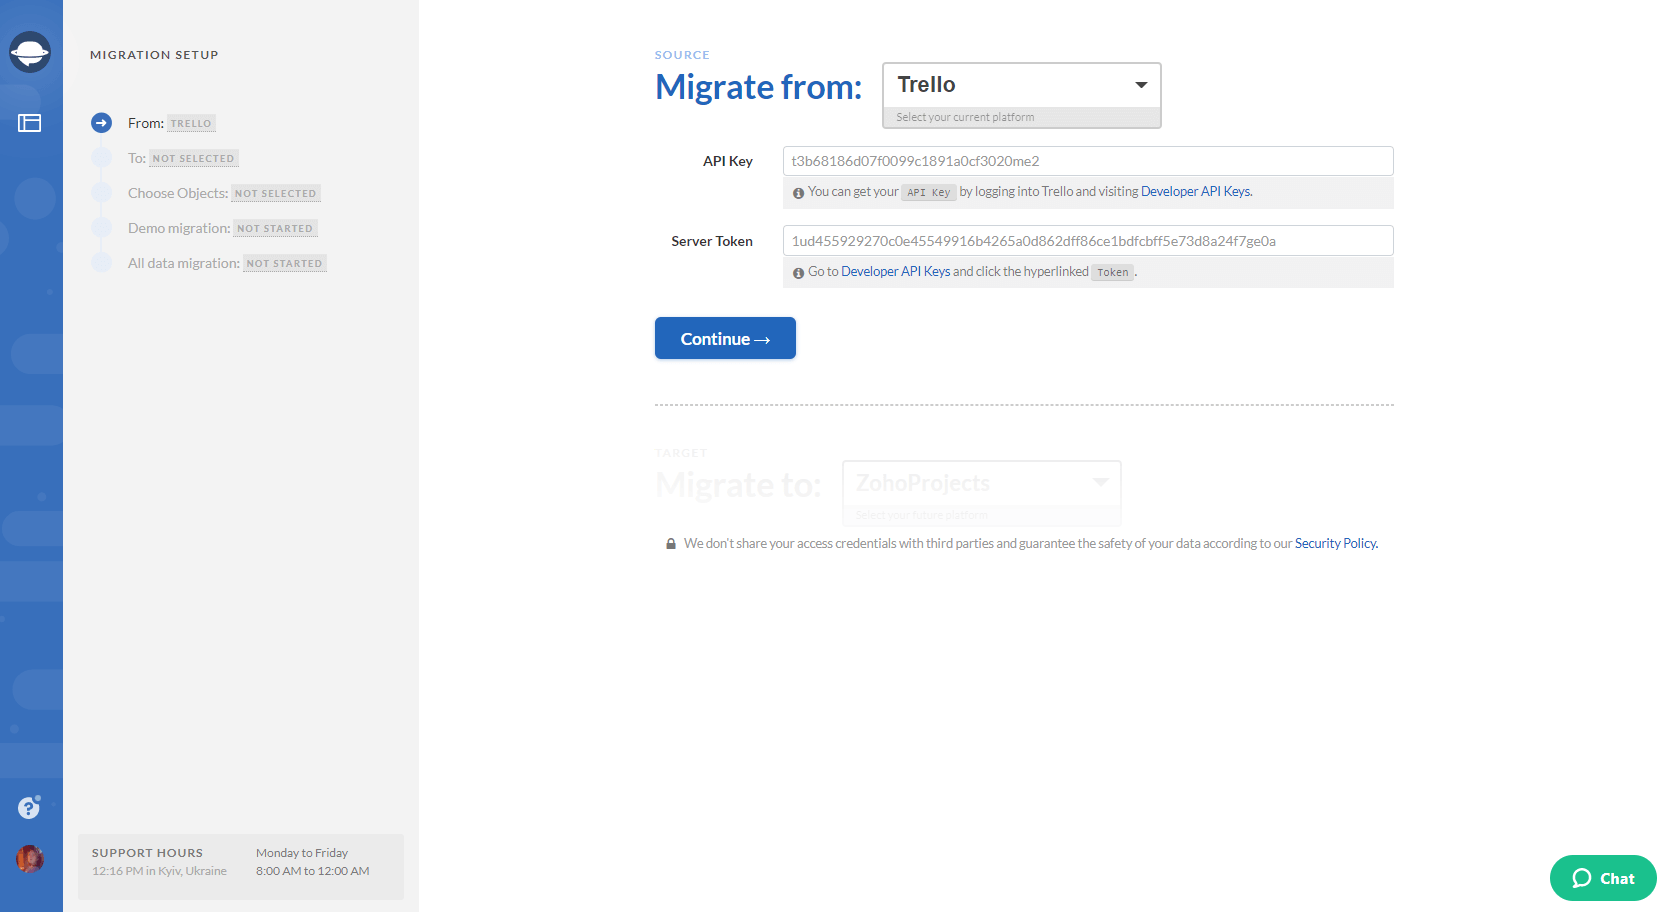
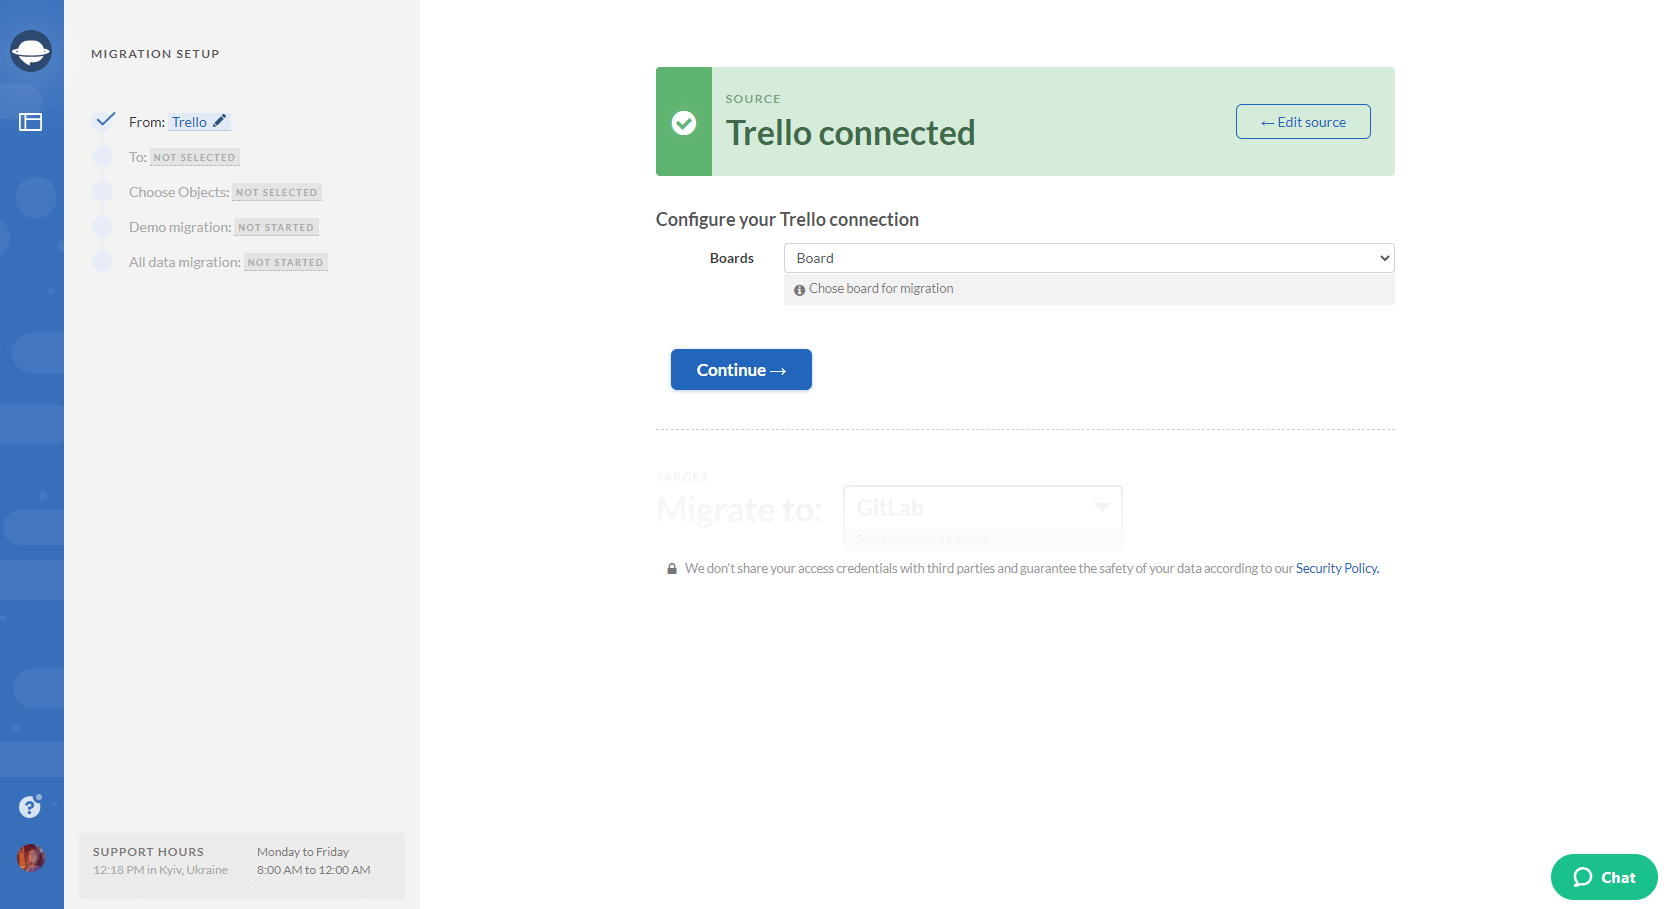
3. Similar to what you’ve just done with your source platform, select a target for your data migration and type in all the needed information to connect it to Migration Wizard.
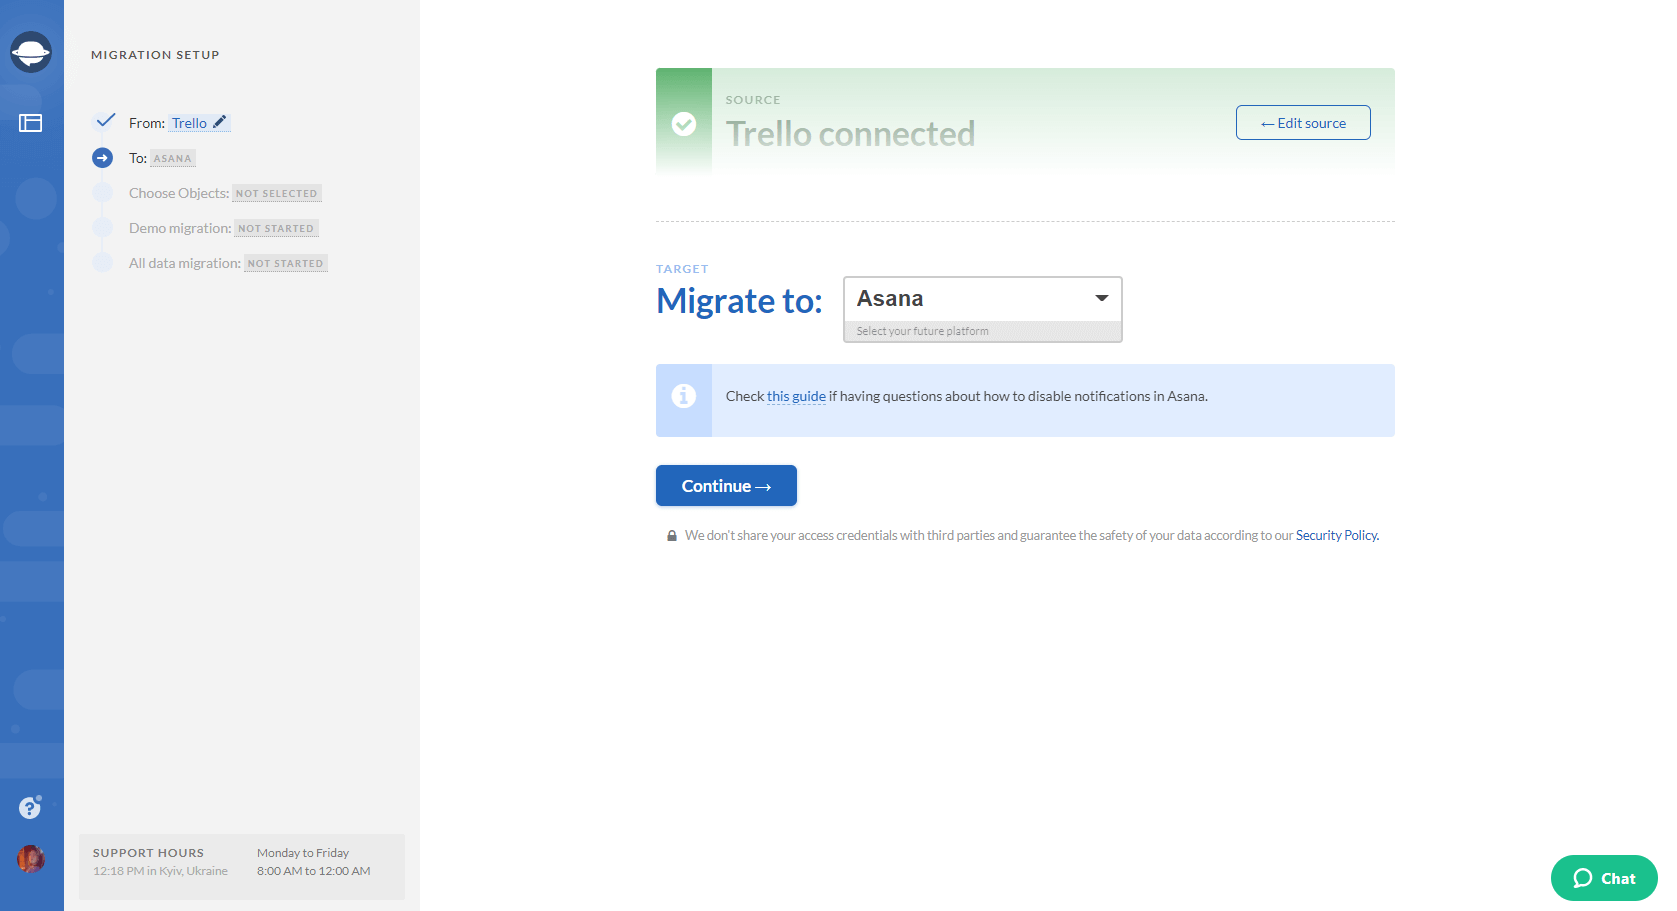
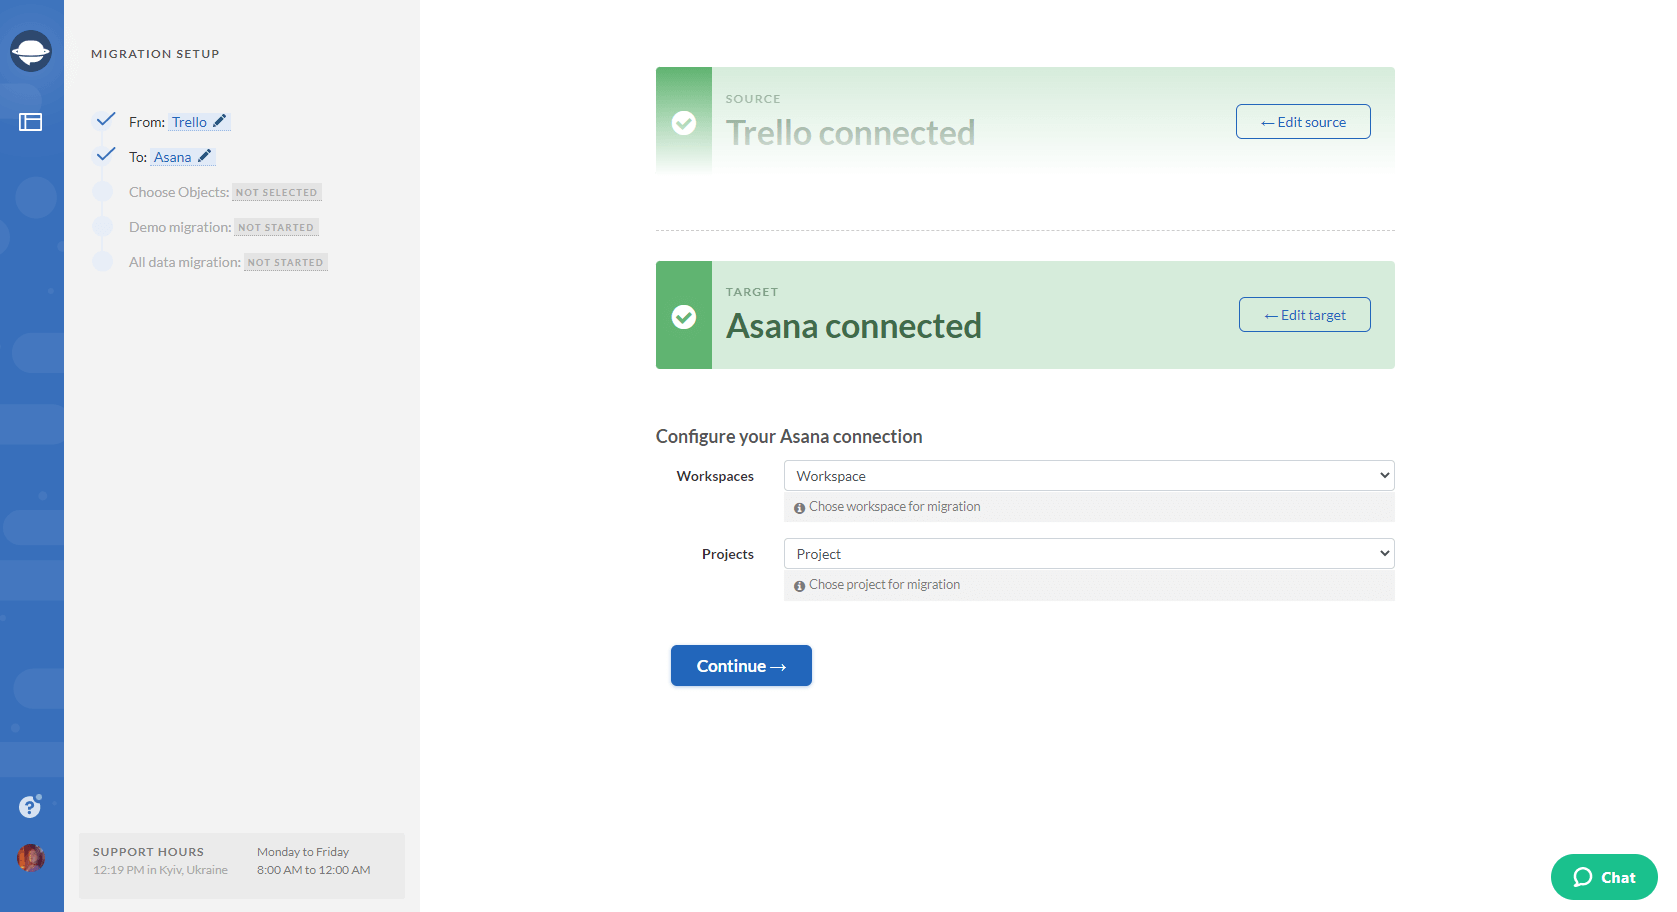
Note: If you cannot find your source or target platform in the dropdown menu of Migration Wizard, drop us a line and we’ll do our best to help you.
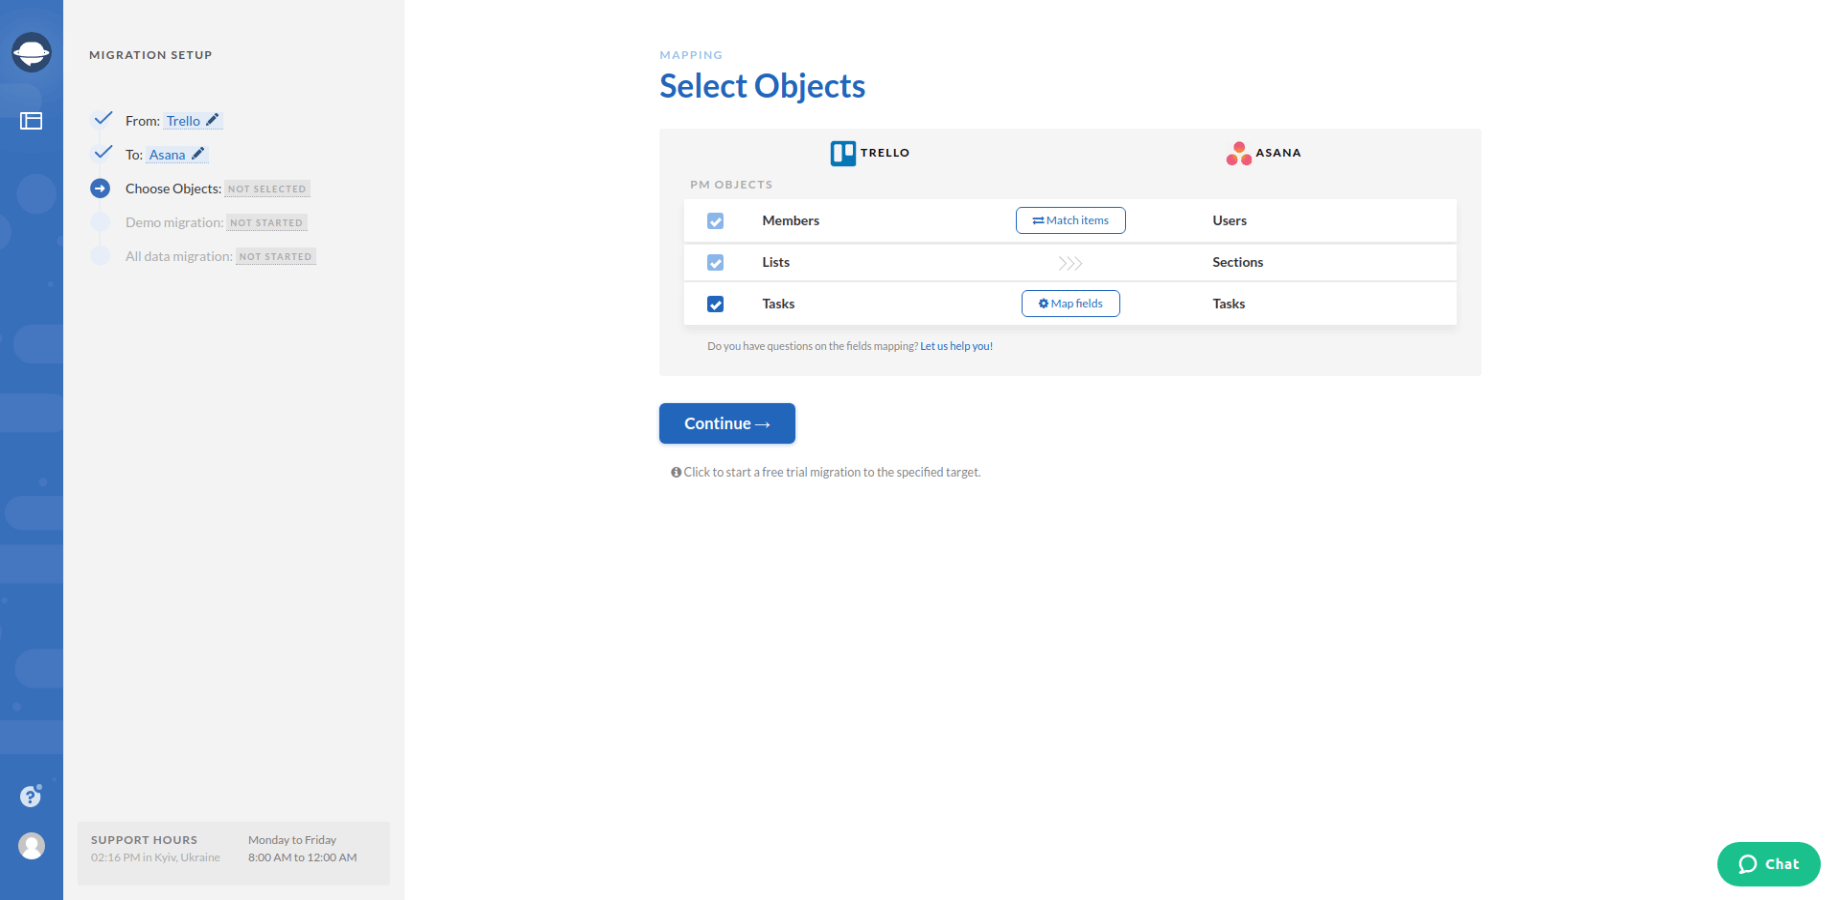
4. Choose the objects you’d like to migrate from your current platform to a new one. Click on Tasks and you will see a task mapping form.
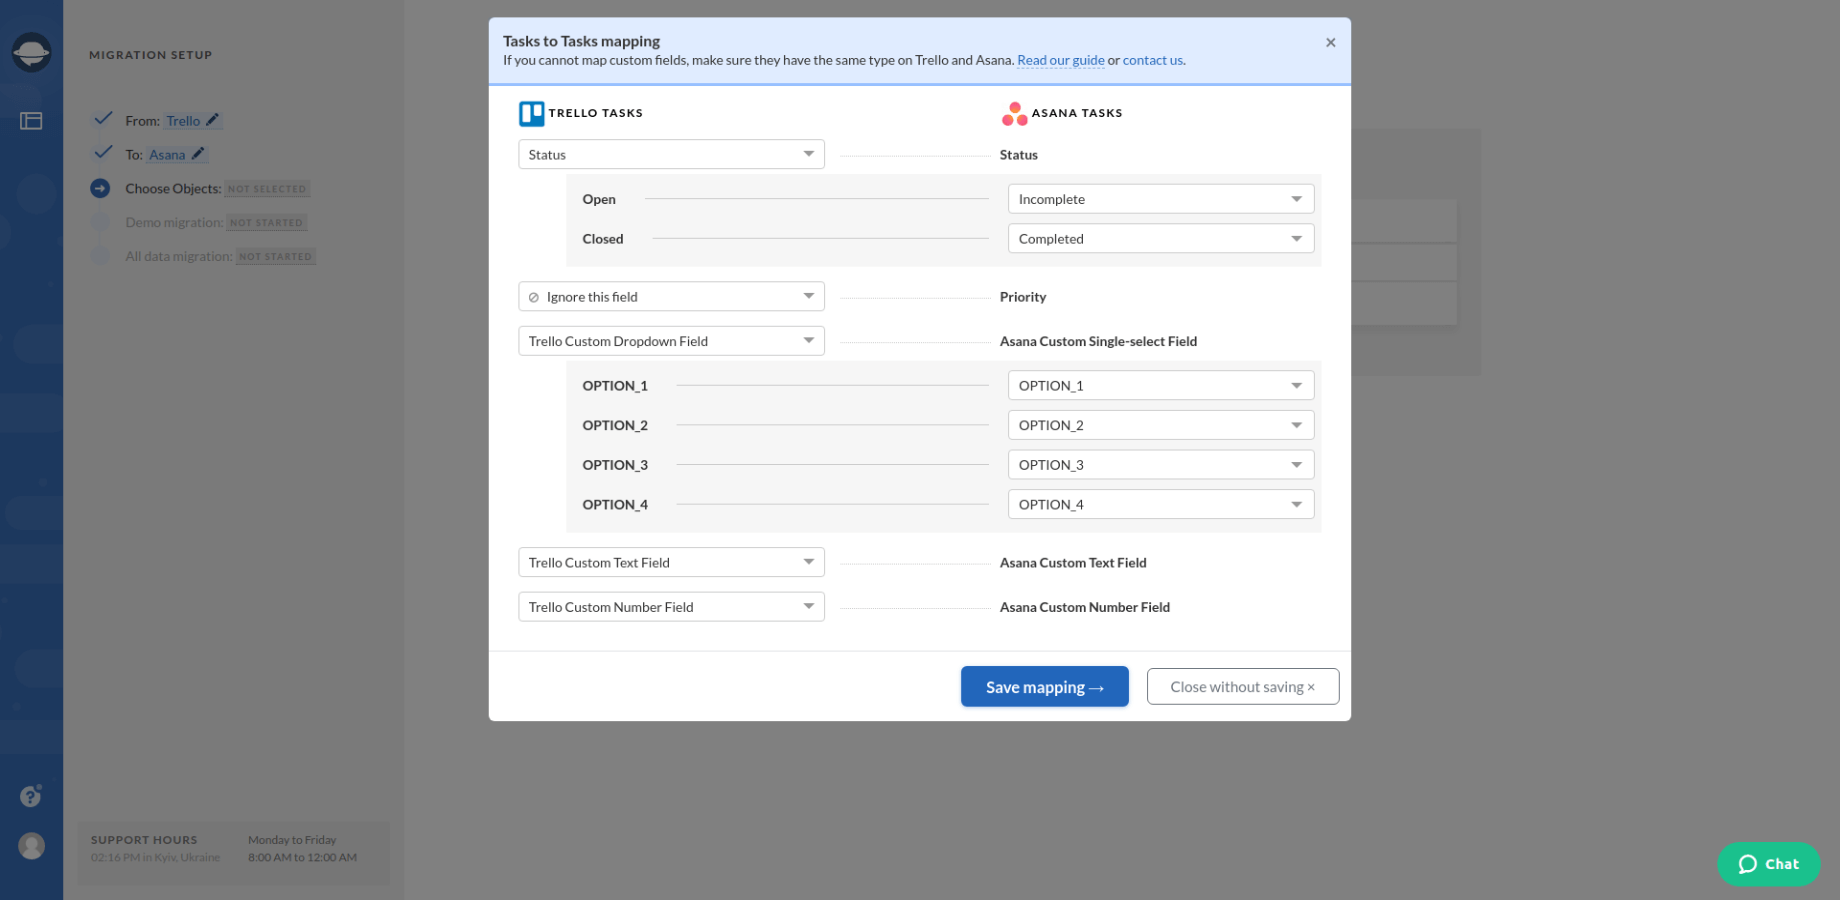
5. Map the statuses of tasks, and other fields you might have. Save mapping and move on.
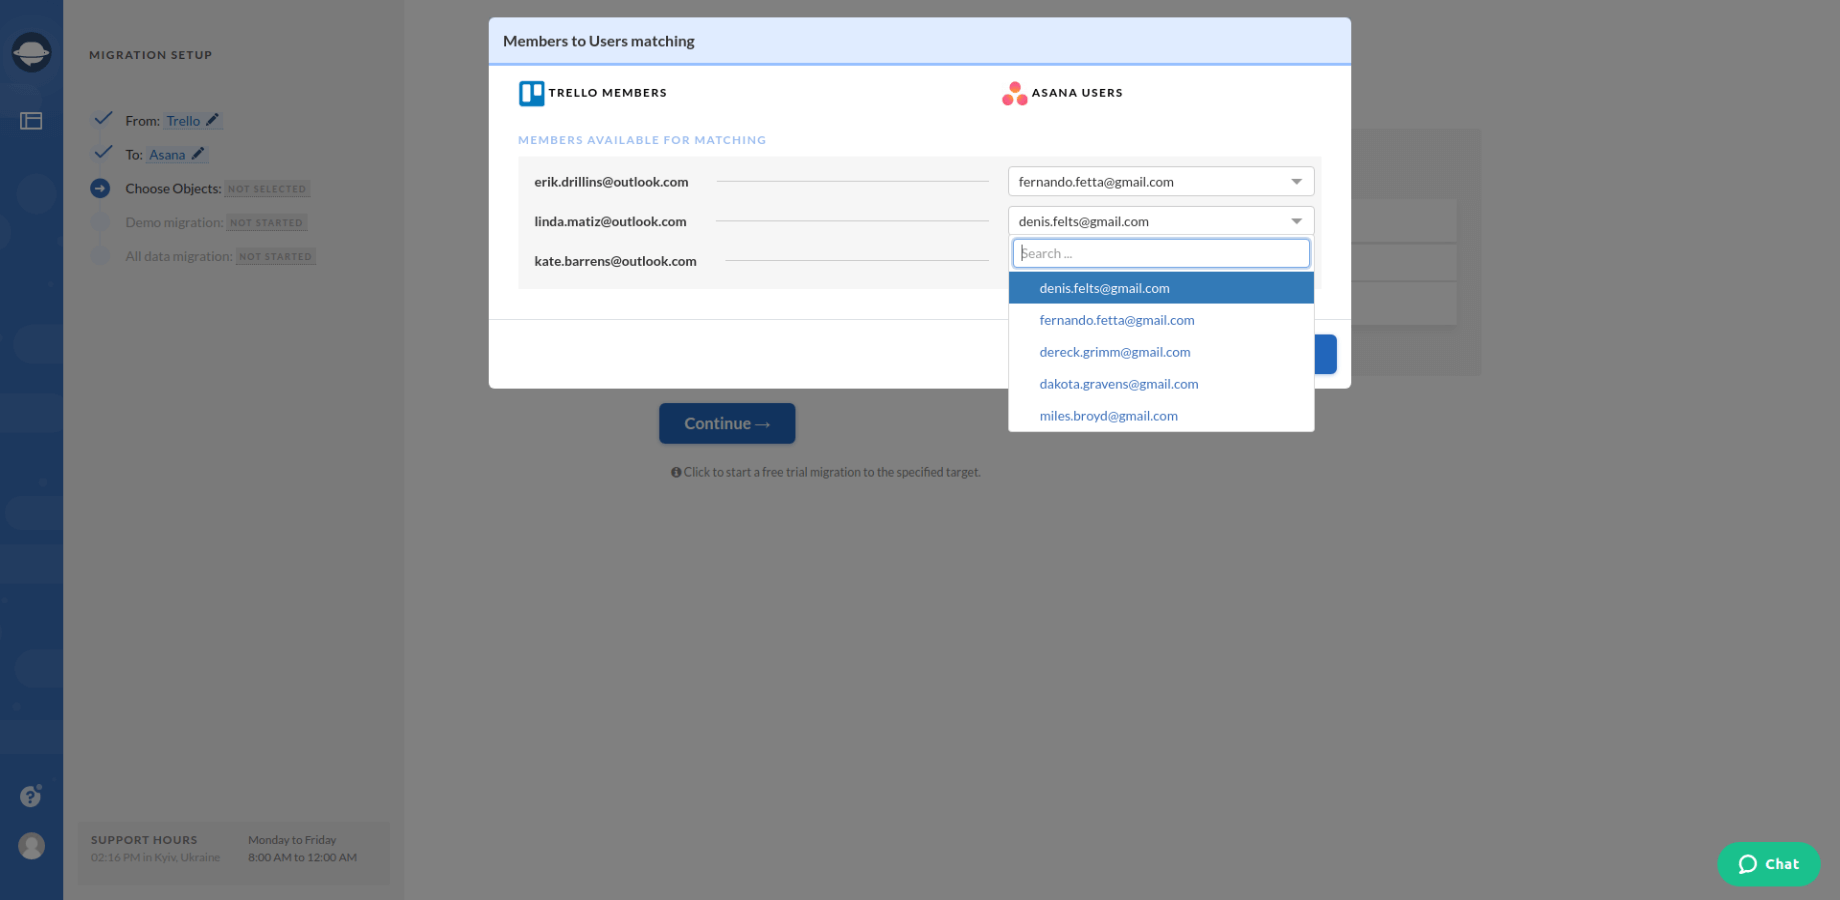
6. Click the Match items button next to Users. Match users between the systems you're migrating, save the settings, and begin the Free Demo Migration.
7. Carefully check its result by going across the information on how your data got transferred.
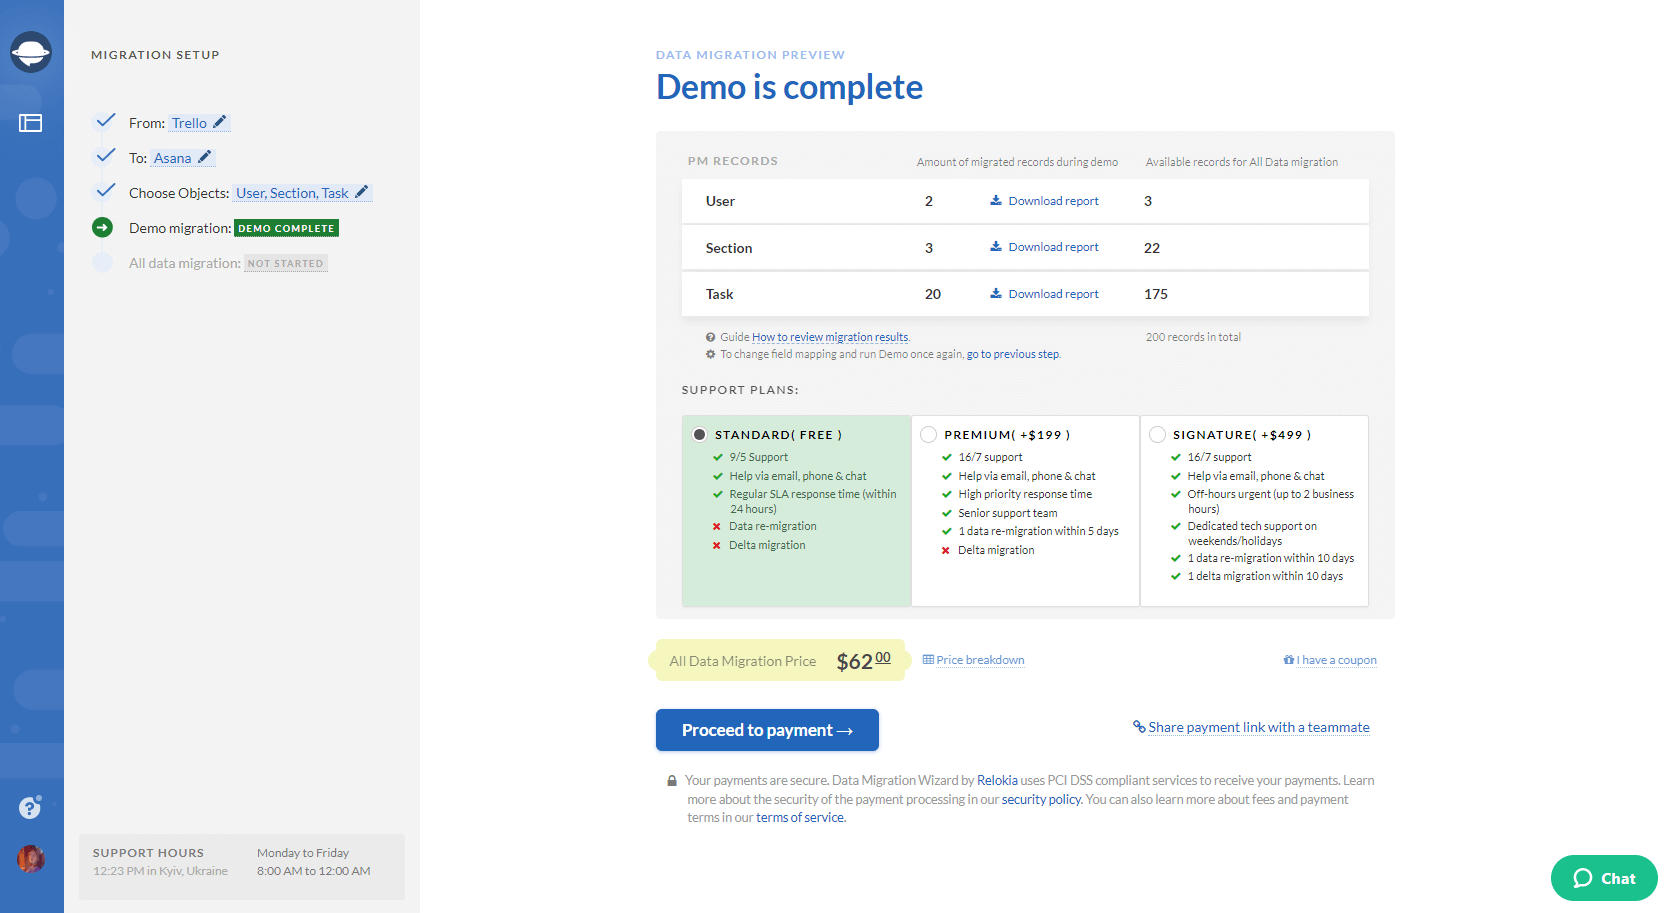
Note: Go on to the next step only if you are happy with your demo migration result. If there is anything you’d like to change, contact us immediately.
8. Initiate the Full Data Migration to transfer all the needed data from one platform to another.
Migrate your data in an automated way!
That’s it. As you can see, your data migration process can be fast, secure, and effortless when performed with the help of an automated data migration tool. So, simply go to Migration Wizard and transfer your data to a new platform right away!


