Project management systems help companies make their project lifecycle visible. When you use PM software, it is easier to track down the problems while your project is in progress or before they even arise. What’s more, is that they enable you to view due dates so you can meet the deadlines. For these reasons, many companies decide to switch to more advanced project management systems. So, if you are looking for a way to export your Microsoft Project data, our Relokia team has got you covered.
Migration Wizard makes manual migration pointless, as our tool transfers your projects automatedly. You only export MS Projects that you need on your target platform, leaving unnecessary data behind. Most importantly, the mapping process allows you to find your data after the migration. Let’s find out how the export process from MS Project works.
Microsoft Alternatives
Changing your project management system always seems like a big challenge, while there is too much software. That’s why we’ve prepared this short list of PM systems that can catch your attention.
Shortcut is an up-and-coming PM software that helps teams break down the barriers and work on the one goal together. This system enables you to see how ongoing projects fit into larger aims. It is easy to track down your progress with such features as Stories, Roadmaps, and Iterations.
On the other hand, there is Monday.com. This project management system provides you with one of the most awesome features: Automation; It can help you save time by automating repetitive work. What’s more, is that you can visualize your projects with Views.
Last but not least, there is Asana. This PM system stands out due to such features as List Views, Timelines, and Boards. Additionally, Asana offers you more than 100 integrations to help your team communicate, collaborate and work together.
What data you can export from Microsoft Project
Before you run your MS Project migration, it is important to know which type of data you can export. Migration Wizard enables you to transfer the following data:
- Groups for tasks
- Tasks (along with Comments and Custom Fields)
- Task Dates (including “Started at” dates, “Due” dates, and “Completed at” dates)
- Created Date
- Users
Note: Microsoft Project doesn’t support comments. One comment is created with all content from the Notes field from the task assignee.
As you can see, all the core data will export from Microsoft Project to your target platform. Anyway, if this list doesn’t contain the records you would like to transfer, feel free to contact our support agents. Besides, you can order a customized data migration and our support team will adjust it to your needs.
Initial Steps Before Your Microsoft Project Export
You need to take some crucial steps before running the export
- Check if you’ve created an account on your target platform. In case, you haven’t decided yet where to migrate your data, take a look at the list of supported platforms on our website. You can also look through our reviews on different PM software.
- Ensure that you have access credentials for your MS Project account. Migration Wizard won’t access your data if you don’t provide such information.
- Check if you have the admin rights on both source and target platforms to perform the MS Project export.
Note: If you want to make your migration process quicker, you can go through your MS Projects data and delete the unnecessary records.
Exporting CSV files from Microsoft Project
There are some peculiarities when you configure your MS Project connection during the migration process. You need to upload the CSV files with your tasks and resources. You can do this in two ways:
- Log in to Microsoft Project Desktop. Choose “Export” under the “Home” tab. Then select “Save Project as File” and save your project in CSV. After that, Export Wizard opens automatically where you need to choose the types of data you want to export: tasks or resources. Then define the needed fields. Pay attention that you need to export tasks and resources in the separated files. Then you can upload them into Migration Wizard;
- Go to Microsoft Project Online and open the needed Project. Check if your project has all columns and the data format in your CSV files like in our samples. After that, go to the “Option” tab and choose “Export to Excel” for tasks. Then, under the “Project” tab, select resources and export them to Excel as well. After that, covert both Excel files to CSV. Finally, you can upload them into Migration Wizard;
Note: Before you start the upload, make sure your CSV files are compliant with our samples. Download the samples to check if you have all columns and the data format in your CSV files like in our samples.
Setting Up Your Export from Microsoft Project
With the Relokia team, you can run your MS Project export effortlessly. However, we still suggest you check out our step-by-step instructions:
1. First of all, go to the Migration Wizard website and log in to your account. If you don’t have an account with our service, create one with any suitable option: via email or any social media network;
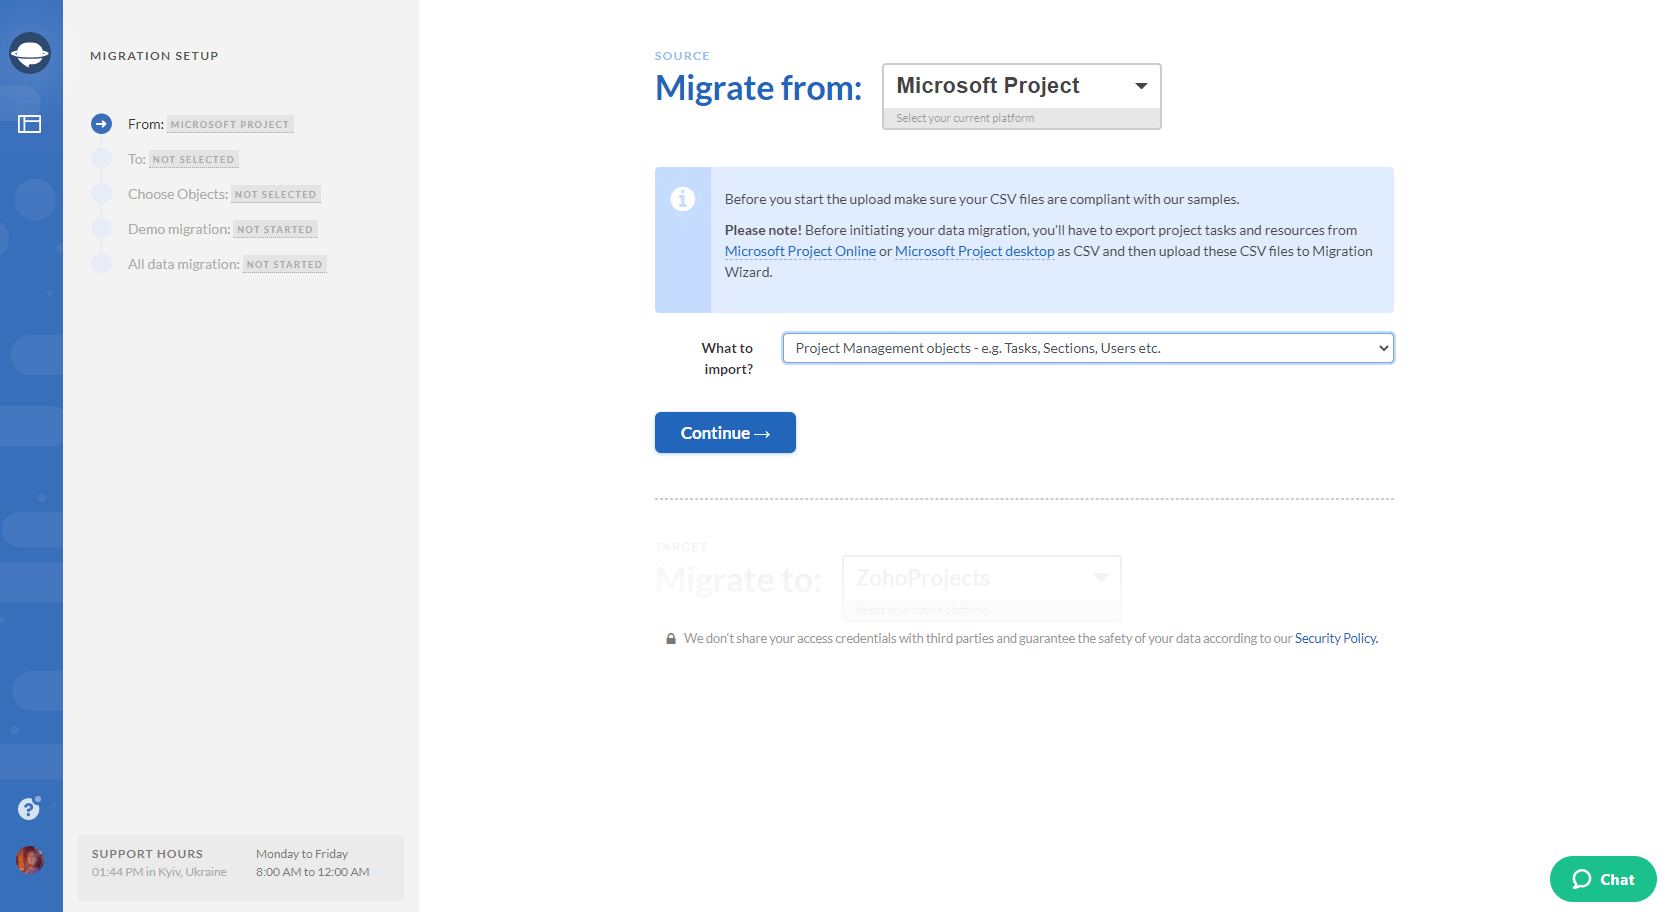
2. Select Microsoft Project as your source platform and choose what to import:
3. After that configure your MS Project connection by uploading CSV files with tasks and resources:
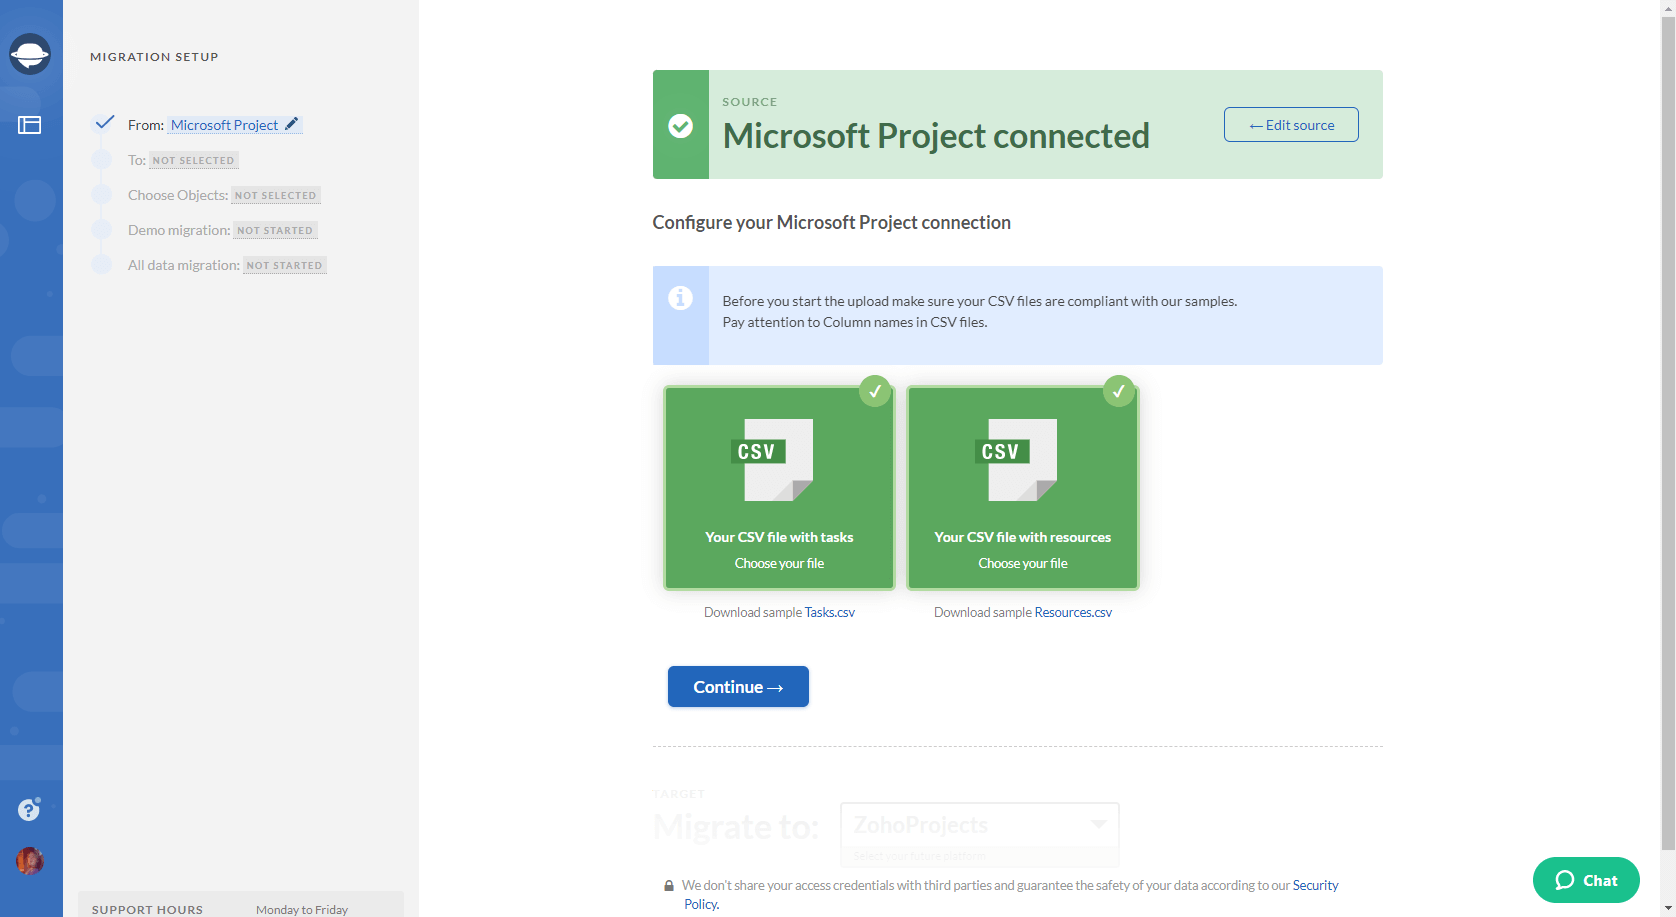
4. After you’ve uploaded your CSV files press the “Continue” button
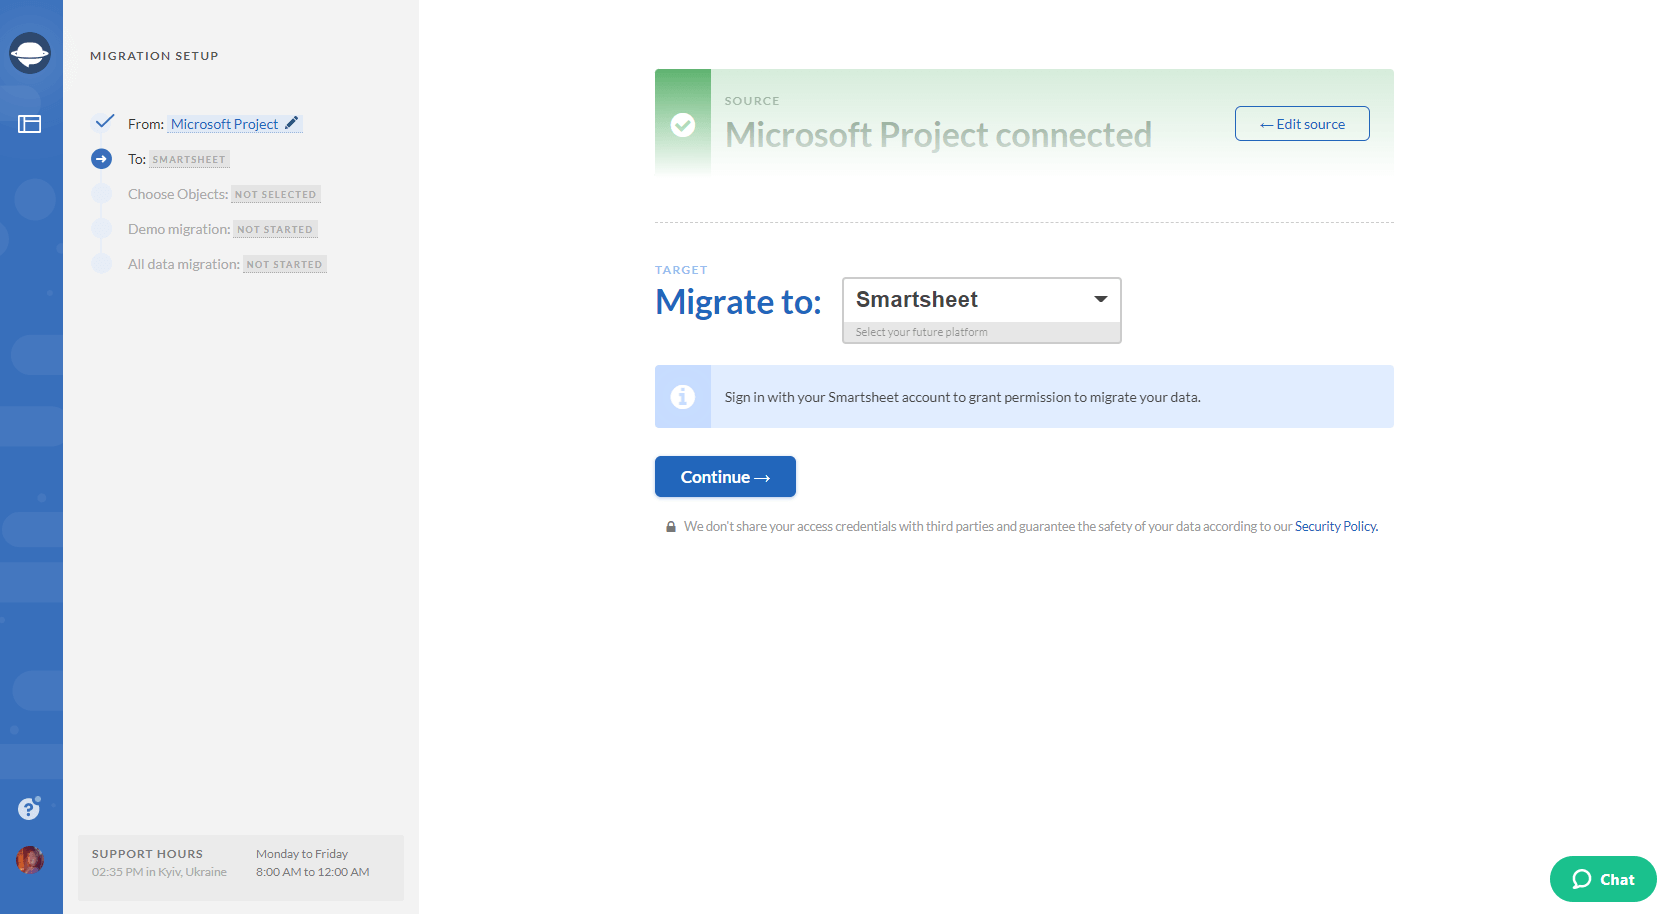
5. Choose your target platform and provide the necessary credentials. Afterward, configure the connection:
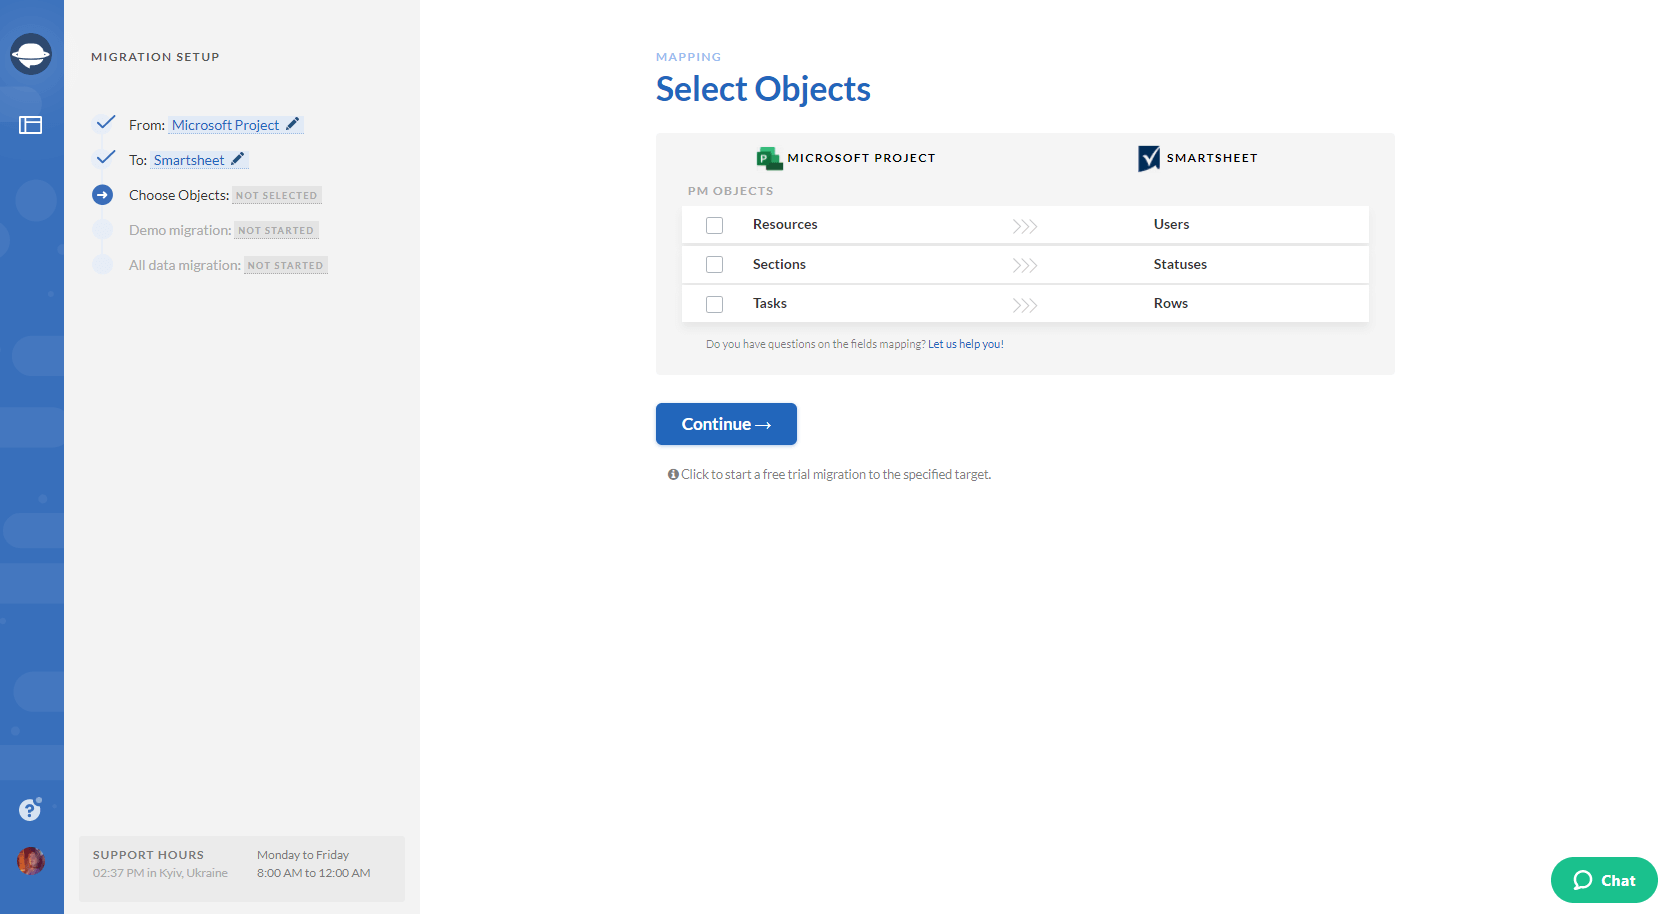
6. Select Tasks and you will see a task mapping form. Also, pay attention to the table, as it shows the modification names of certain records will undergo:
7. Map task fields between Microsoft Projects and the project management system you're migrating to:
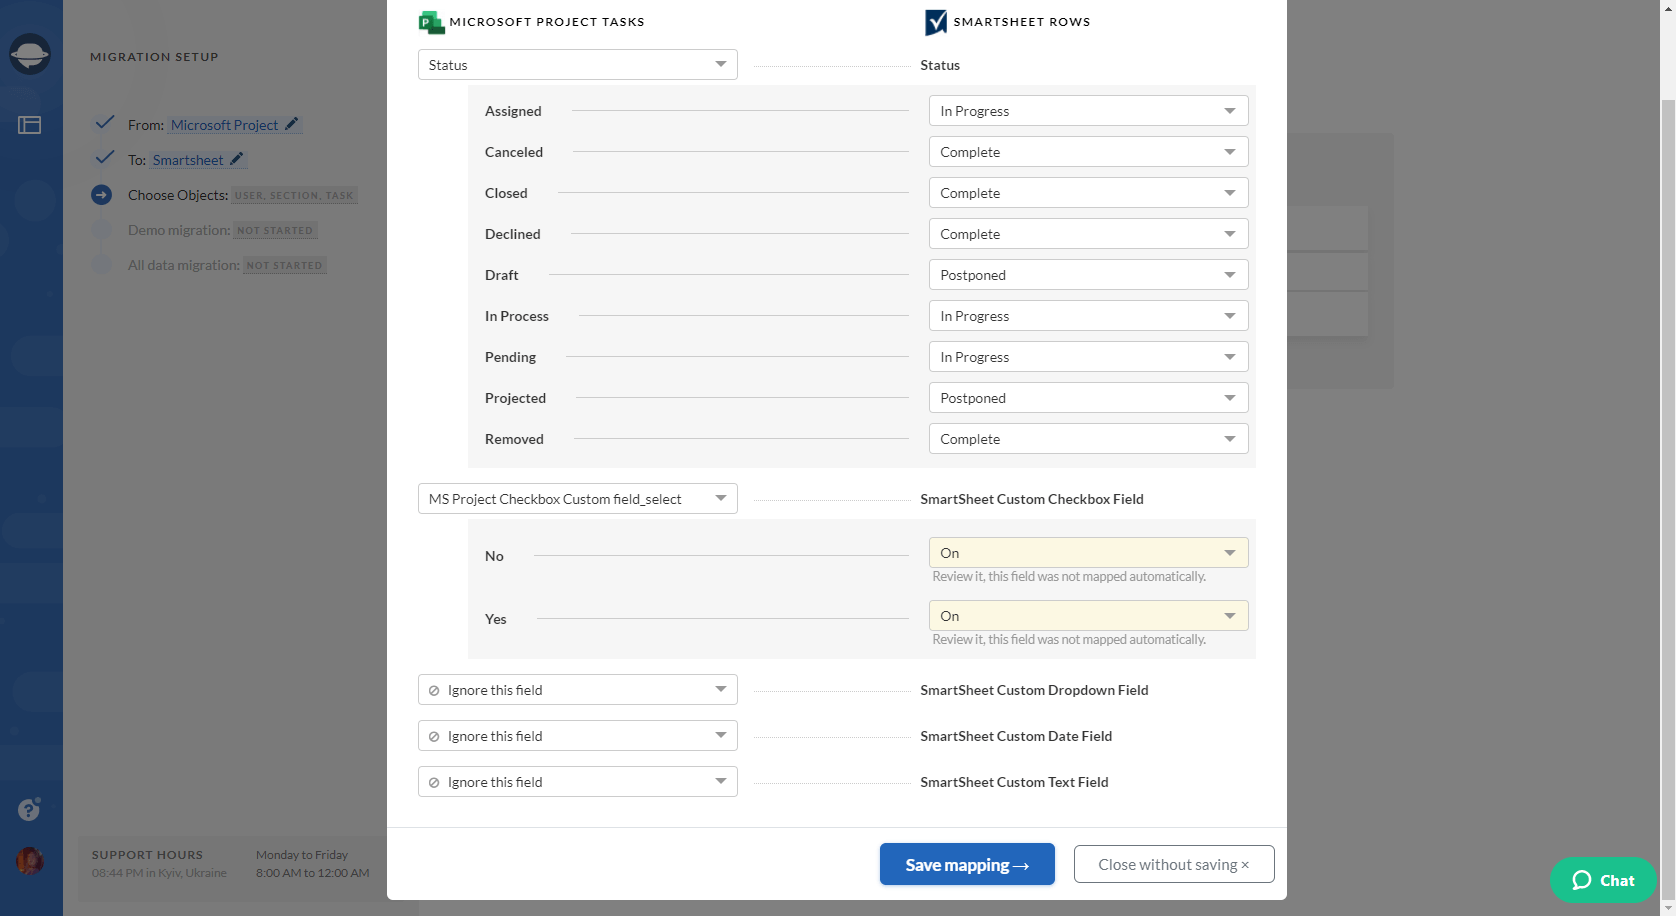
8. Click the Match items button next to Users. Match users between the systems you're migrating, save the settings, and begin the Free Demo Migration.
9. Run the free Demo migration to see how your MS data will look after the export and check how our tool works. As soon as your demo export from Microsoft Project has finished, download the reports to check the results:
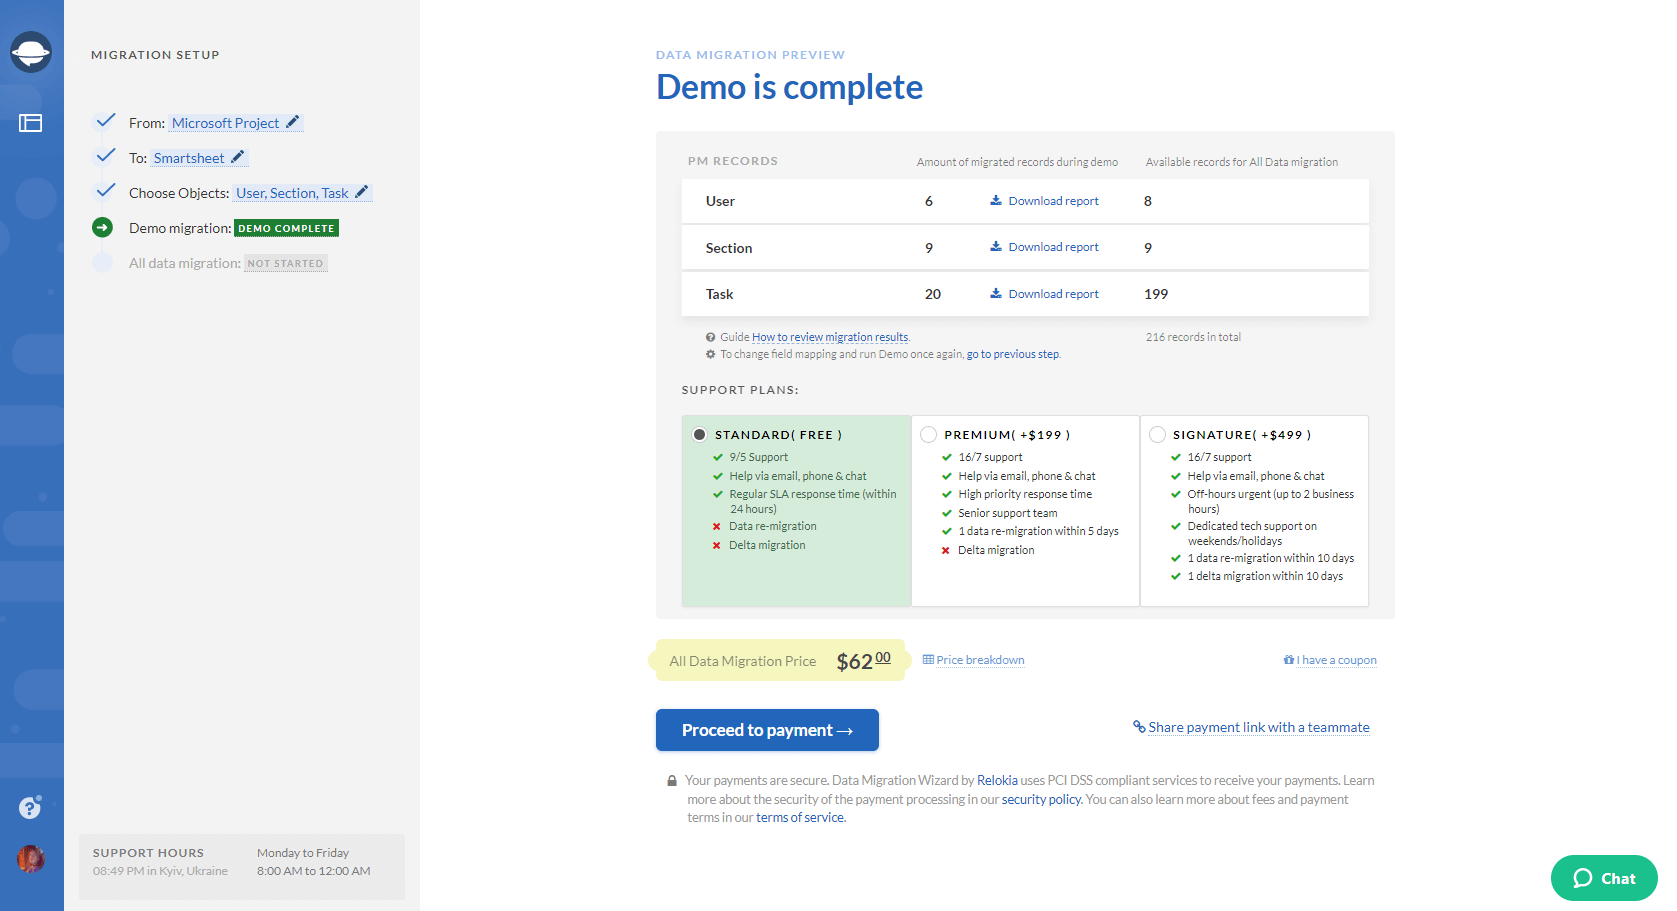
10. If the export results look good, perform the Full Data Migration.
Note: Feel free to contact our support team if you have any questions during the migration process.
Let’s export your Microsoft Project data!
And that’s it for now. We hope that this guide will inspire you to migrate your data from Microsoft Project in no time. Remember that a new project management system can help you move towards success. So, why don’t you do the first step and set up the Microsoft Project export now?


