Your team has overgrown your project management tool and you are looking for a new one?
A good project management system always helps your team to stay on top of their game. Besides, it is easier to meet your deadline and to track the progress of your project. For these reasons, you need to switch off to a more advanced PM system. So, if you are looking for a way to export your Smartsheet data, we’ve got a solution for you.
Smartsheet Export: Excel and Other Options
Data migration is always about a choice whether you decide on the new PM system or an export tool. So, you are thinking about Smartsheet export, here are the options to pick from:
- Built-in export option: Smartsheet enables you to export Sheets and Report in such formats as Excel, PNG, PDF, and Google Spreadsheet. Note that Excel and Google Spreadsheet don’t support Gantt charts, formulas, Contacts, Checkboxes, Dropdowns, and Symbols. The export is limited to 20 000 rows and you save files to a location on your computer;
- Export to Microsoft Project: you can export any Sheets, but no Reports. Smartsheet and Microsoft Project differ in their functionality so that the exported sheets will look differently;
- Automated migration service: Migration Wizard allows you to export all crucial Smartsheet data. The mapping step enables you to find your data on the target platform easily. The tool saves all connections between entities. You don’t deal with any additional file formats.
How to Set up Automated Migration from Smartsheet
The migration process is rather simple, however, we have still prepared a step-by-step guide for you:
1. Go to the Migration Wizard page and log in to your account. If you don’t have one, you can sign up with your email or any suitable social network.
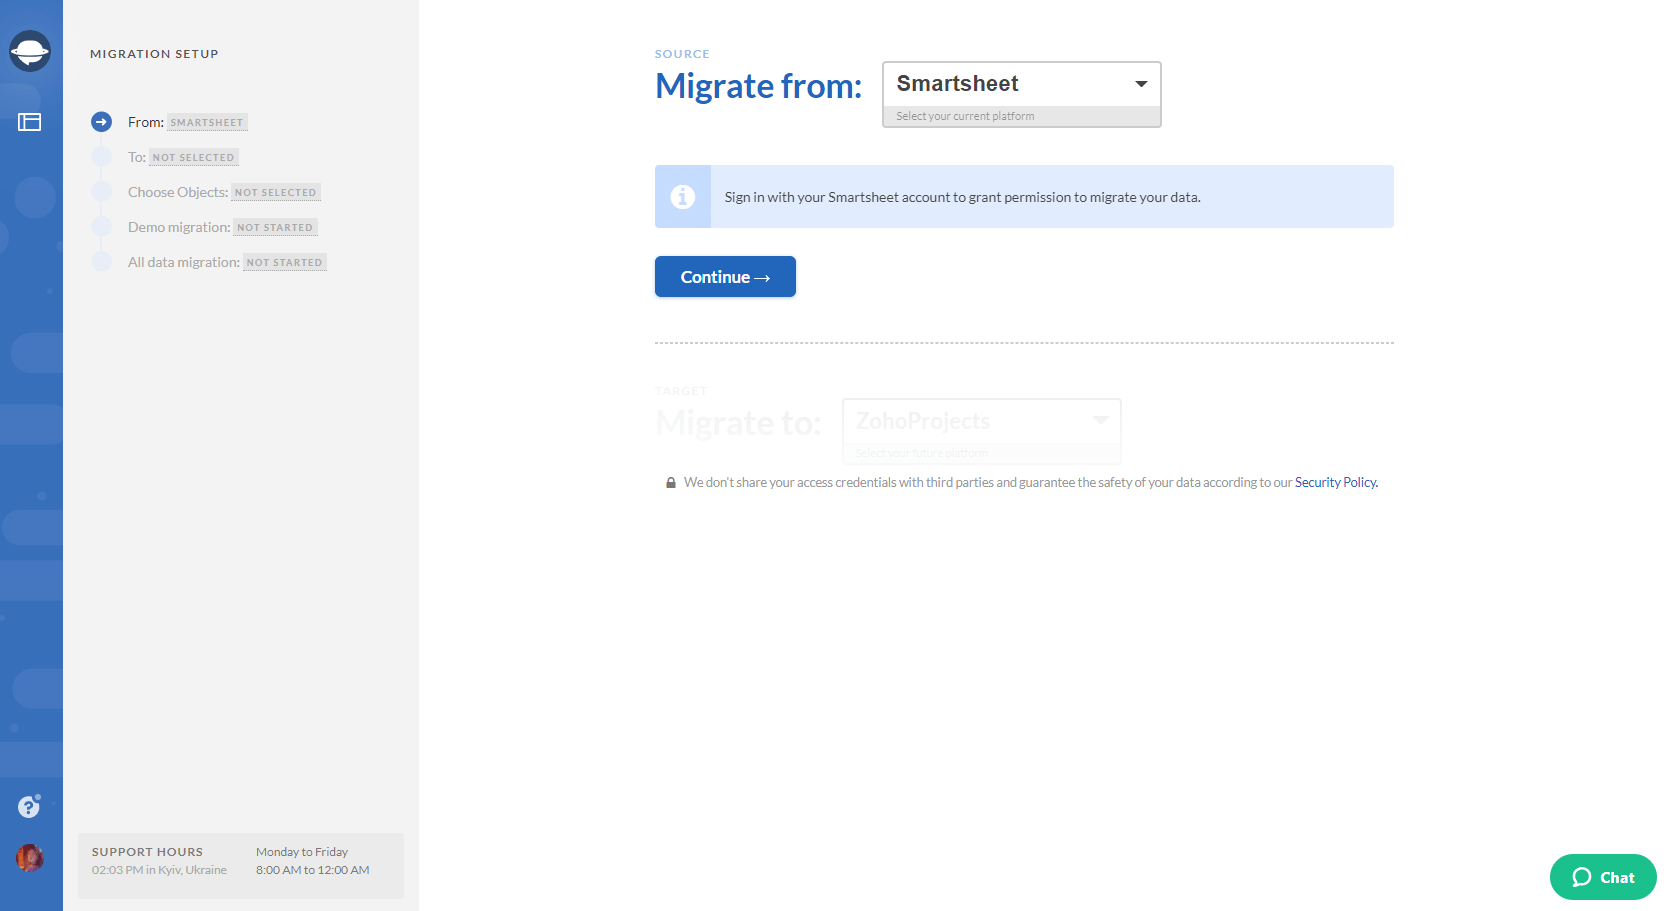
2. Connect Smartsheet as your source platform to Migration Wizard by providing the access credentials.
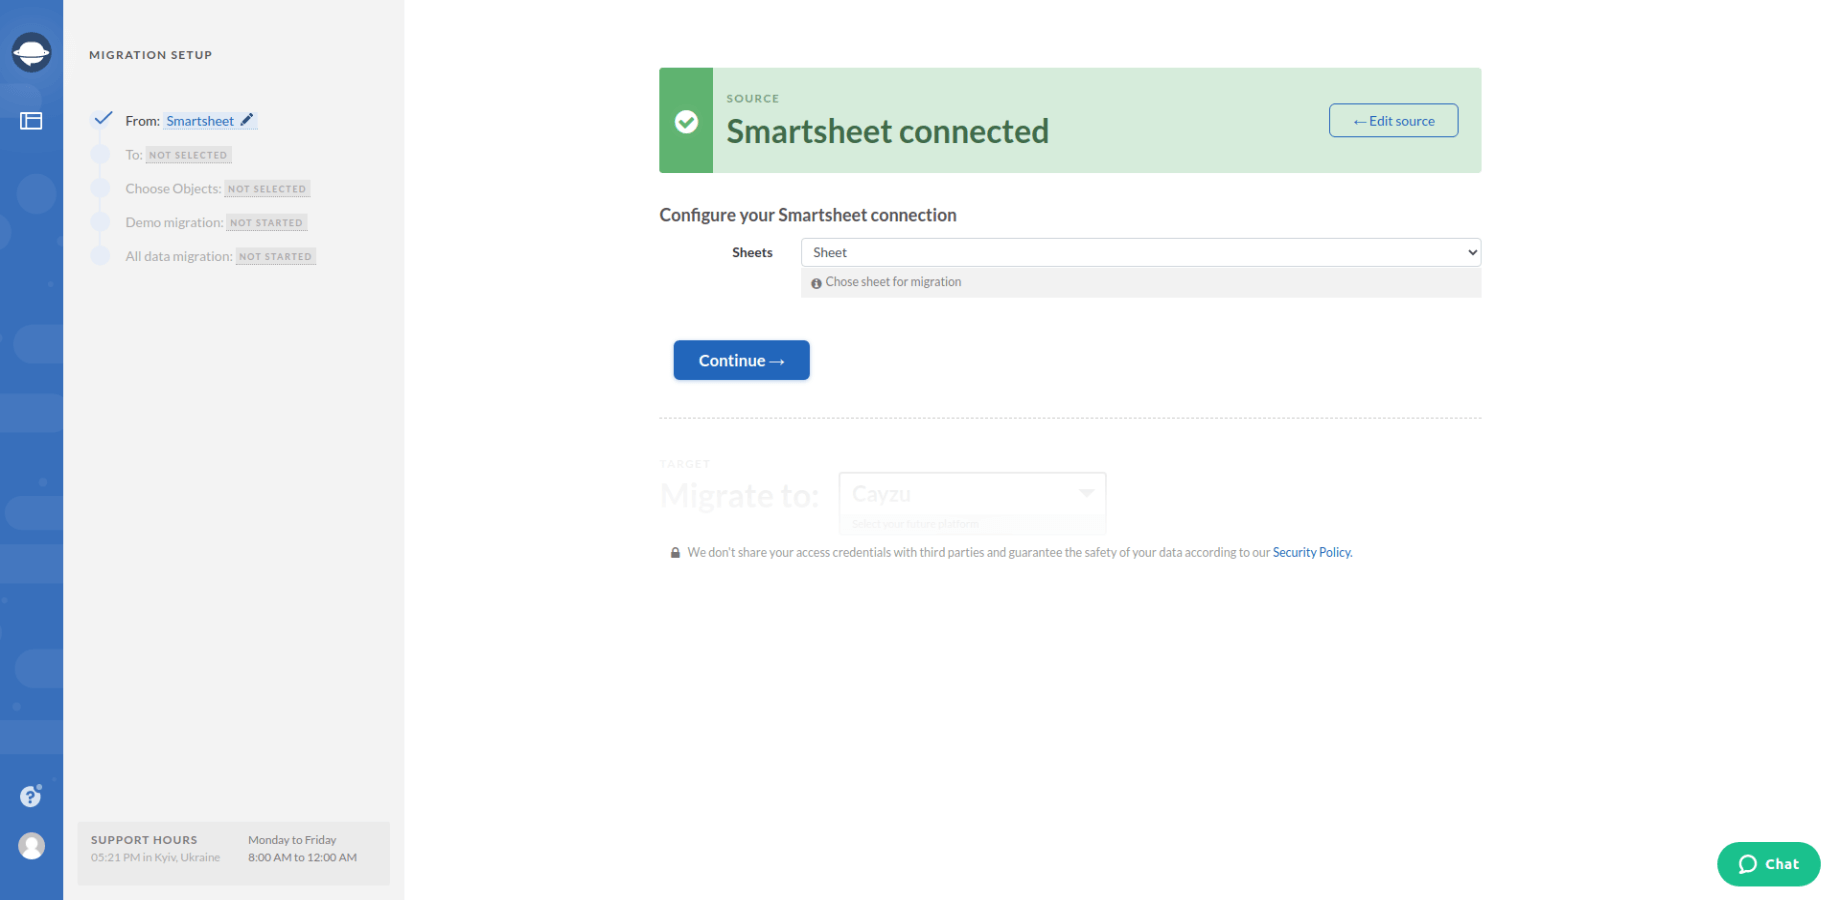
3. Configure your Smartsheet connection by choosing the needed Sheet.
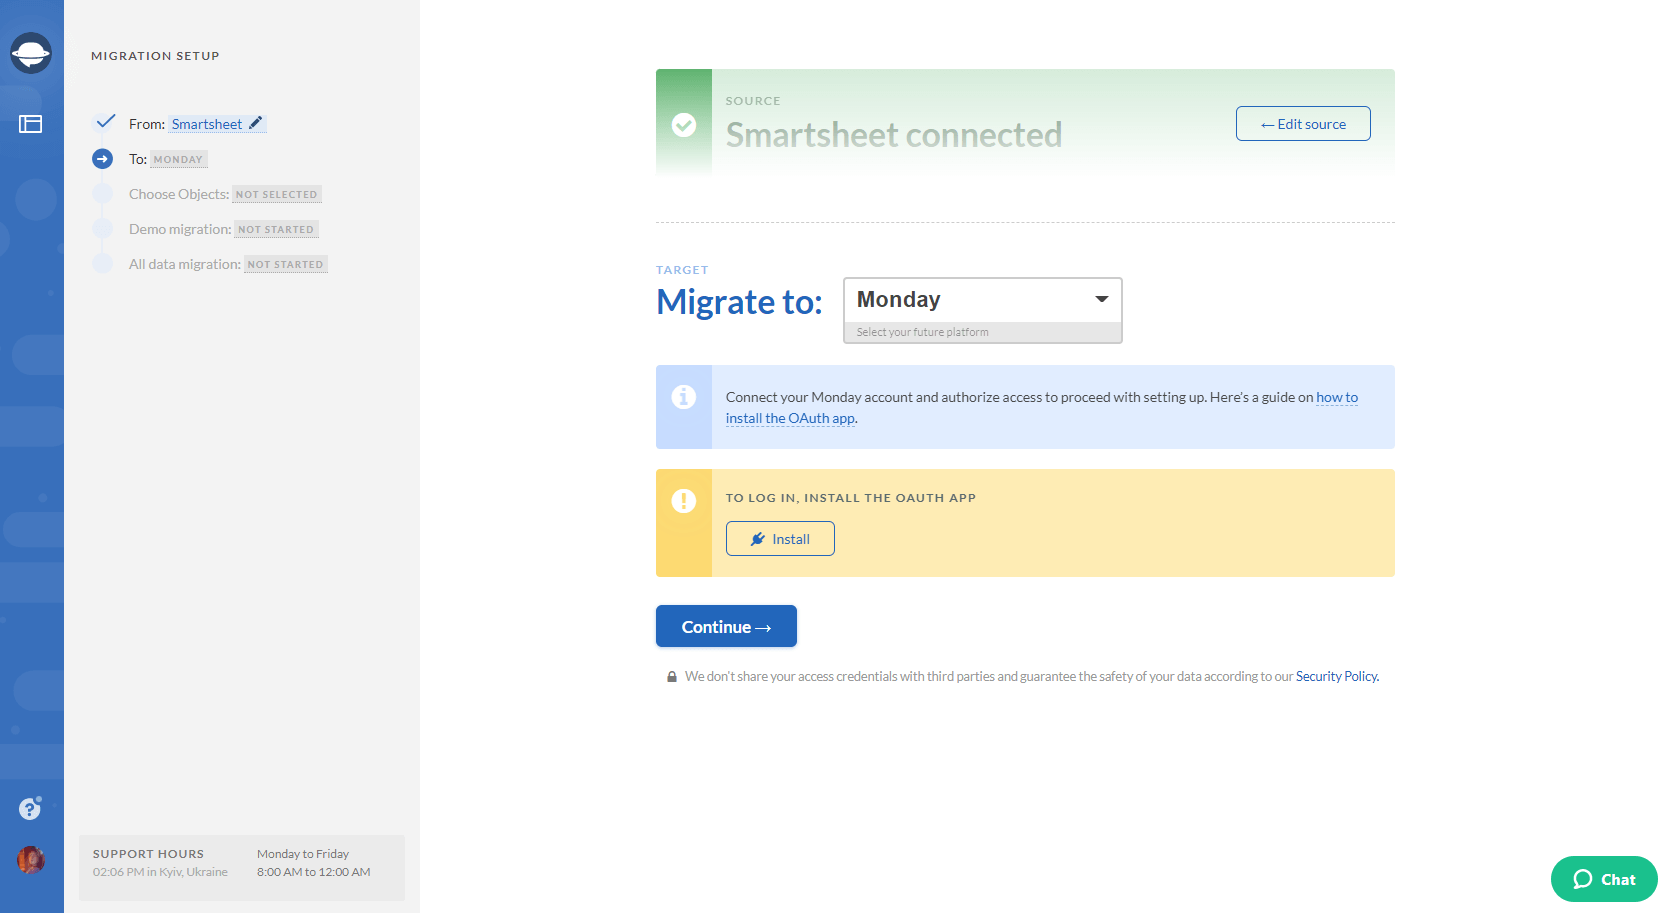
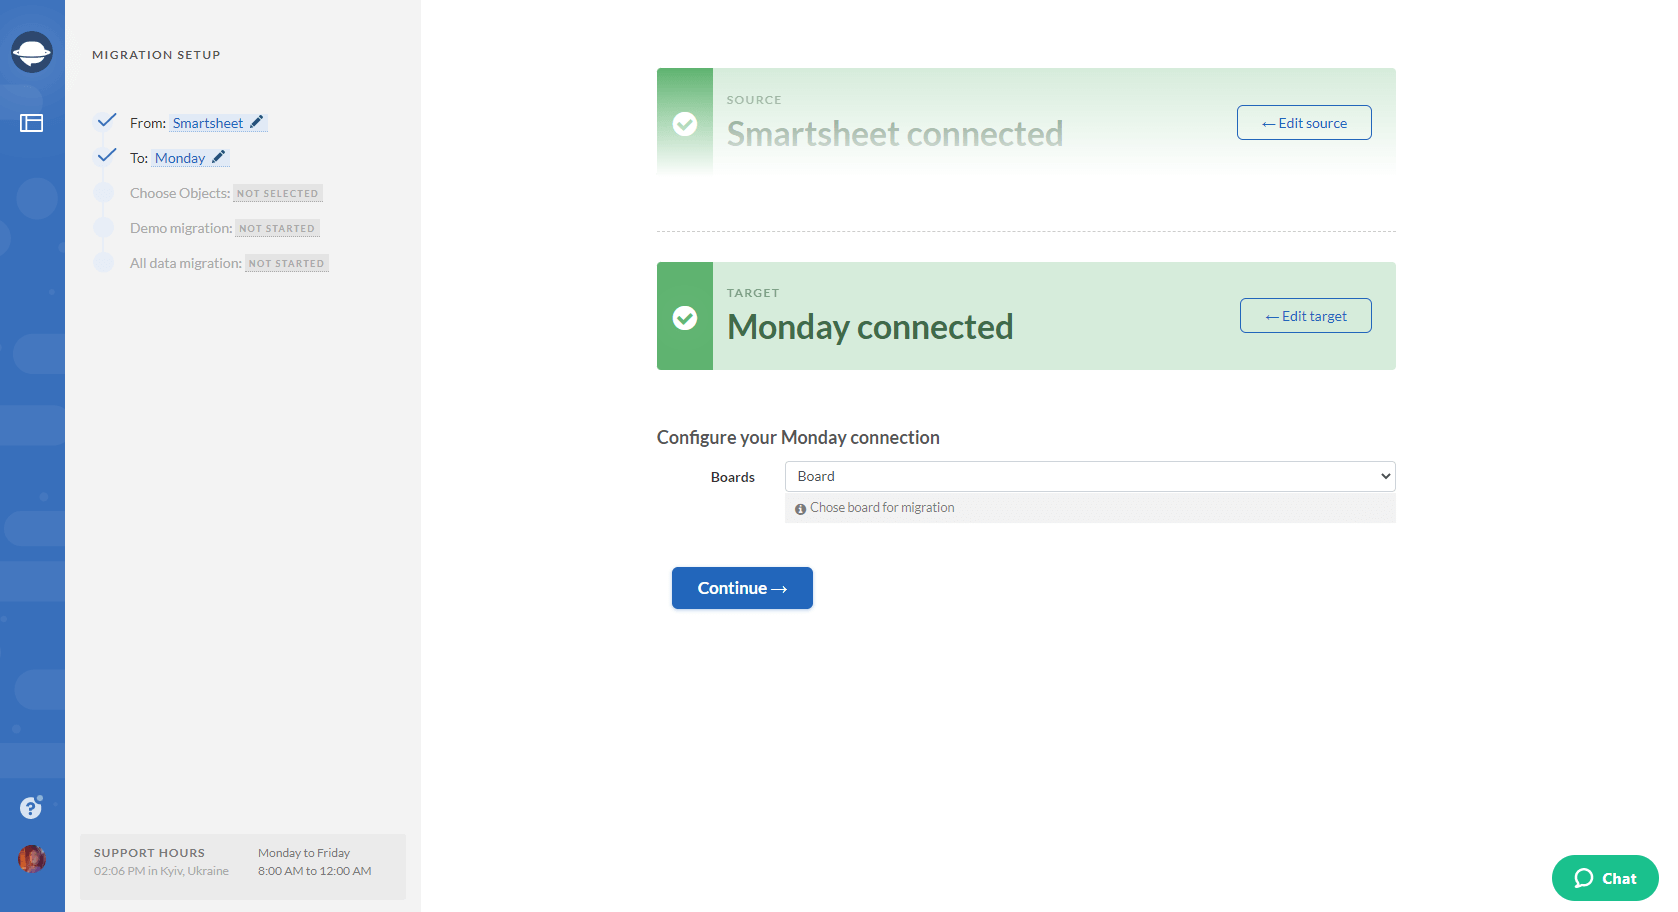
4. Select a target platform and fill in the necessary information to provide access to your data. Configure the connection as well.
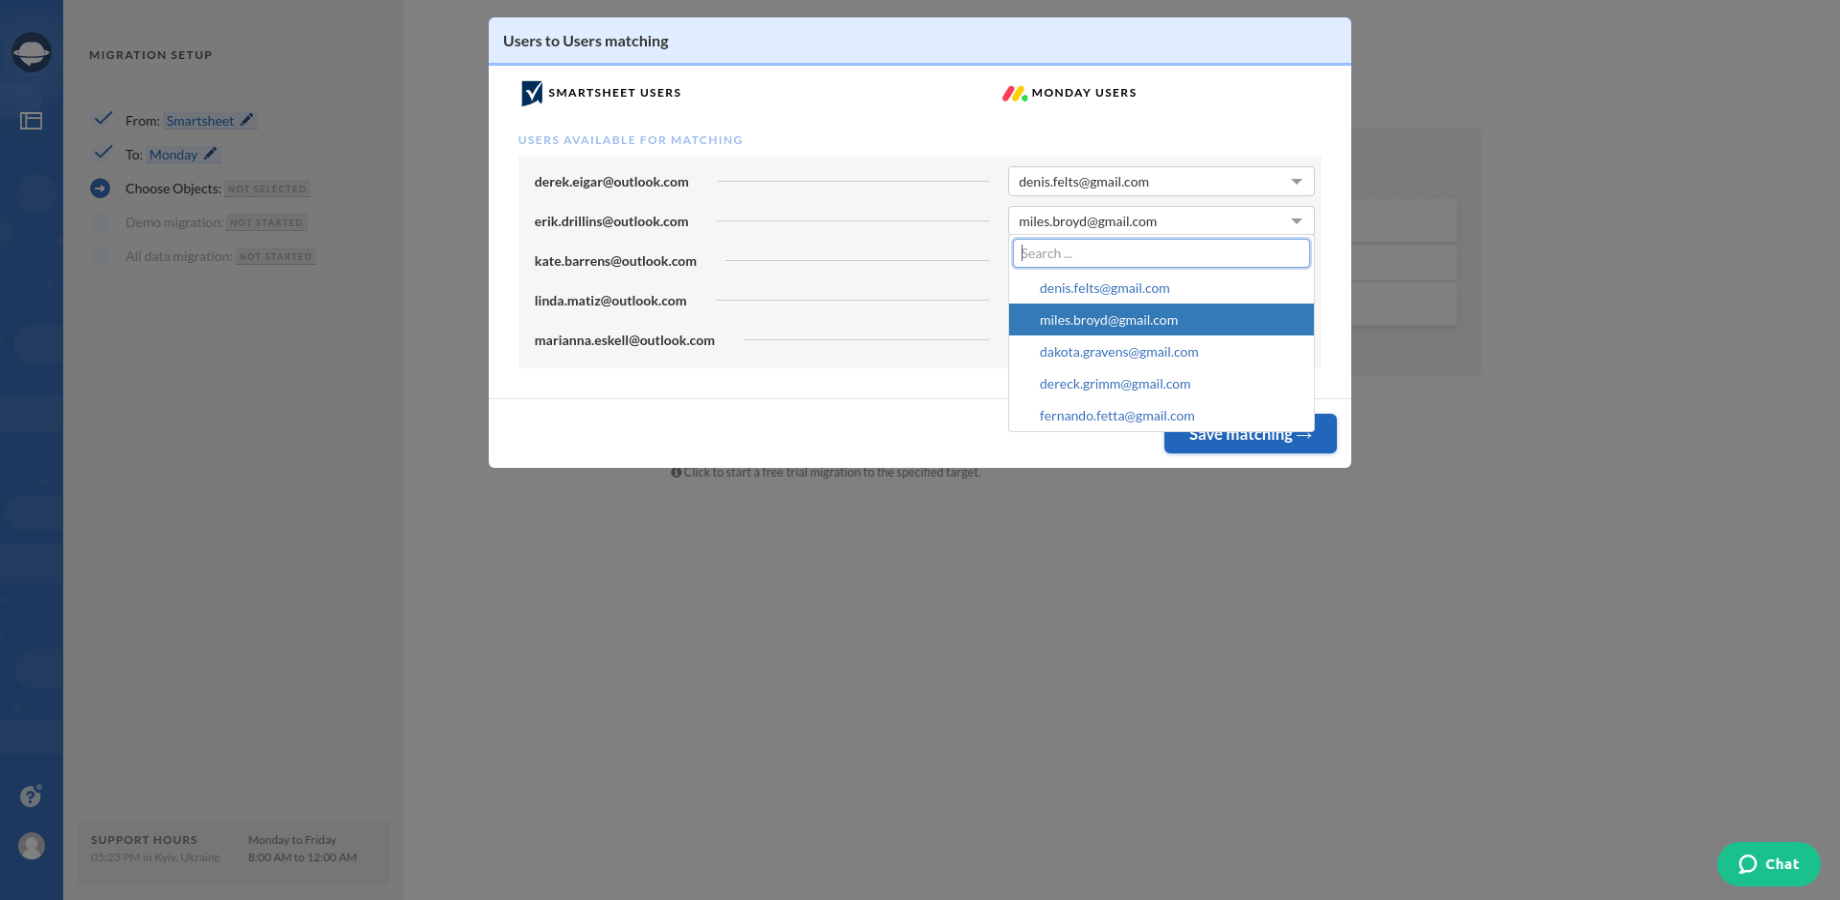
5. Now you need to select Tasks. The Migration Wizard will open a task mapping form. Also, pay attention to a table as it shows you the modification that some names of the records will undergo after the migration process.
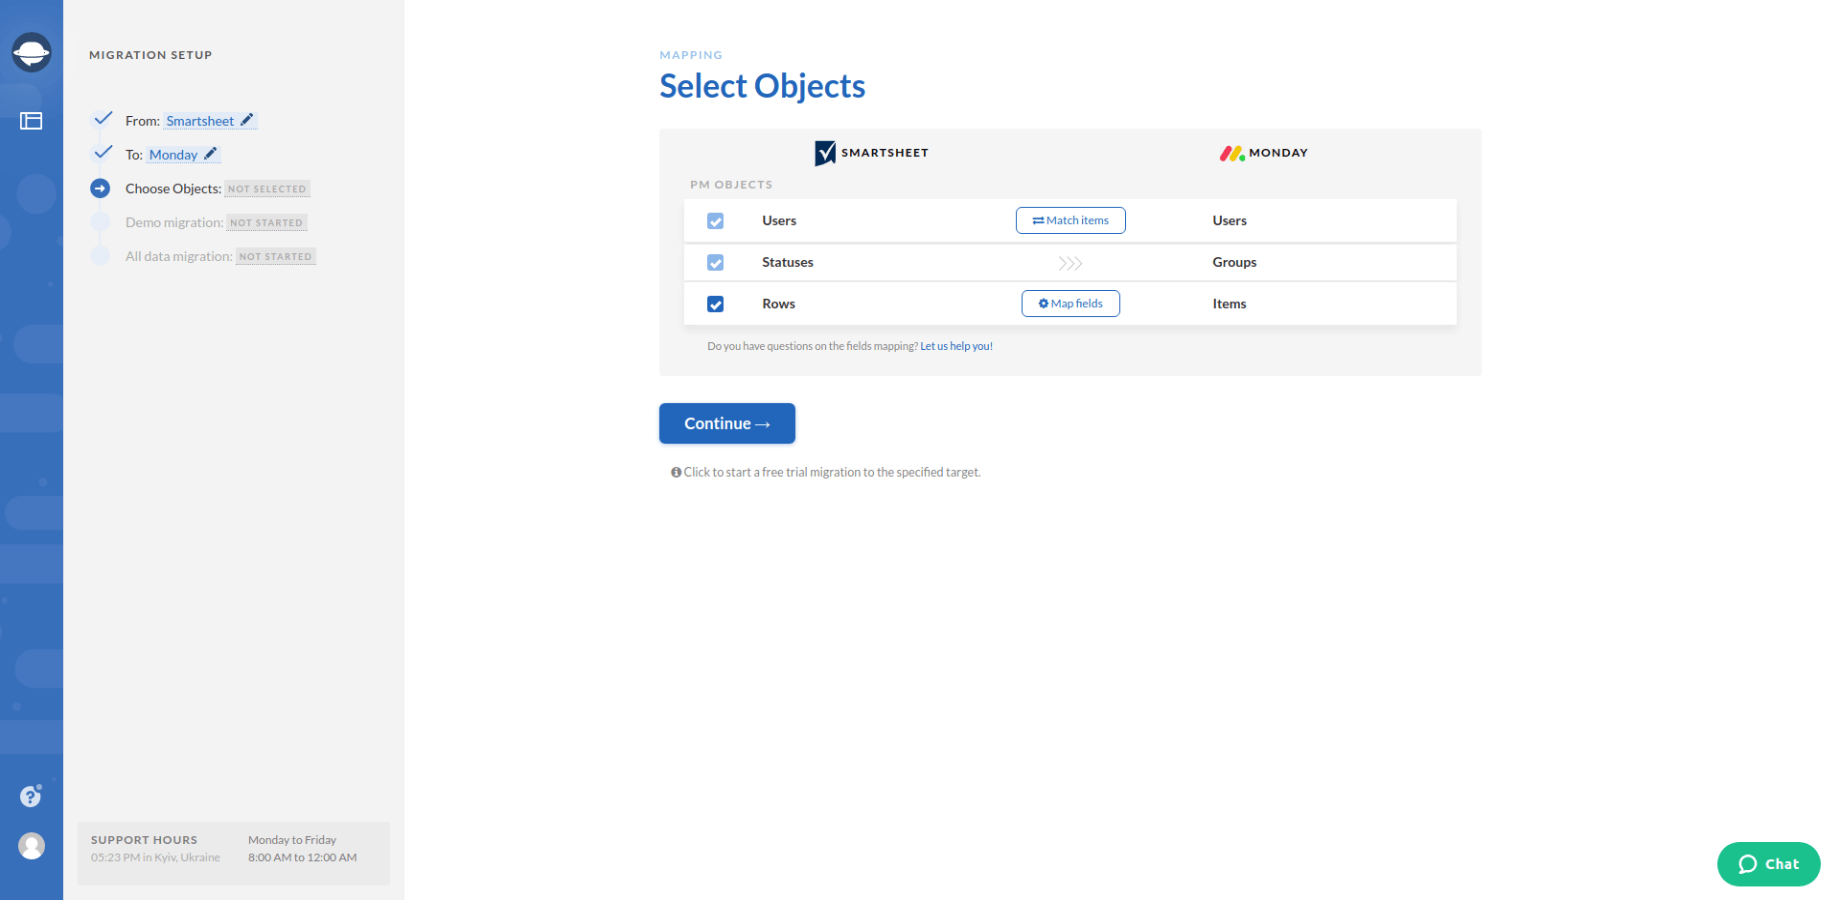
6. Map the fields you see in the form and click Save mapping when done.
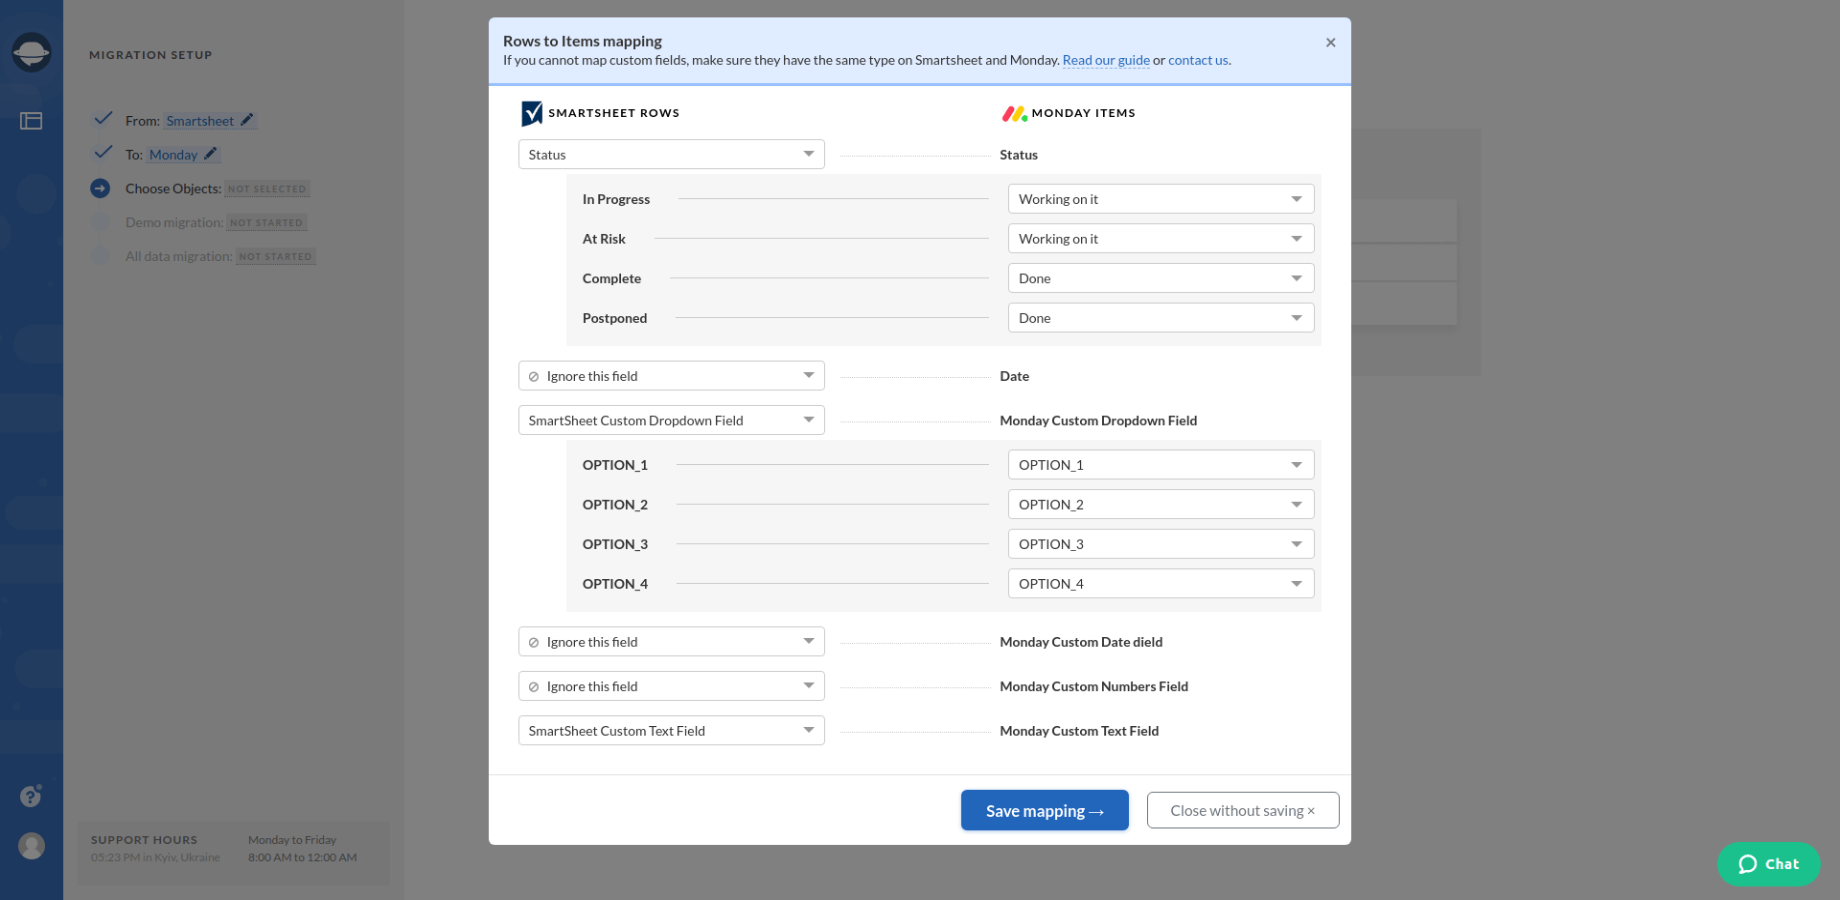
7. Next, click the Match items button next to Users and match users between Smartsheet and your target project management system. The settings are done, you can move on to the next step.
8. Launch a free demo migration as soon as everything is ready. As soon as your demo export has finished, download the reports to check the results.
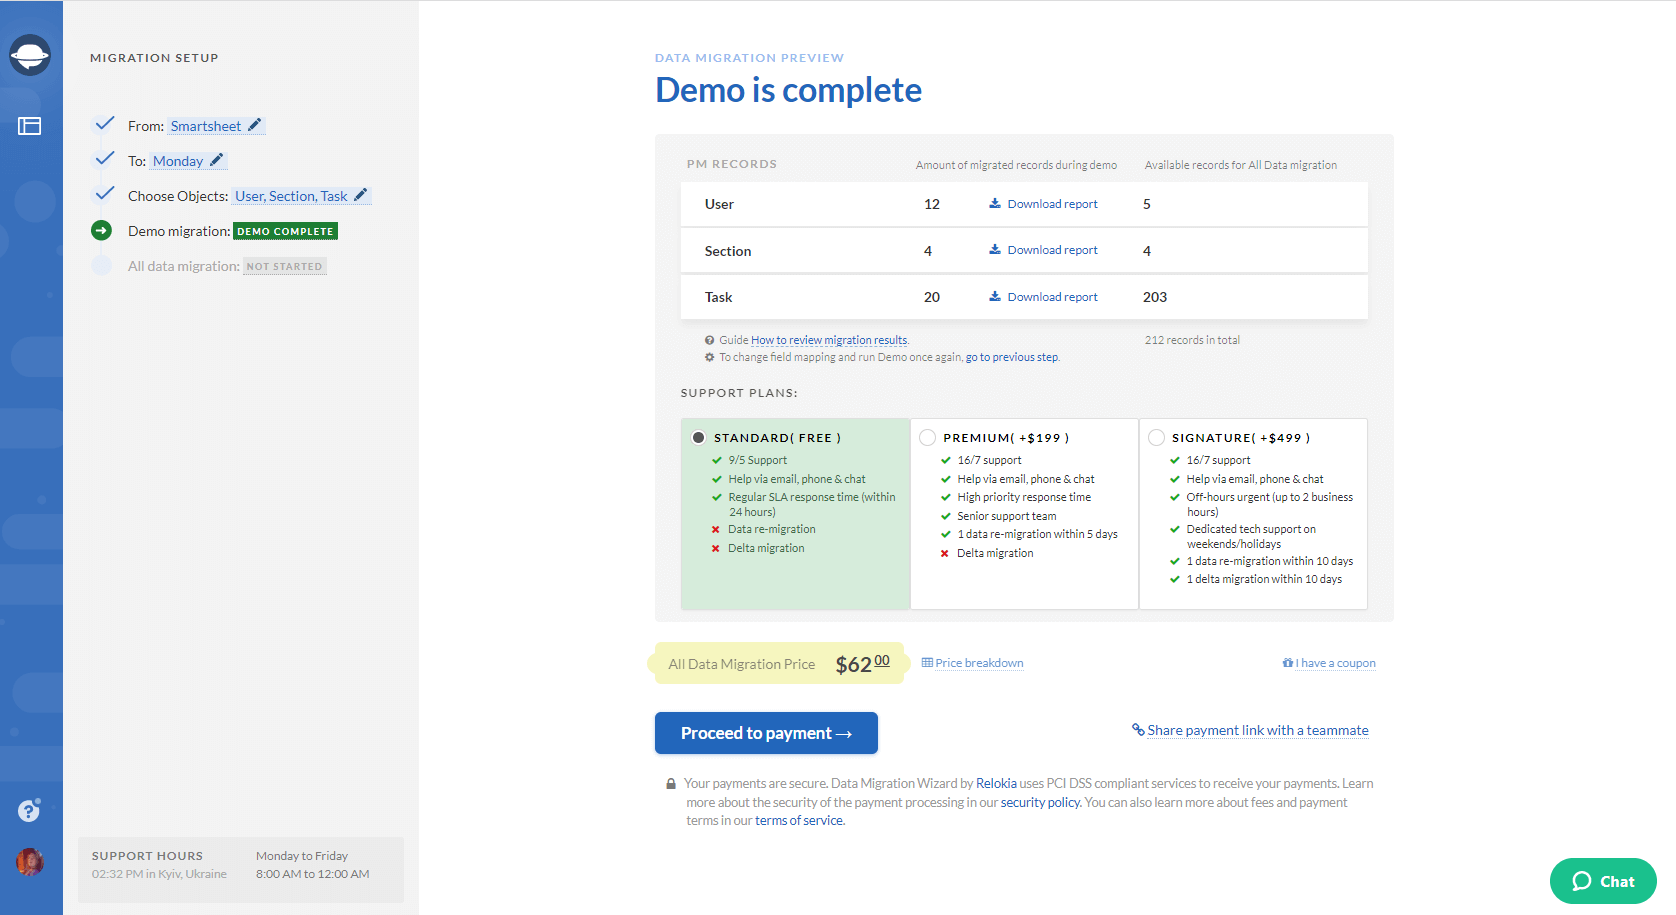
Note: Go on with the next step only if you are satisfied with the result of your demo migration. In case there is anything you would like to change, contact us.
9. Run your Full Data Migration to export your data from Smartsheet.
Smartsheet Export: What Records Can You Migrate?
Before you proceed with the Smartsheet export, make sure that you know which type of data you can transfer. Here is the list of records supported in Smartsheet export:
- Project lists (Task lists);
- Groups for tasks;
- Tasks along with Comments, Attachments, and Custom Fields;
- “Started at”, “Due”, “Created” and “Updated” dates of tasks;
- Users.
Note: All required fields, like Title, Status, Assigned to, and Description should be present in the Project lists. Statuses migrate as sections. Attachments along with tasks export linked to the comment to the target platform.
Hence, if the records you wish to transfer can’t be migrated automatically, feel free to contact our representative. What’s more, you can order the customized data migration to adjust it to your needs.
How to Prepare for Smartsheet Data Export
Pay attention that you need to check certain aspects before running your data export from Smartsheet. So, go across the following steps to make your migration fast and effective:
- Check if you have access credentials to Smartsheet. Migration Wizard needs this information to establish the connection with your source data.
- Ensure that you’ve created a target platform. You need space where you export your Smartsheet projects. Look through the list of supported platforms on our website to see if your desirable platform is available;
- Make sure that you have admin rights on both systems to run the migration.
Note: If you want to make your export process faster, look through your Smartsheet data and delete the unessential records.
Recap
And this is how the Smartsheet data export looks like. Right now you know how to set up the automated data migration, which records you can transfer, and about pre-migration steps. So, if you’ve decided to start your Smartsheet export soon, you’d better test Project Management Migration Service.


