So you want to run your GitHub migration? But how about making your data export automated? Our team has prepared a perfect solution so that you enjoy all perks of the smooth and swift data migration. What’s more, is that your team can start monitoring your workflow and managing your projects with a new project management tool sooner.
How to Make Git Export Automatedly?
Successful data migration is the result of your choices. So, if you consider migrating your GitHub projects and repositories, try out Project Management Migration Service for your future data export. Here are the reasons why:
- Data migration service eliminates redundant manual work.
- Intuitive design makes the setting-up process easier and faster.
- An out-of-the-box field mapping helps you find your data after GitHub export.
What Records Can You Migrate from GitHub?
You can export the following records from your GitHub repository:
- Project lists (task lists)
- Tasks along with comments and tags
- “Completed at”, “Created at”, and “Updated” dates of tasks
- Users
Note: Only tasks from one column migrate during the demo migration of projects. When you export cards that aren’t linked to issues, their name adds to the description field. Cards migrate with the status “Open” and default assign.
Hence, if you need to migrate specific GitHub records, you can customize your data export. Contact our representatives to learn details.
How to Run GitHub Migration?
Follow these steps to set up your GitHub data migration:
1. Go to Migration Wizard and login into your account. In case, you don’t have one, sign up with your email address or social media account.
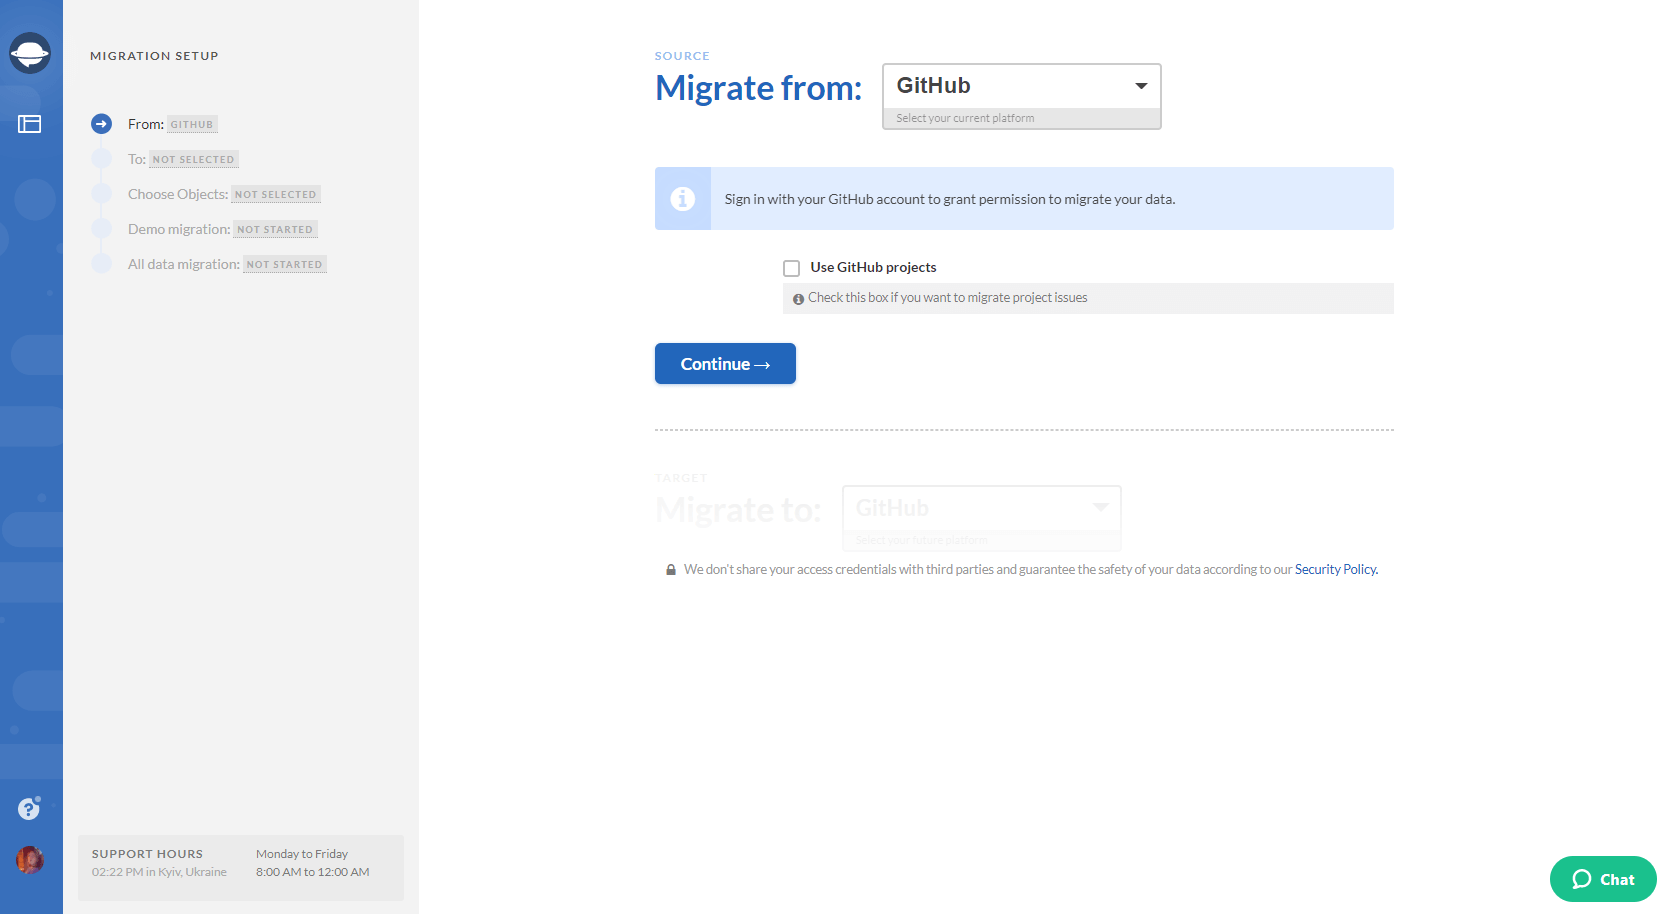
2. Choose GitHub as your source platform and provide the necessary information.
3. Configure your GitHub connection by selecting the required repository for the data export.
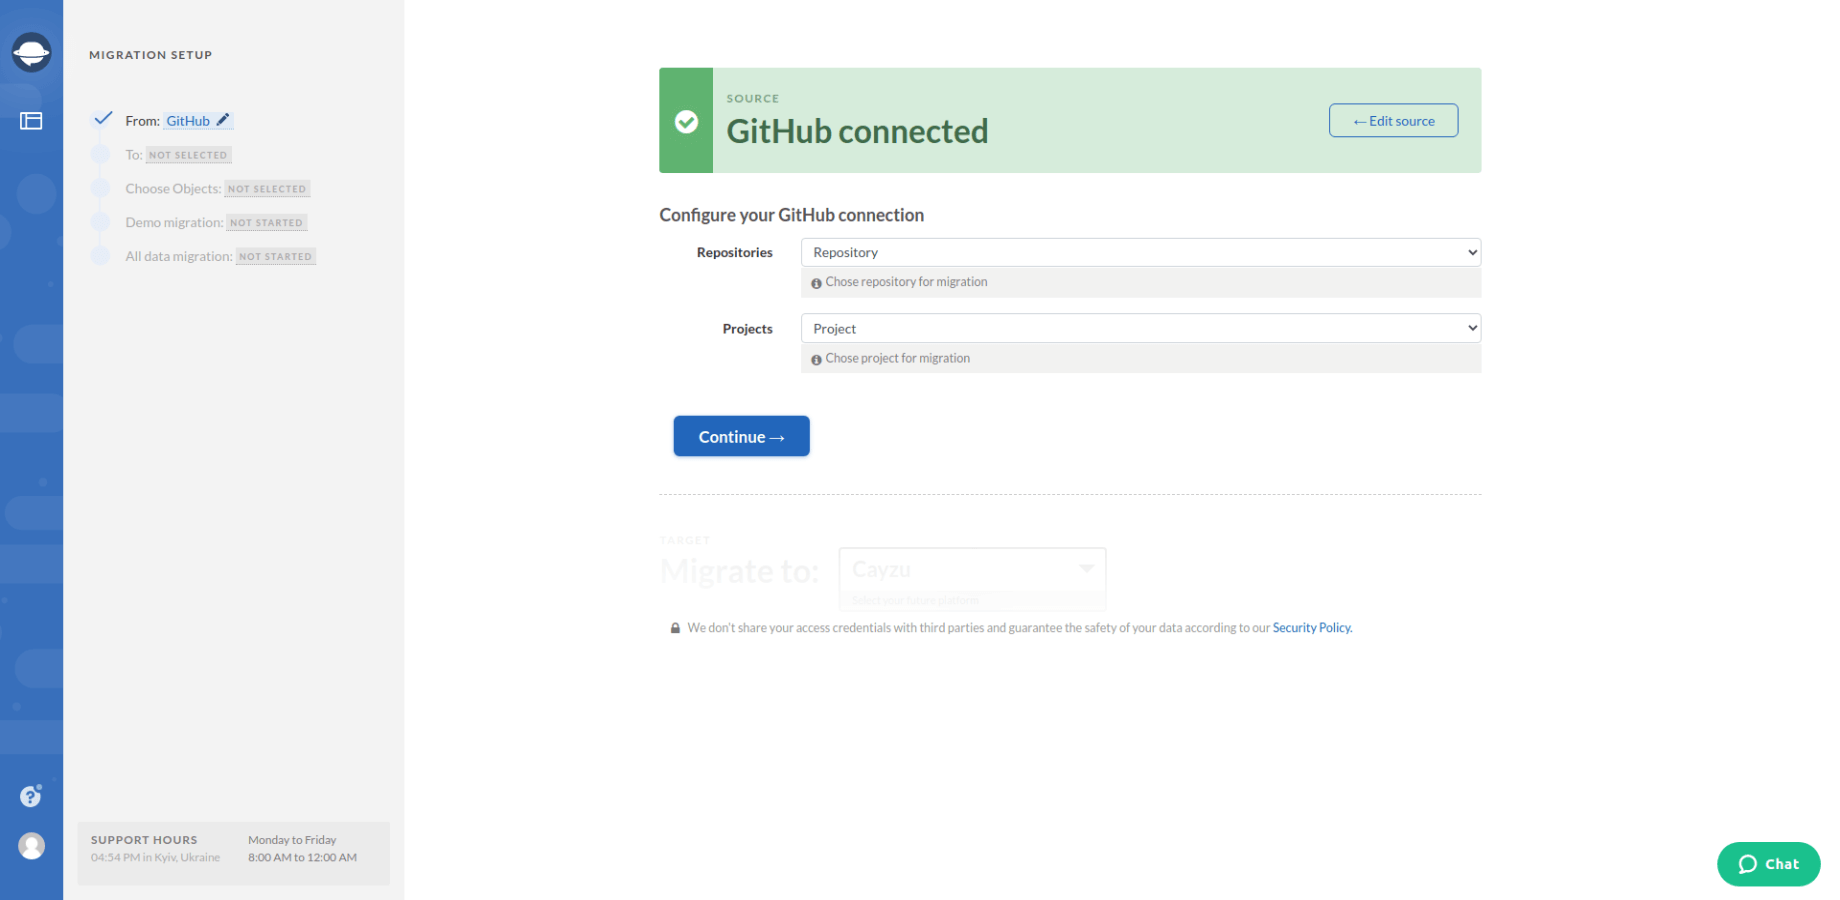
Note: If you want to migrate your projects, click Use GitHub projects during setting up the source platform. Then select the project during the Configure your GitHub connection step.
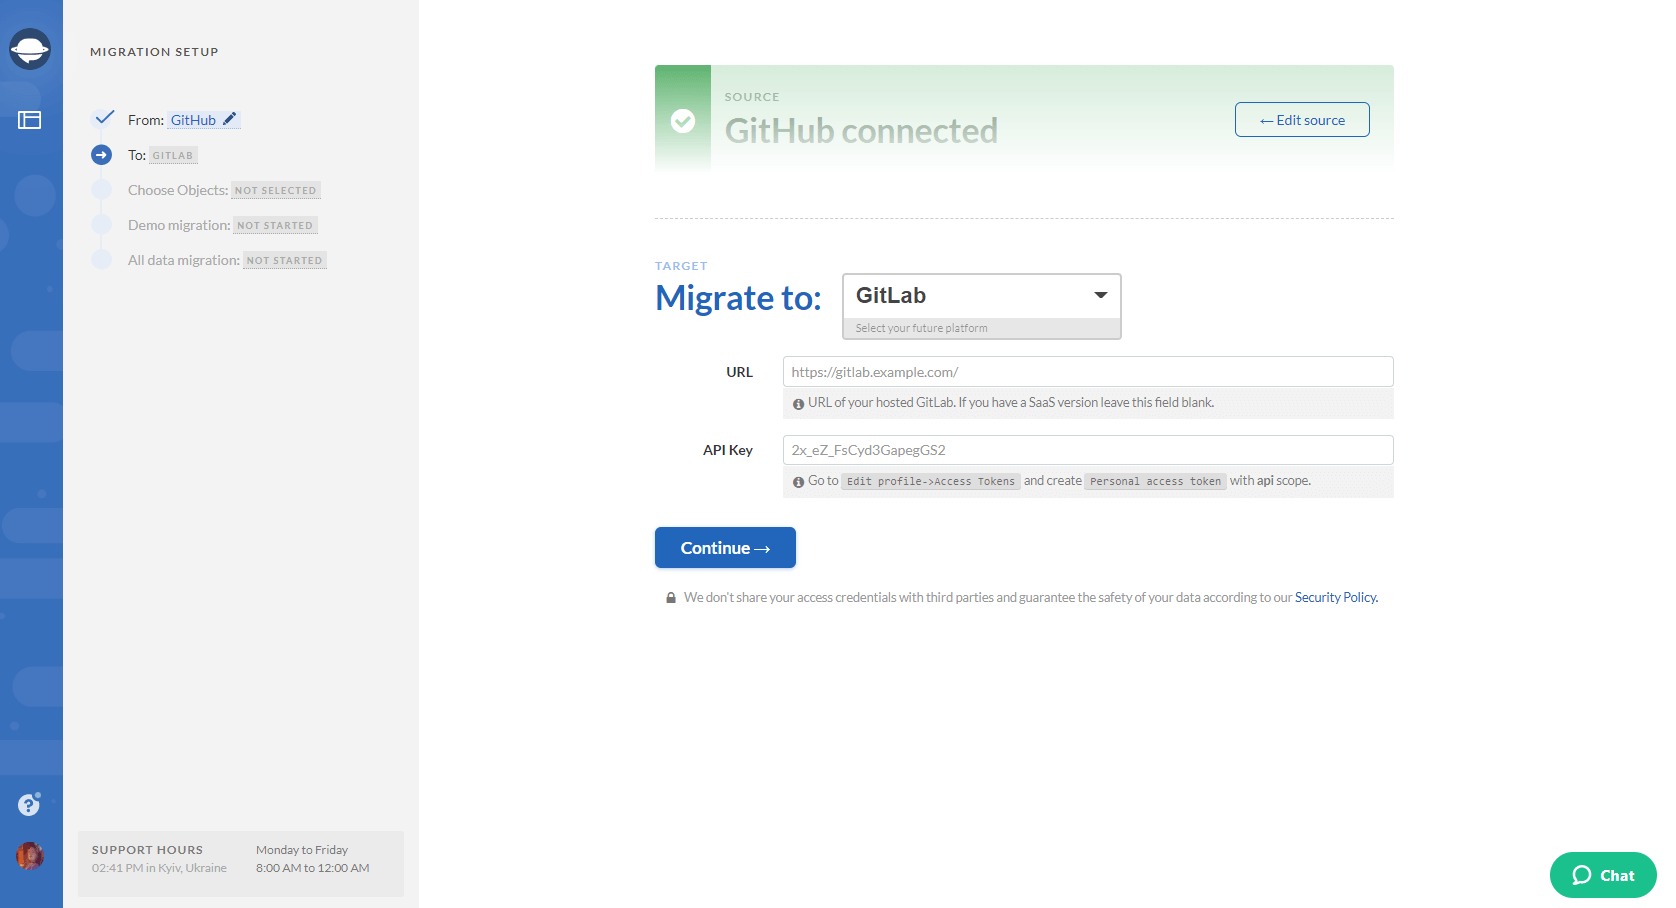
4. Select the target platform and fill in the access credentials. Configure the connection with Migration Wizard.
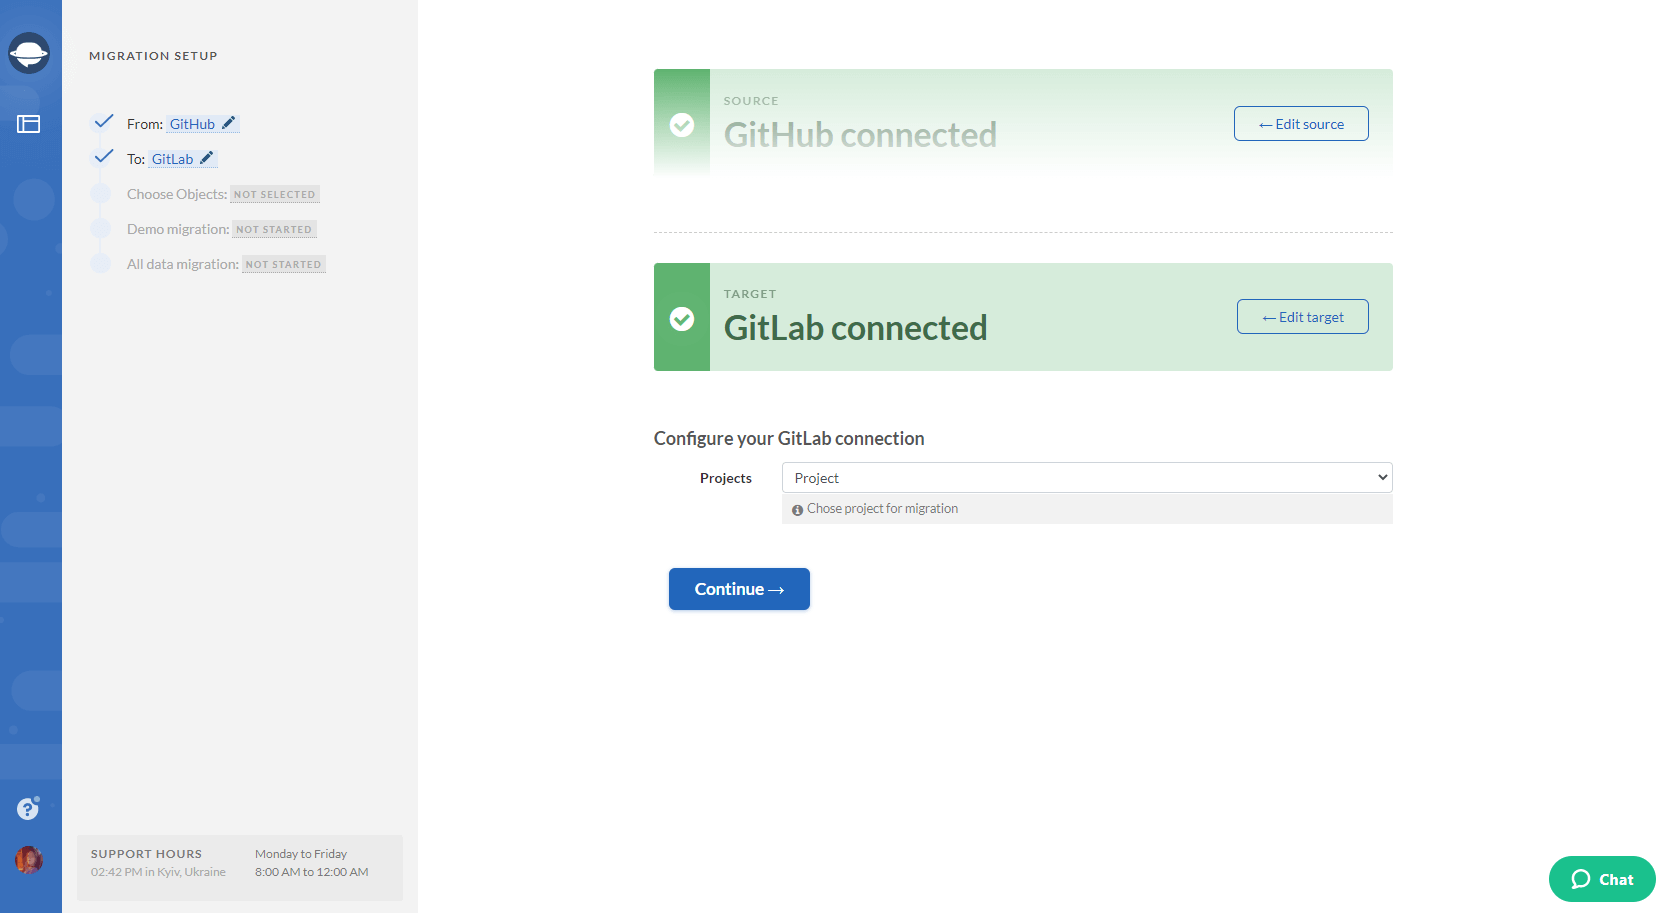
5. Select the data you want to export from GitHub. Select Issues and Migration Wizard will open a task mapping form.
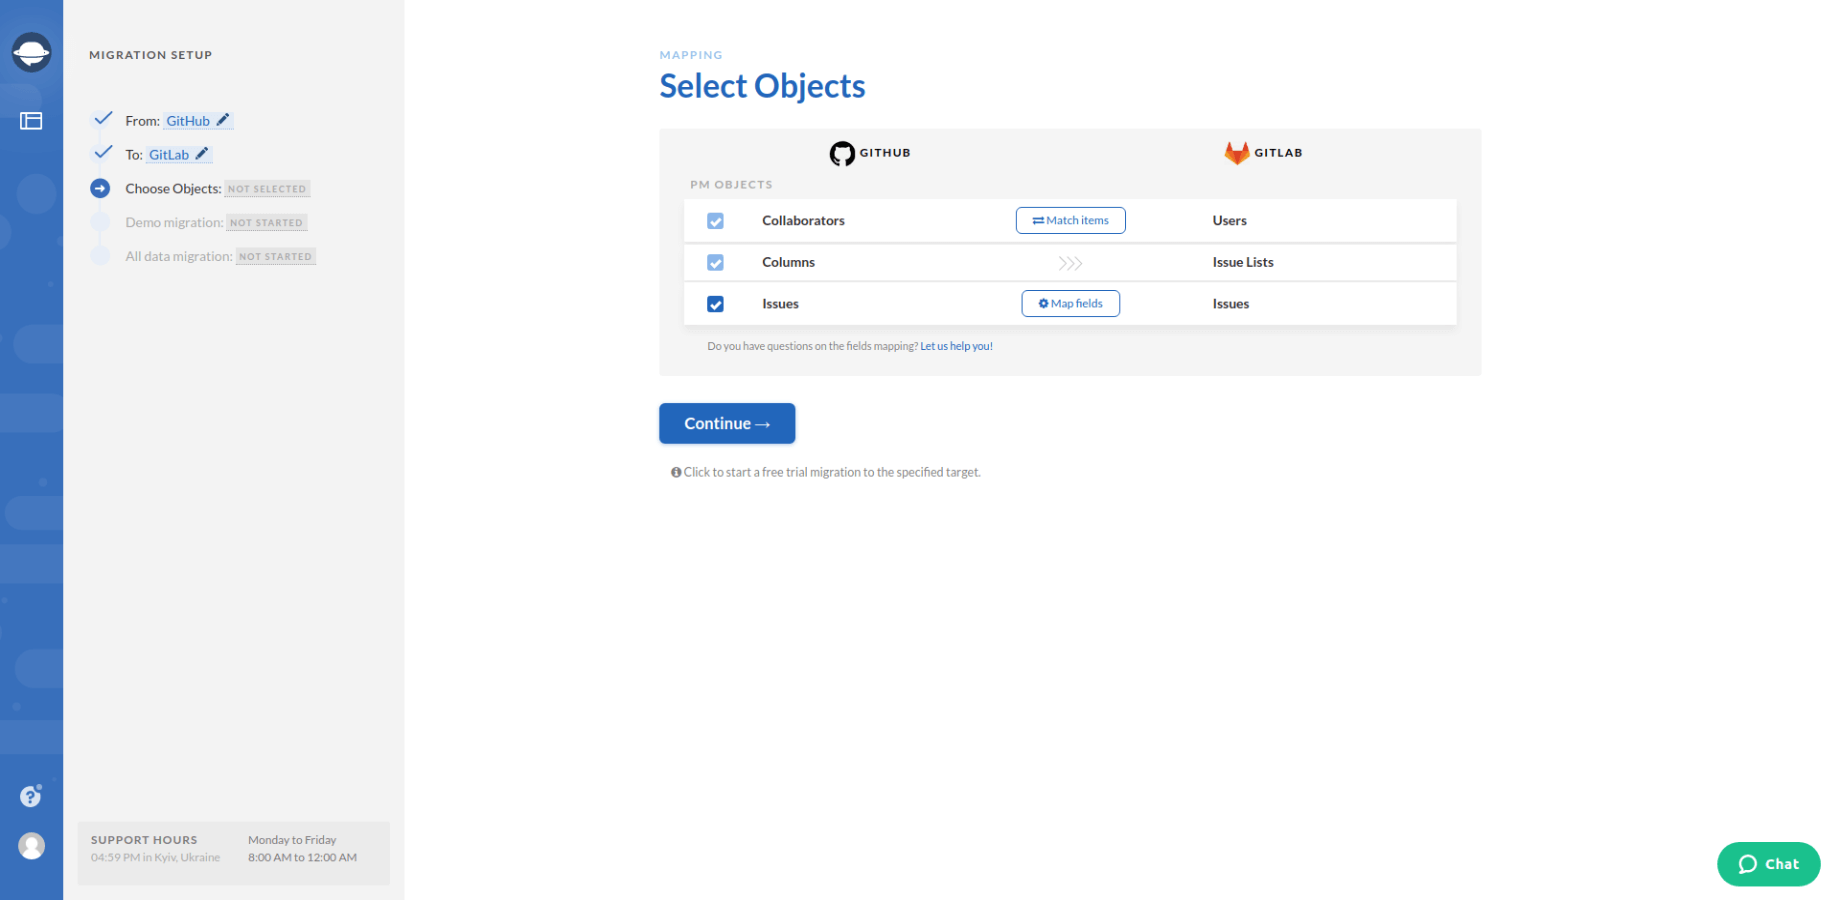
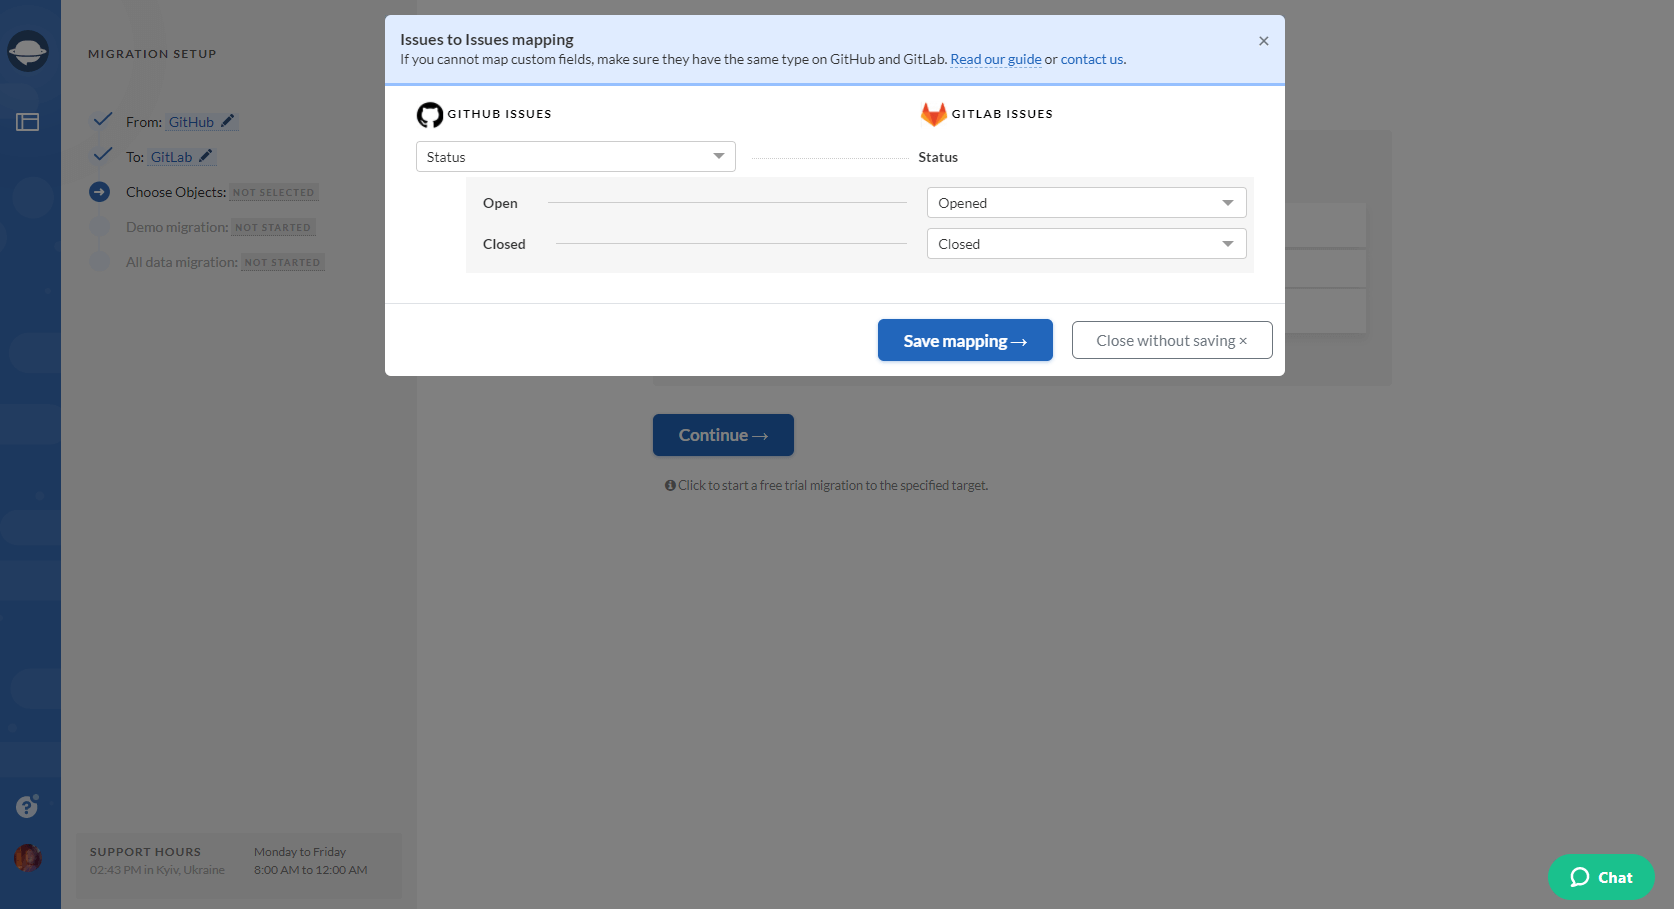
6. Map tasks between the systems.
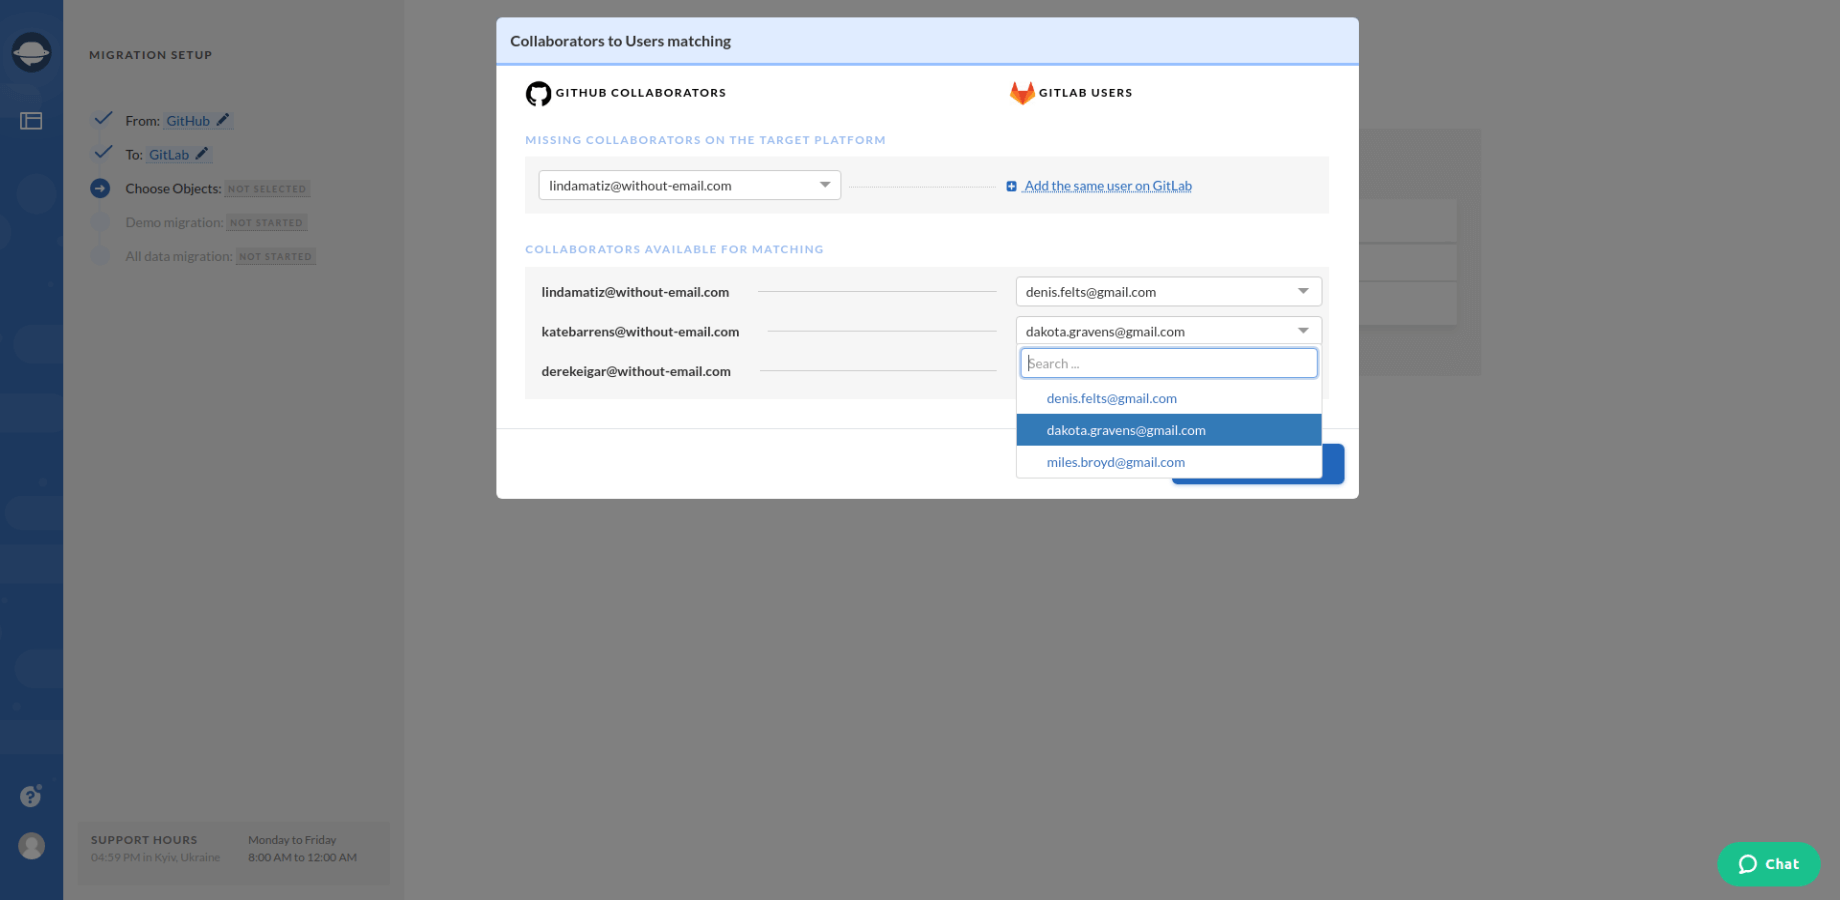
7. When Task mapping is done, move on to user matching. Click the Match items button and match users between the systems.
8. Launch the GitHub demo export to see whether the data migrates correctly. Сheck the Demo results by downloading the reports.
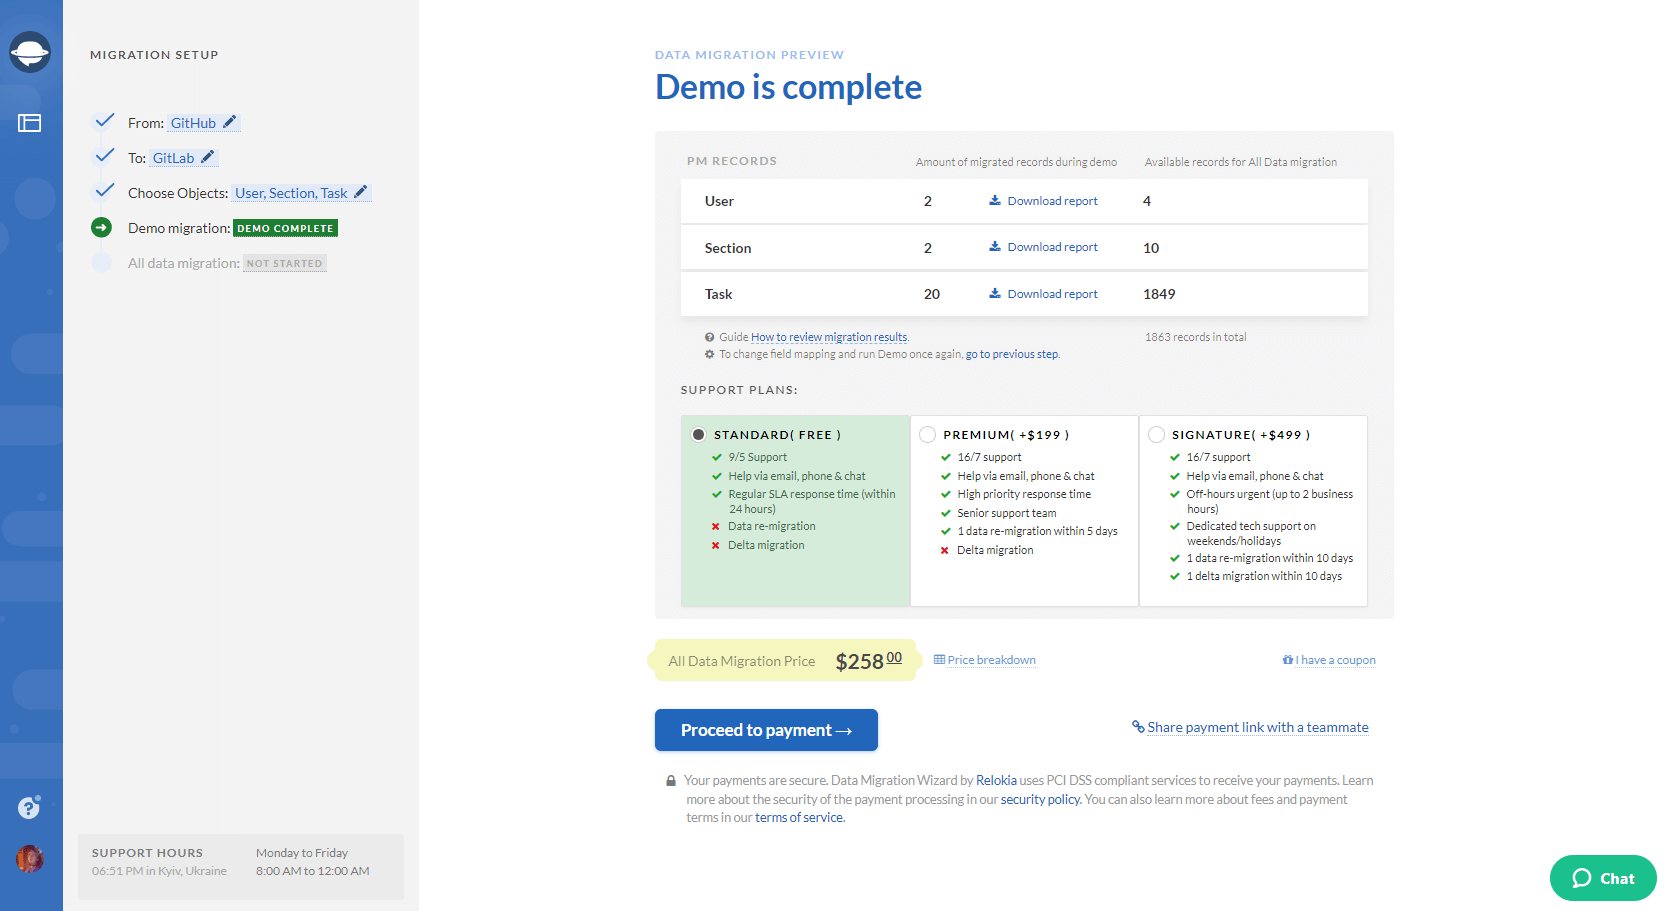
9. Satisfied with the Demo results, then start your Full GitHub migration.
Before Migrating GitHub Data
Make sure to check the following steps before setting your GitHub export up:
- Create an account on your target platform. You need a space where you export your projects and repositories.
- Ensure that you have access credentials from both source and target project management systems.
- Check if you have admin rights on your source and target accounts to launch the migration.
That’s you know how to run GitHub data export automatically and what records you can transfer. If you are planning to migrate your GitHub records, give a test drive to Project Management Migration Service.


