Are you thinking of GitLab importing from another platform? Or, perhaps, you want to improve your process workflow. Then migrate your projects to GitLab. This solution will help you direct team energy into one united workflow.
3 Benefits of Automated GitLab Migration
An automated tool is a secret ingredient to successful data migration. If you aim to move your data to Gitlab, try out Project Management Migration Service. Here are the reasons why:
- Service moves data automatically and quickly.
- User-friendly interface without coding or other manual work required.
- The connections between records are preserved after the data transfer.
How to Launch GitLab Import?
1. Log in to your Migration Wizard. In case, you don’t have one, sign up with your email or any social media account.
2. Choose your current project management system and provide the required access information.
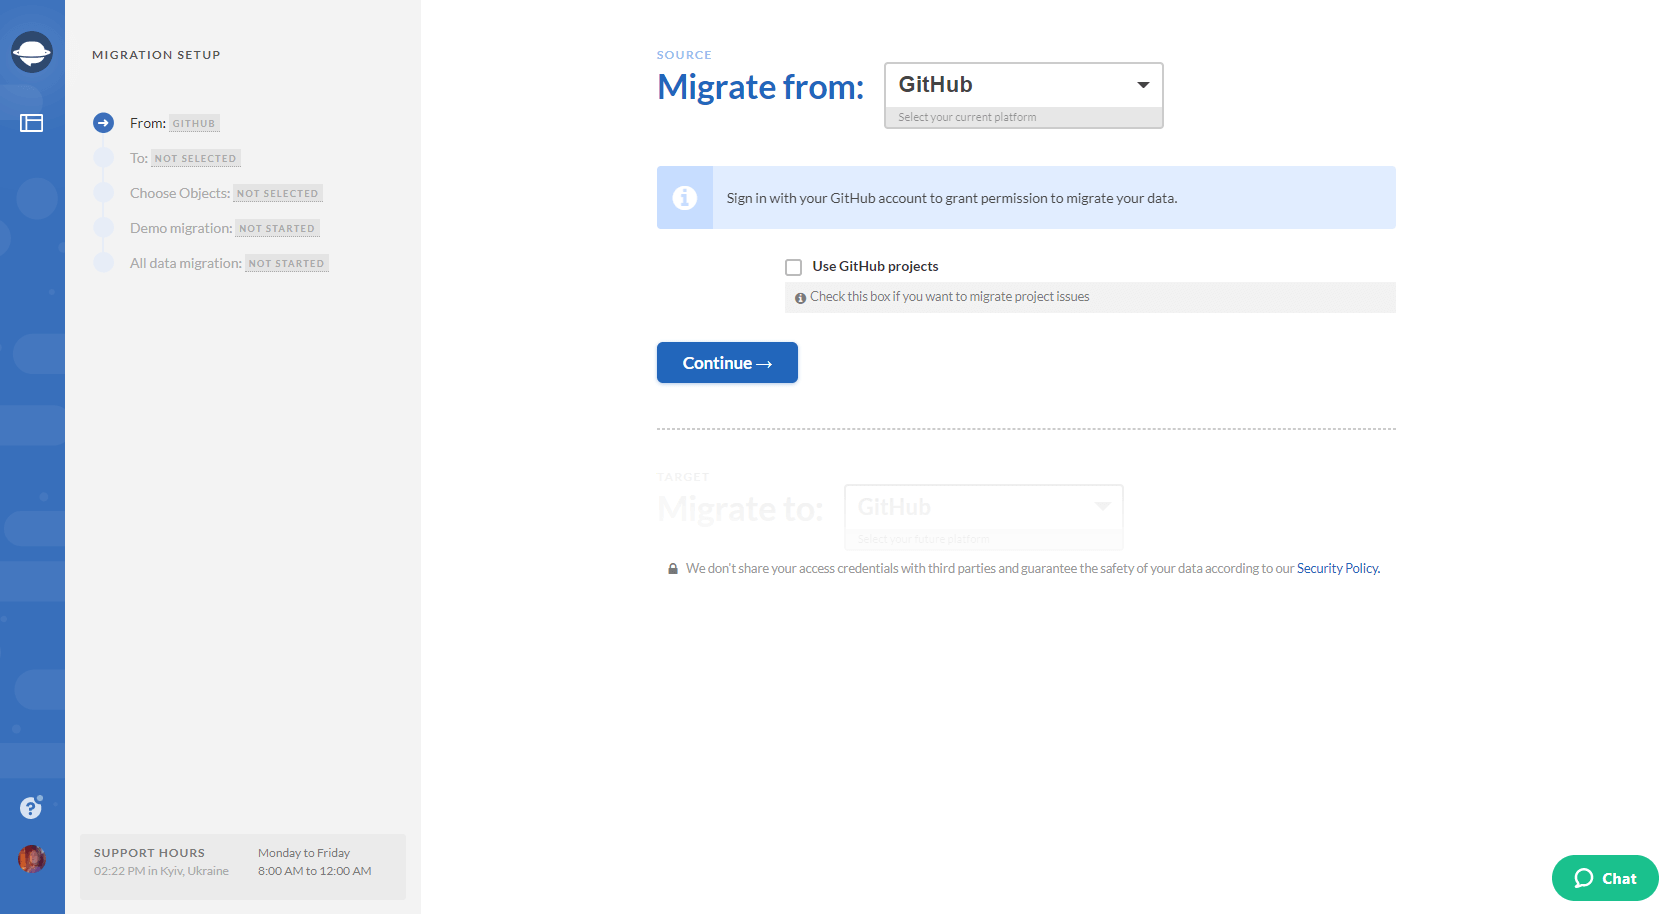
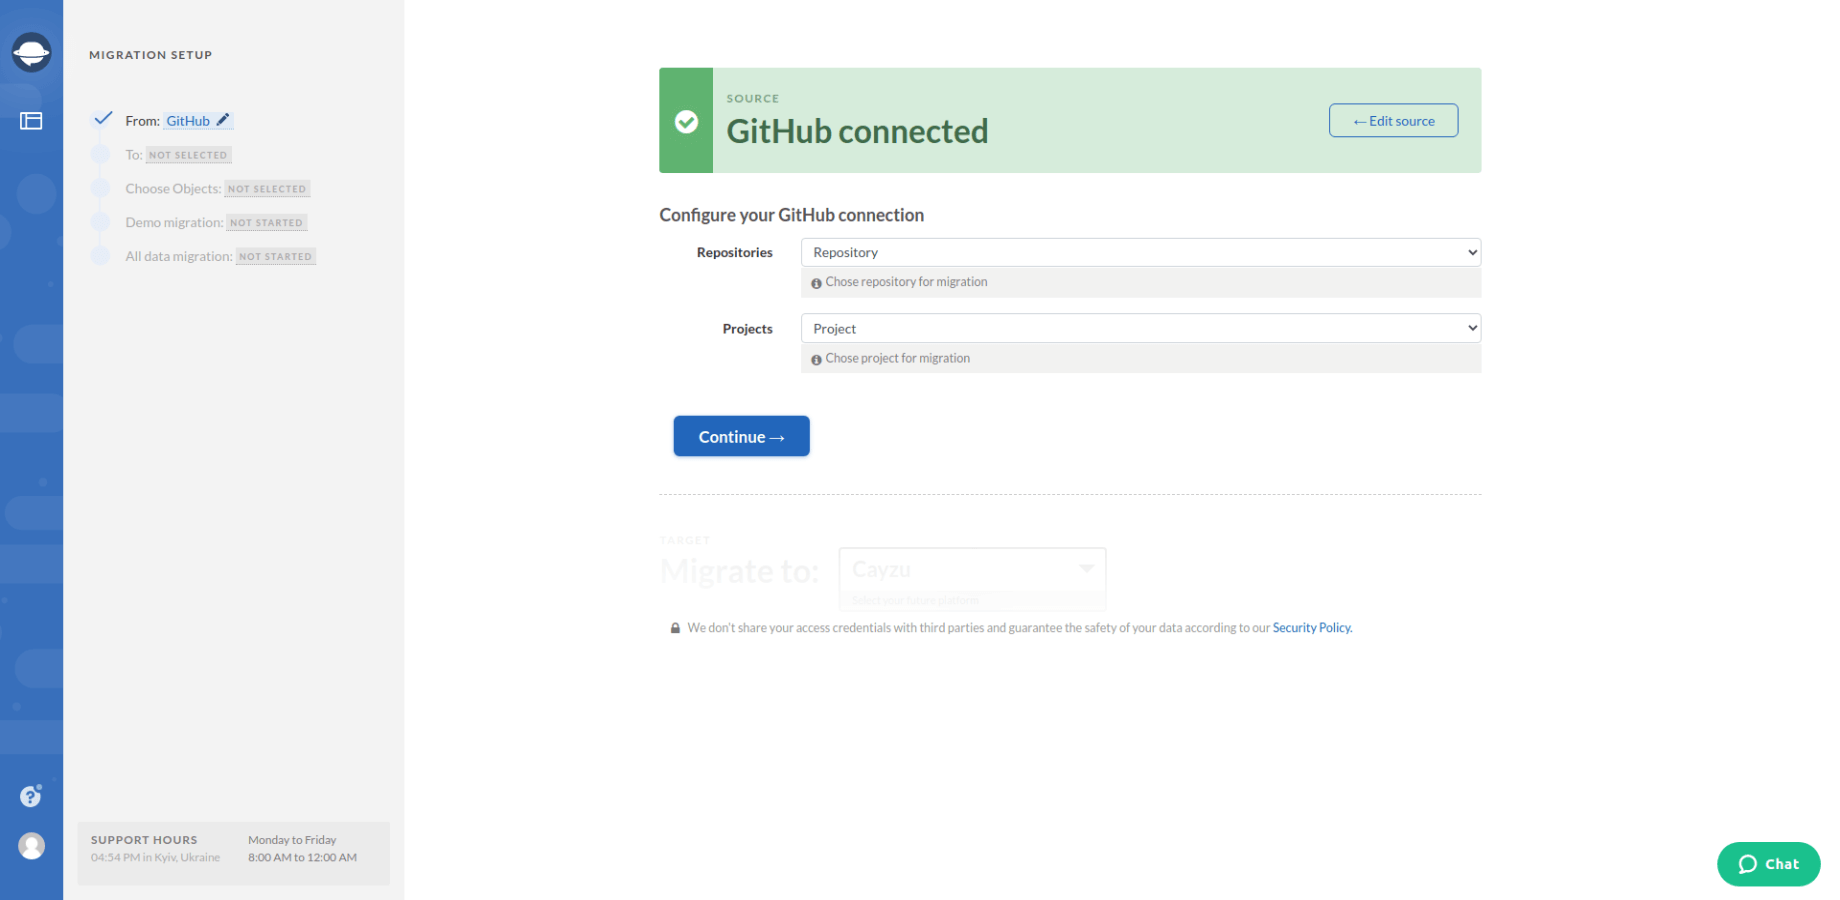
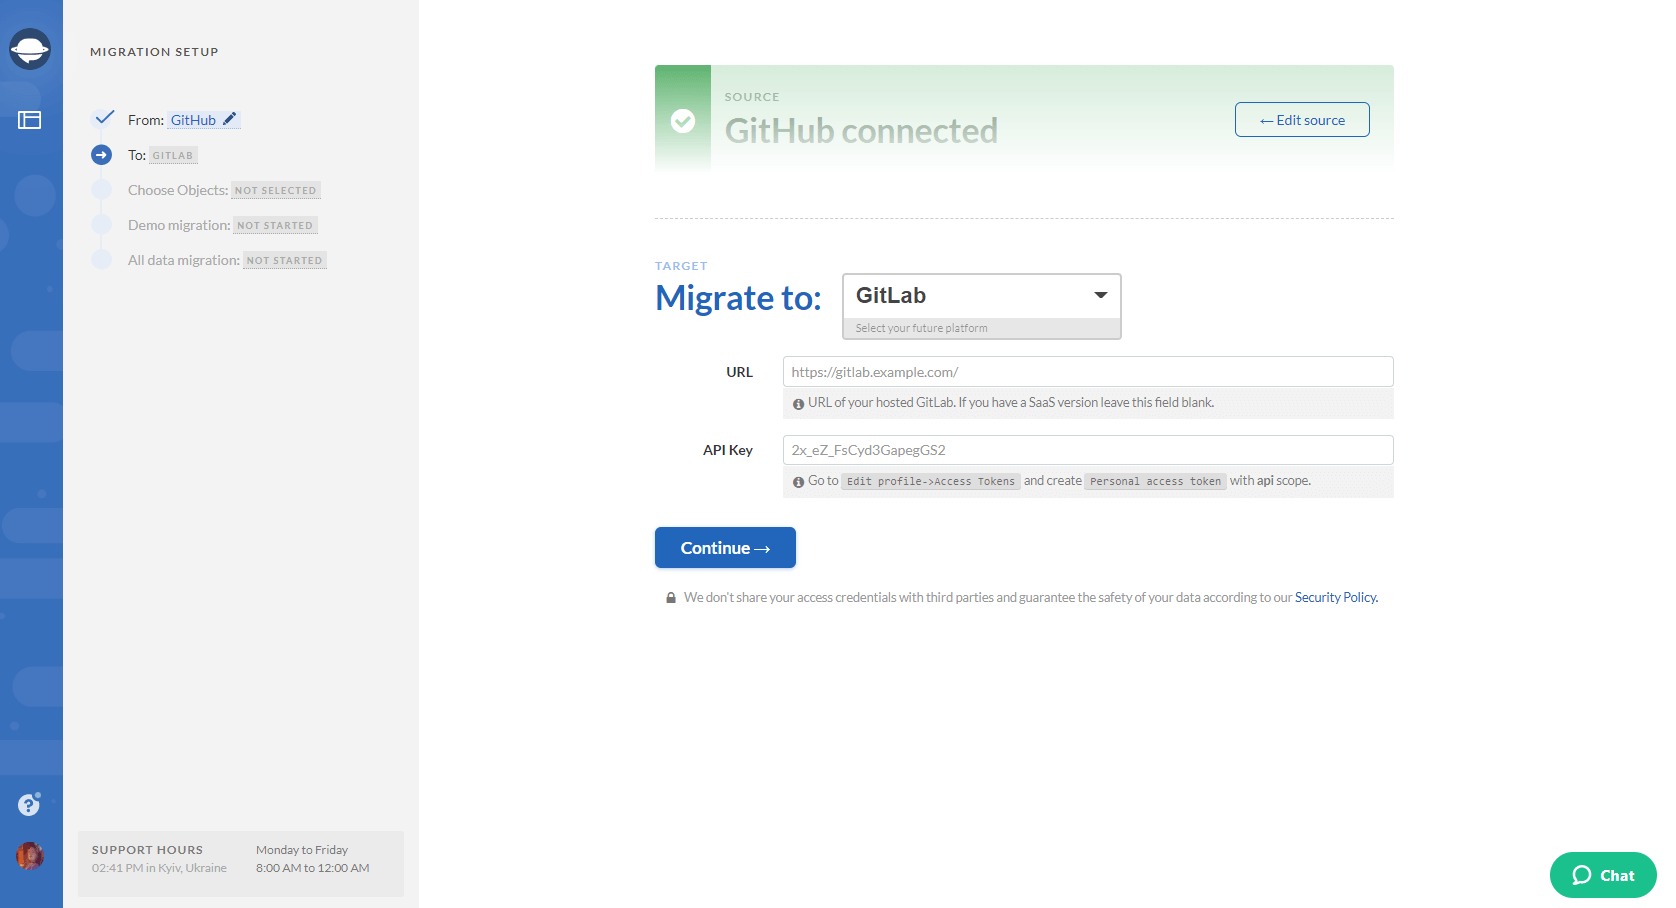
3. Select GitLab as your target platform and fill in the access credentials.
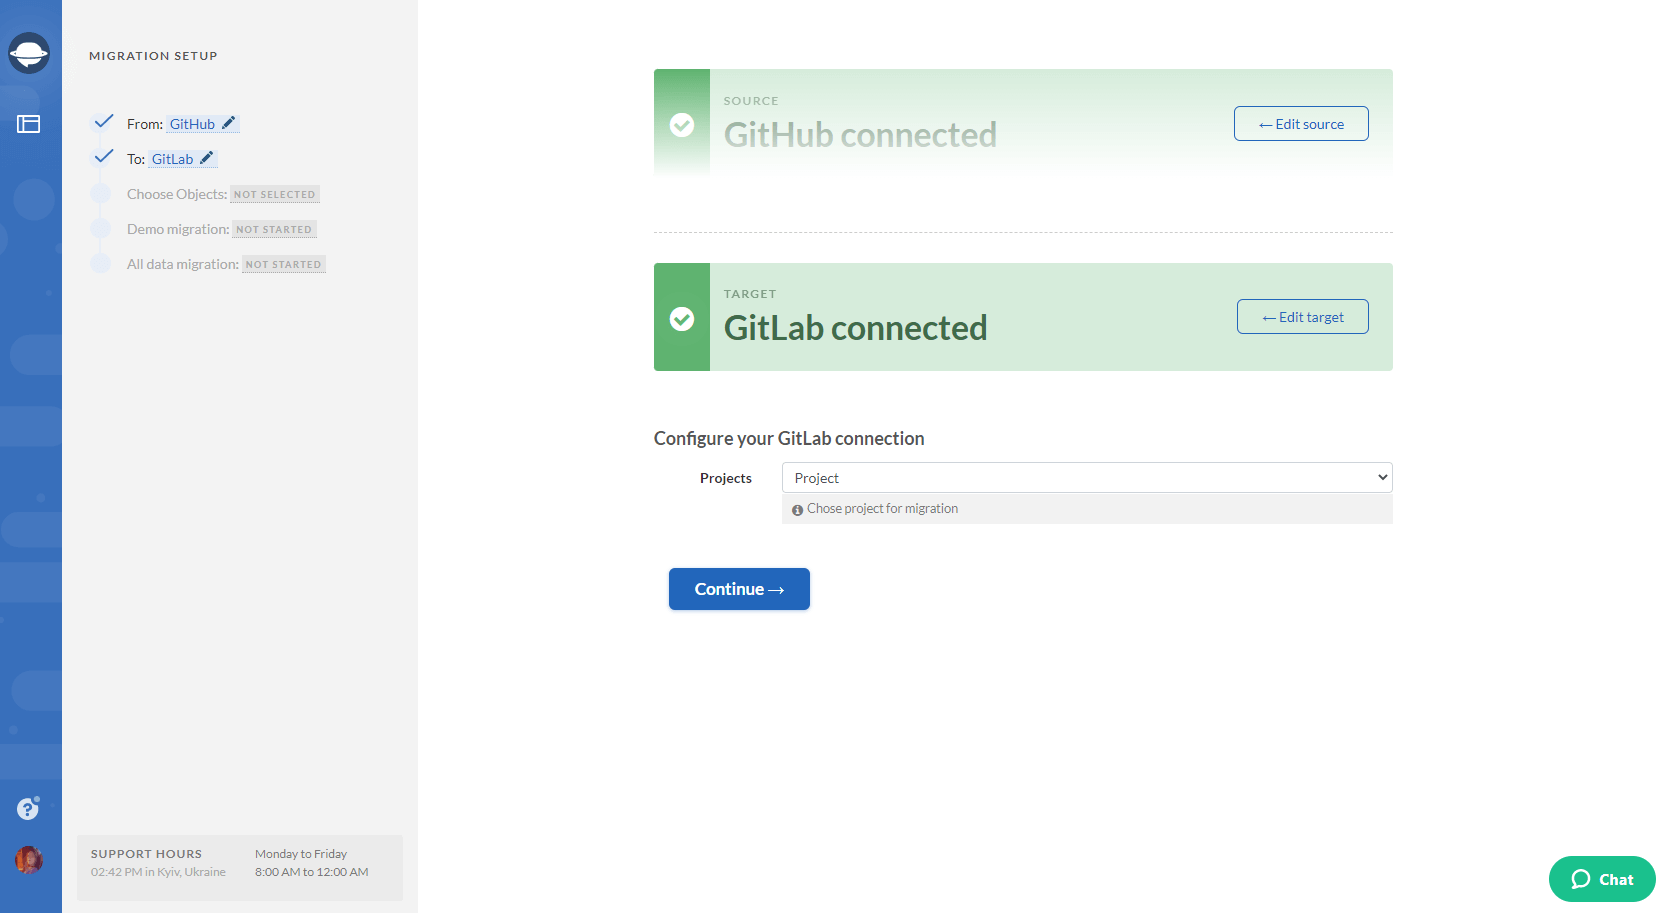
4. Configure your GitLab connection by choosing the project.
5. Define the data you would like to import to GitLab. Select Tasks and Migration Wizard will open a task mapping form.
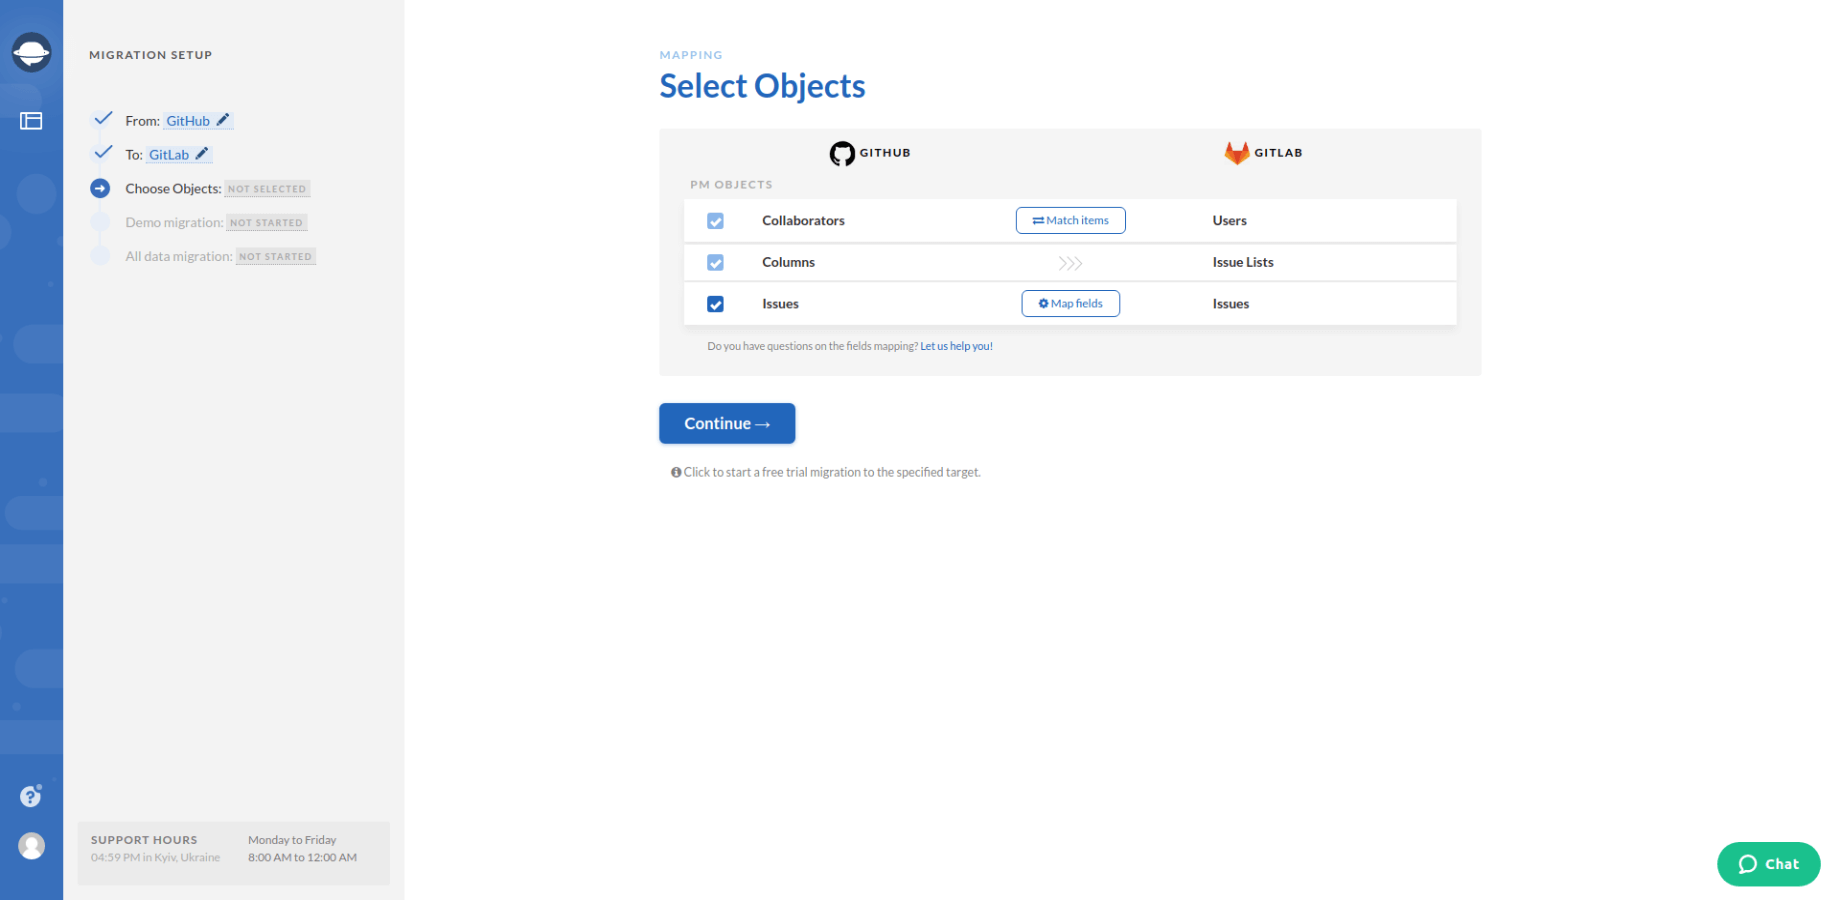
Note: Pay attention to the table, as some records can change their names after the GitLab import.
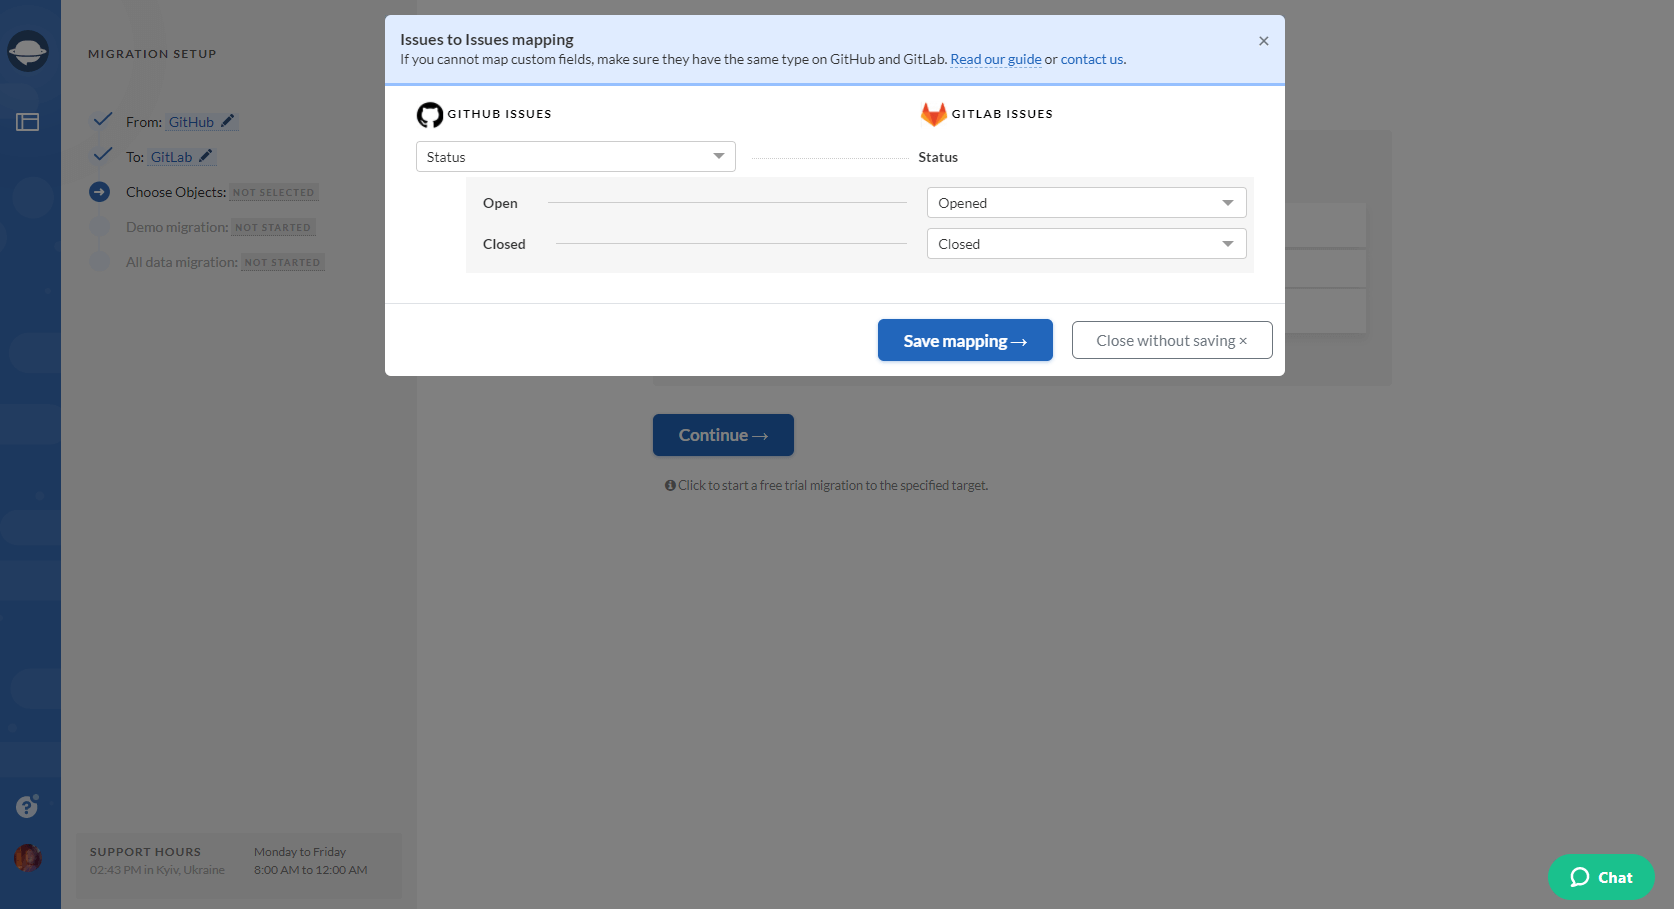
6. Set up the mapping of the fields.
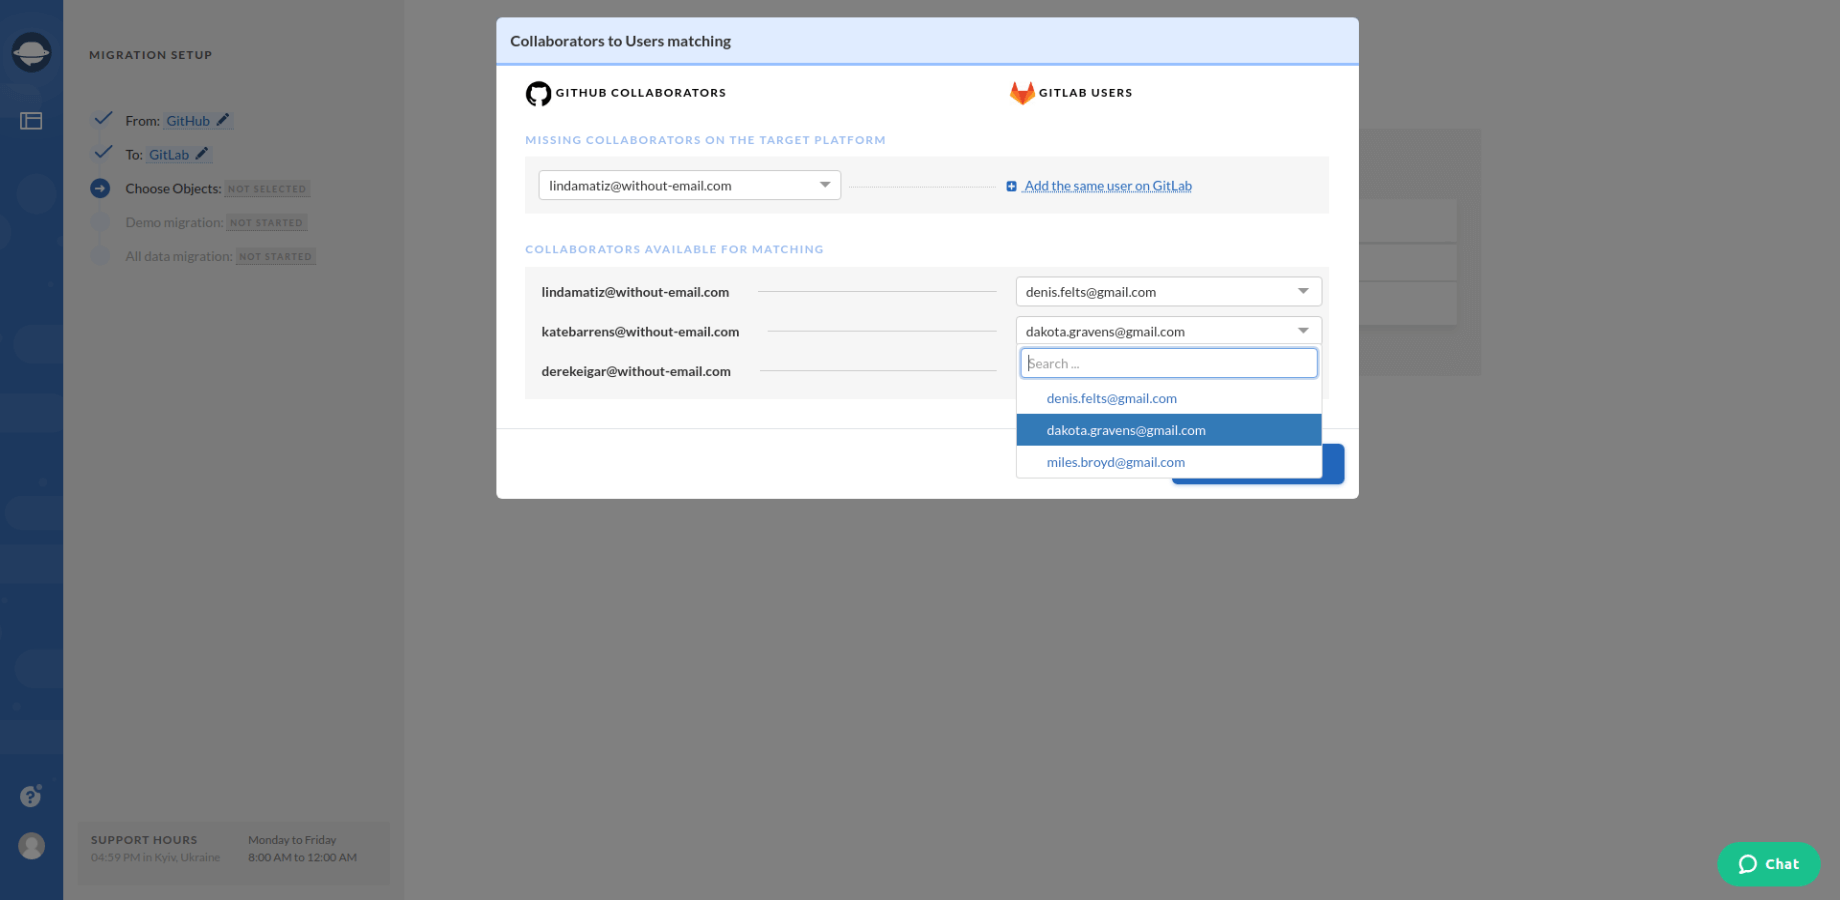
7. When Task mapping is done, move on to user matching. Click the Match items button and match users between the systems.
8. Set up a free Demo import to GitLab. You can test-drive the tool performance and data on the new system. To check Demo migration results download reports that you can find next to the records.
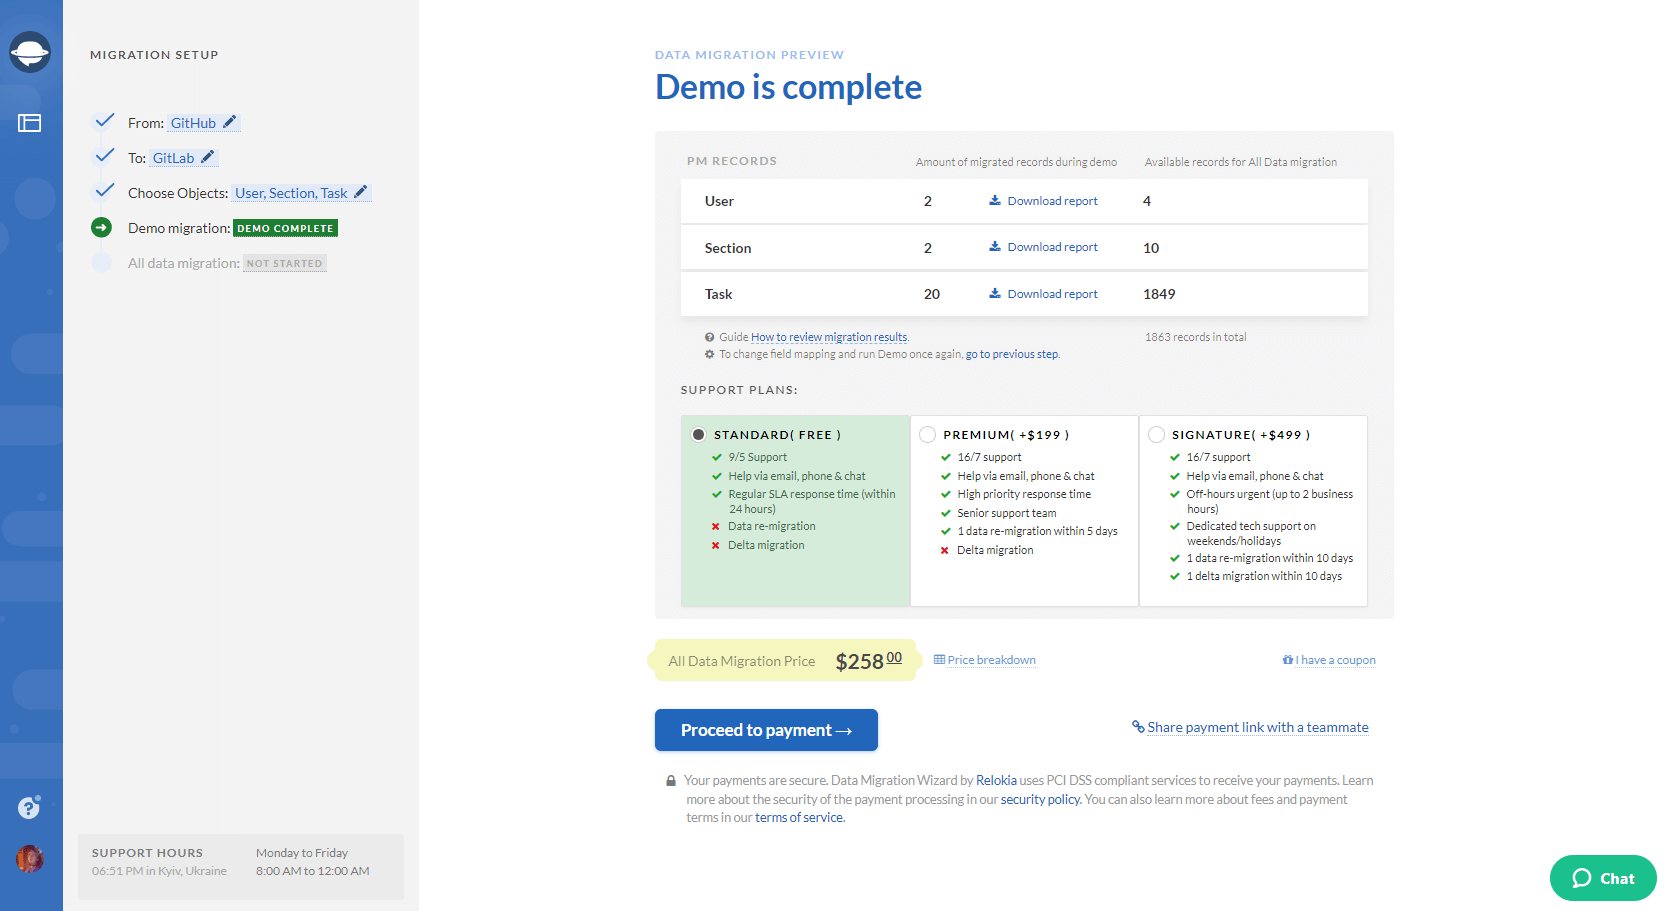
9. Proceed with the Full Data Migration if you are satisfied with the Demo GitLab import results.
What Data Can You Import to GitLab?
Project Management System Migration service supports migration of the following data:
- Tasks
- Task comments along with “Created at” dates
- Task tags
- “Due”, “Created at” and “Updated” dates of tasks
Notes to pay attention to:
- Project lists (Task lists) migrate if the user creates the column by tag.
- Users can be imported only to the server version.
- During the migration, the name of the task author adds to the task description.
To Conclude
Before initiating your GitLab import, check out the following things:
- Make sure you have access credentials to both source and target solutions. Migration Wizard won’t be able to connect with your platforms without this information.
- Check if you have admin rights on both project management systems to run your GitLab import.
As you can see, GitLab data import is a straightforward process. So how about launching your automated data migration right now? Just choose Project Management Migration Service and get your data moving.


