If you’re feeling intimidated by changing your project management system, don’t be. Smartsheet import in an automated way isn’t just an idea anymore. Sounds interesting? Keep on reading to figure out more.
Smartsheet Import: Excel and Other Options
The key to success is a choice. So if you consider about importing your data to Smartsheet, you got at least three options to choose from:
- Built-in import option: Smartsheet enables you to import the existing Excel files, Google Spreadsheet, and Trello boards. When you move these types of files, you create a new sheet automatically. Make sure your files don’t exceed 50 MB or 20 000 rows. Note that you can’t import images from external files, formulas, and archived Trello cards;
- Import from Microsoft Project: you can import projects from Microsoft Project. Smartsheet doesn’t support constraints that’s why some rows can be out of order after the data import. You can import sheets from a Microsoft Excel Workbook as well;
- Automated migration service: Migration Wizard allows you to import all your core data. The tool preserves all connections between records so that you can find them easily after Smartsheet import. The process is automated so you don’t need to move any of your data manually.
How to Run Automated Smartsheet Migration?
You’ve decided to use the automated migration service to get your data to Smartsheet. Great choice. Here’s a quick guide on how to succeed with this task.
1. Sign up or log in to your account.
2. Connect your source platform to the Migration Wizard. Follow the onscreen prompts to connect your source project management tool.
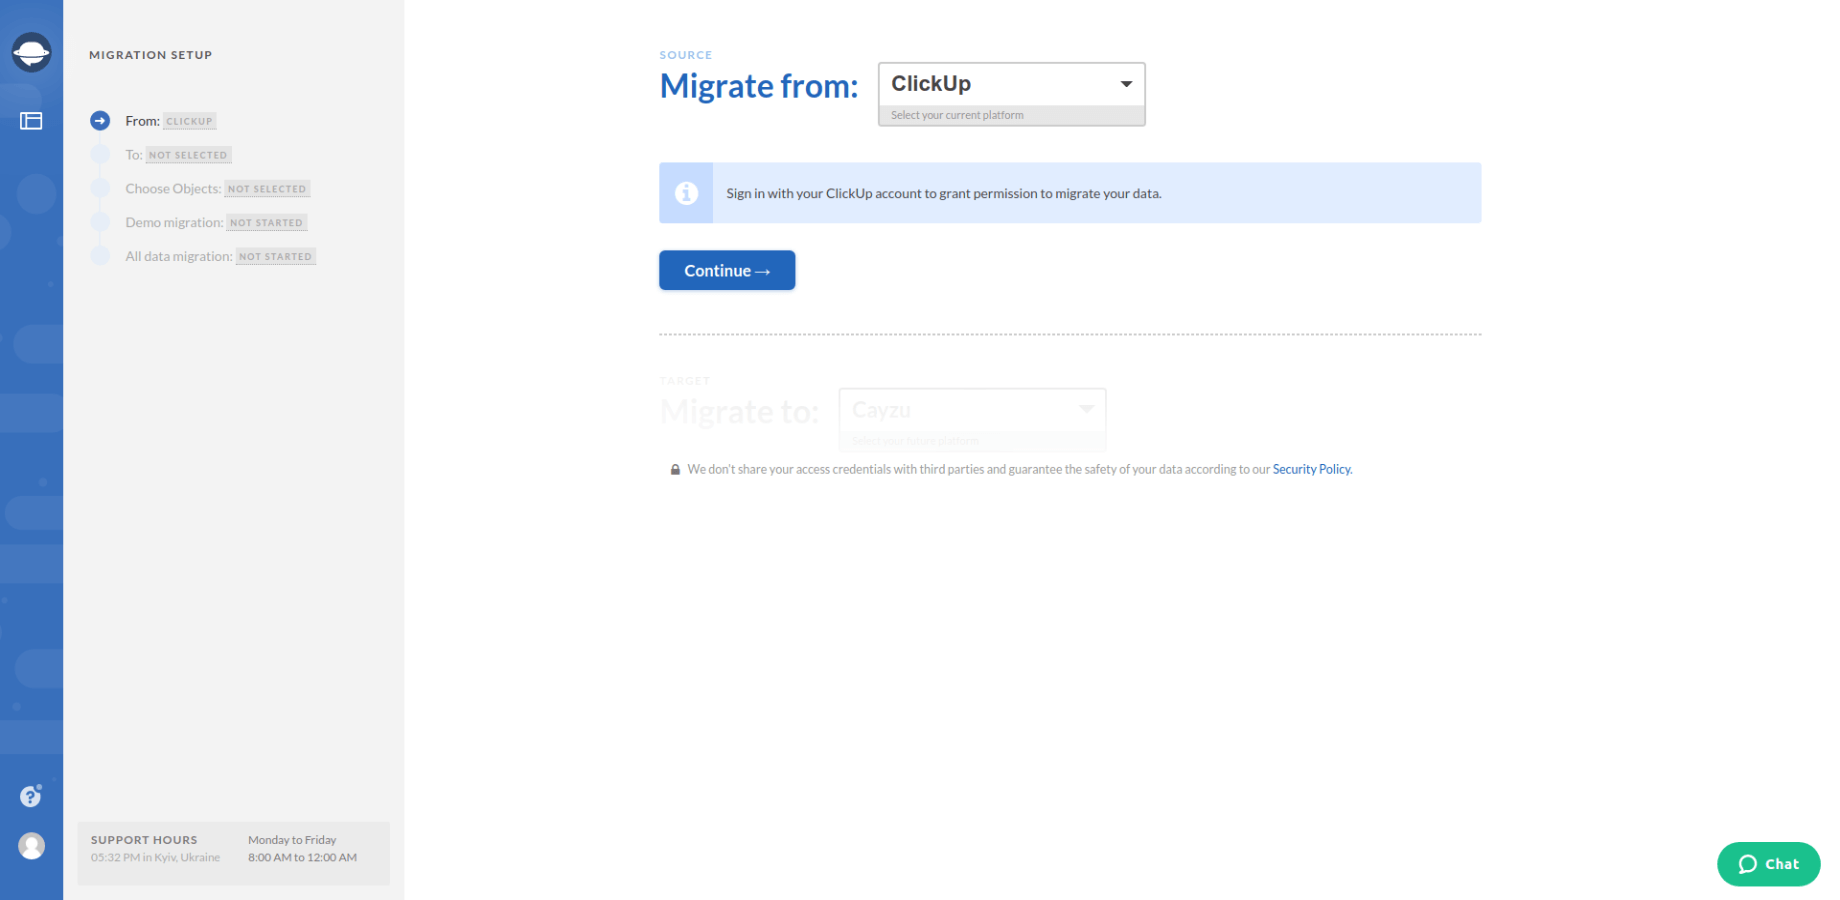
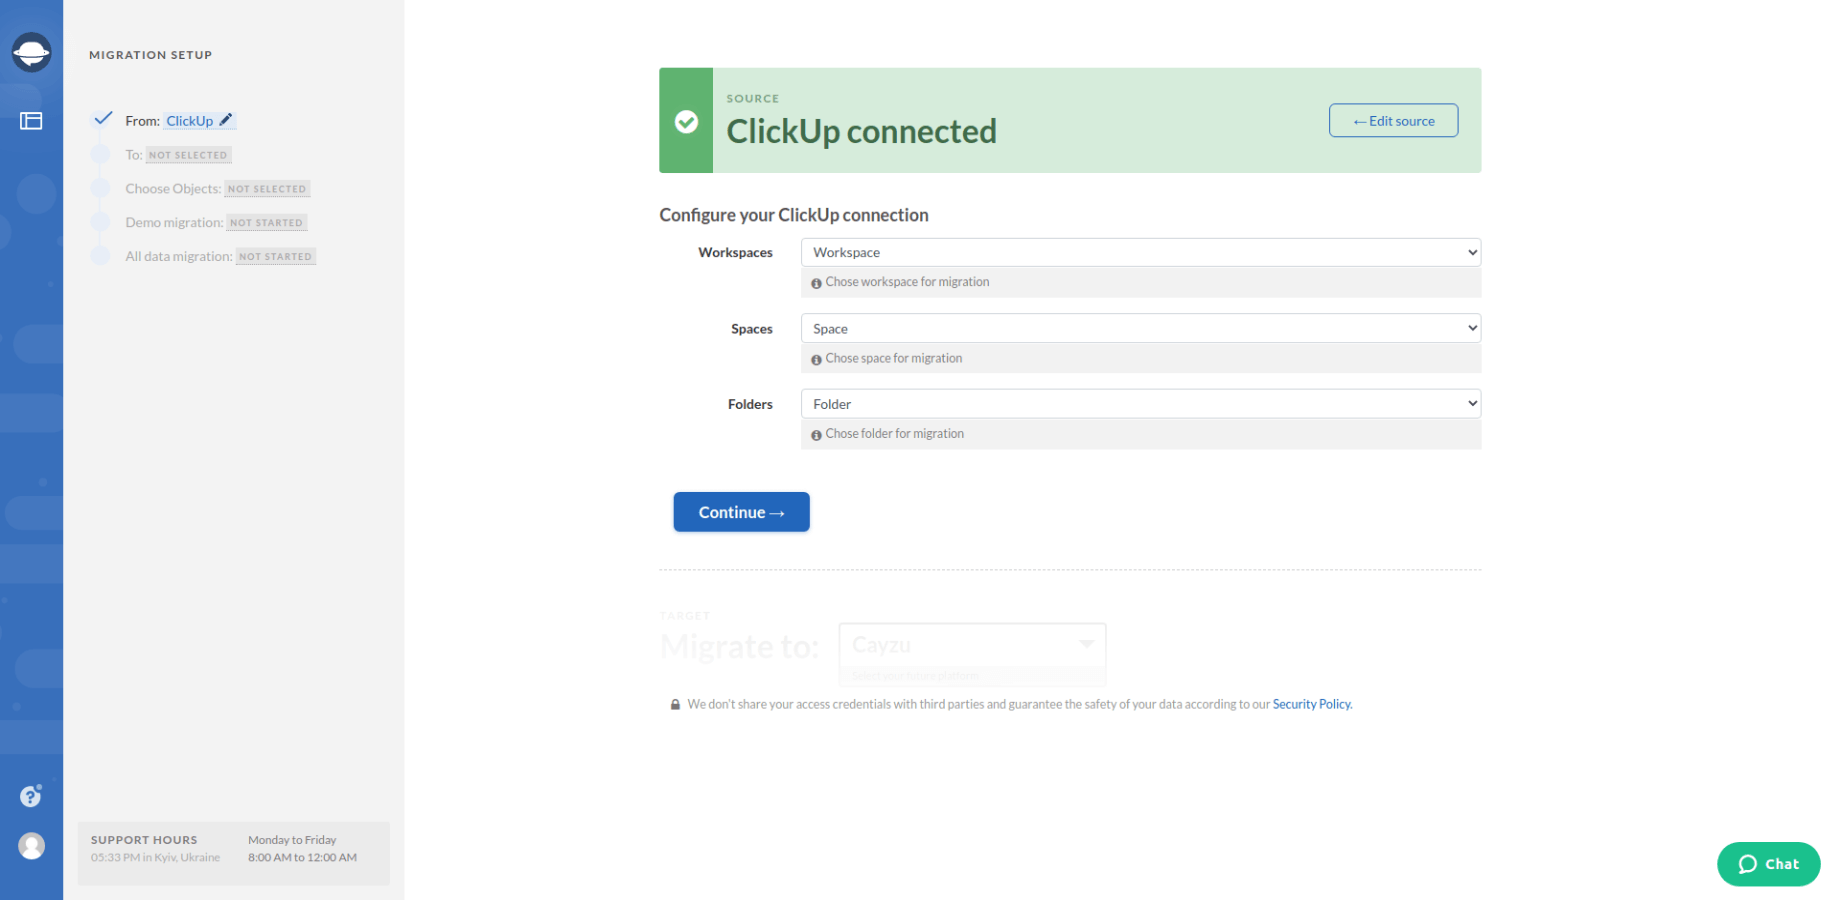
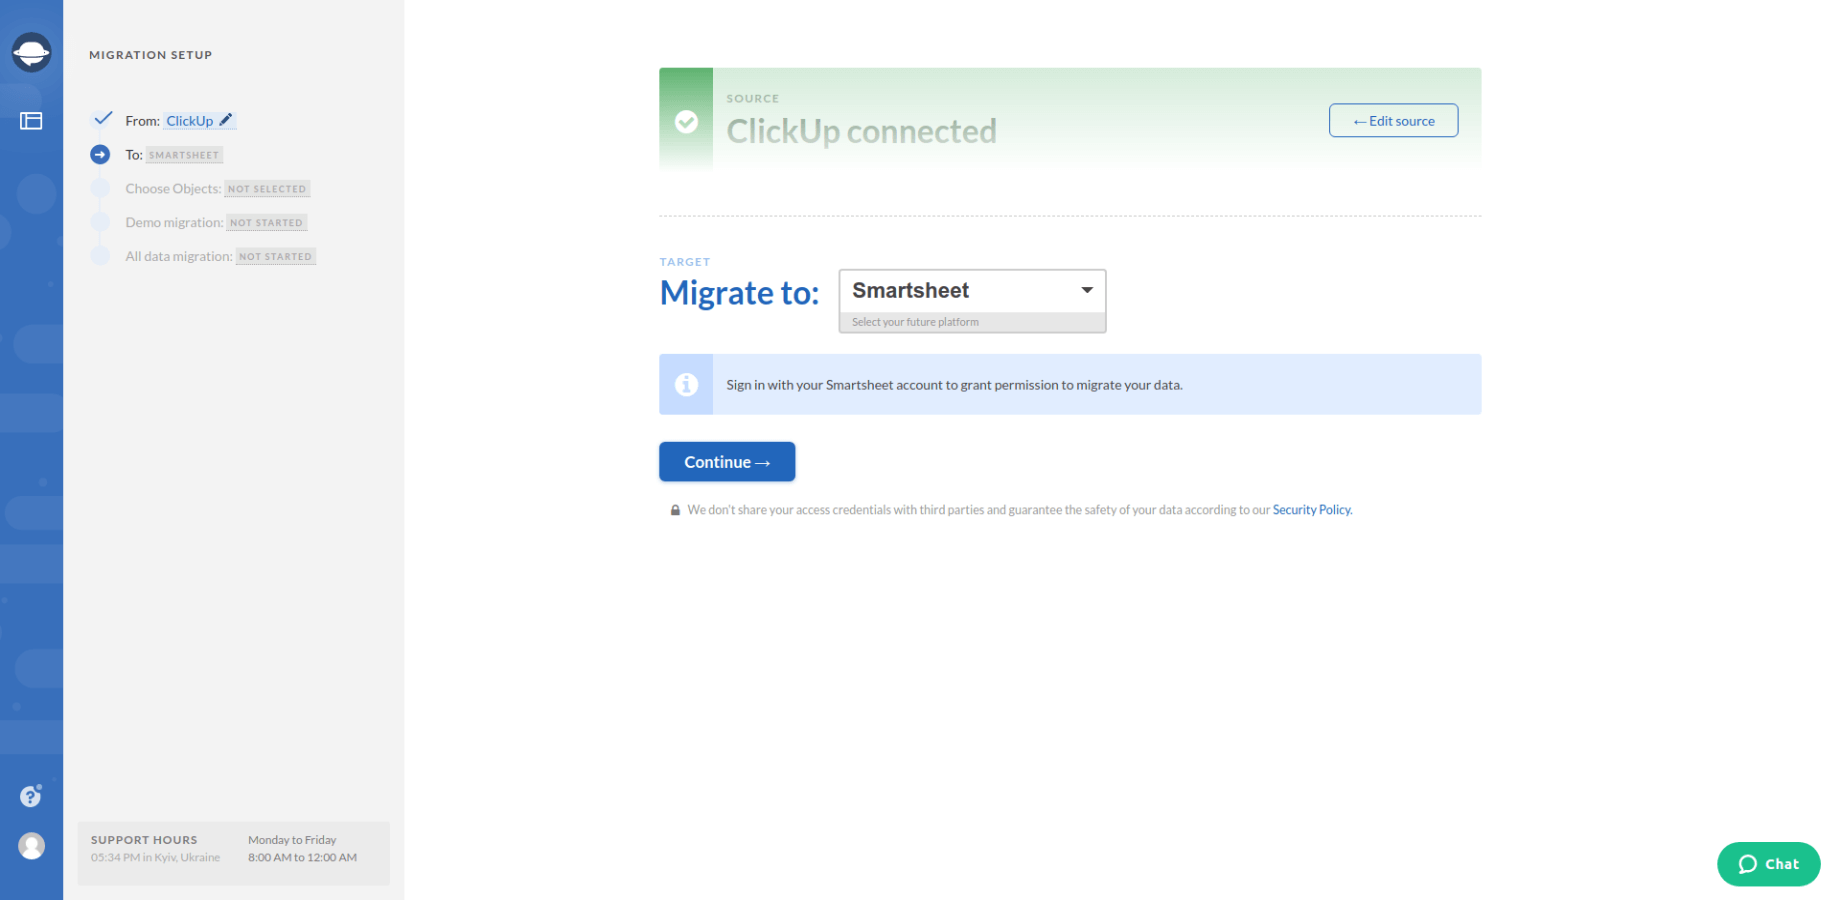
3. Choose Smartsheet as your target platform and sign in with your account.
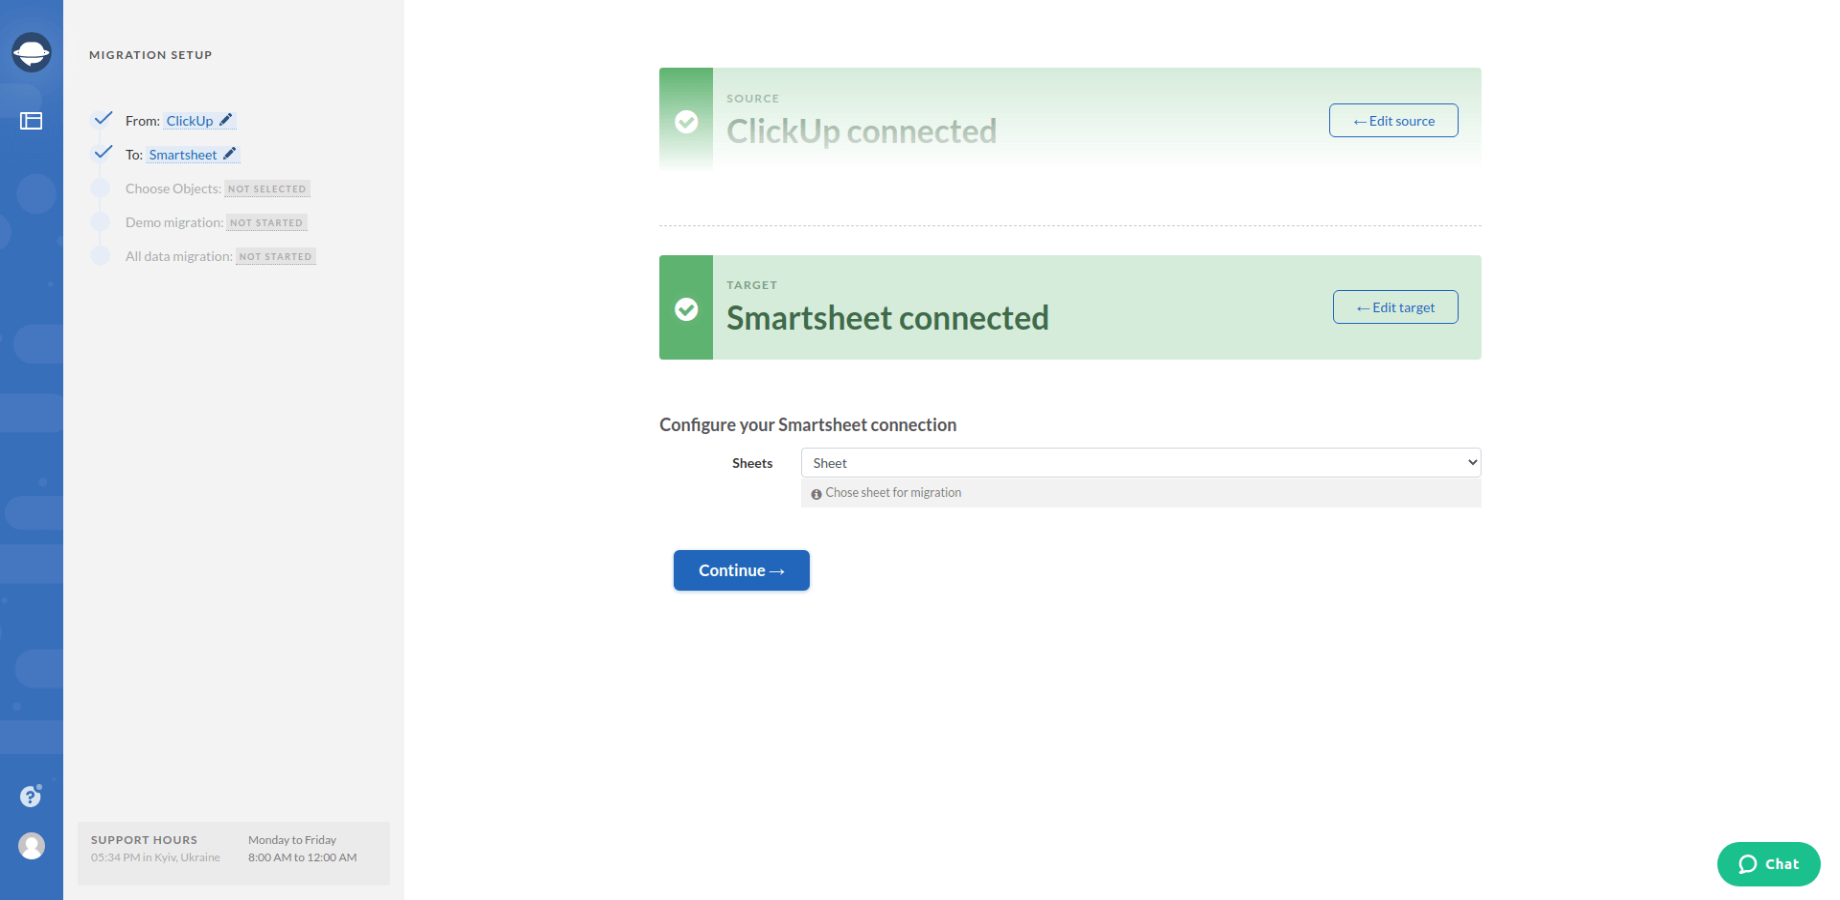
4. Then choose the sheet where you want your data to go.
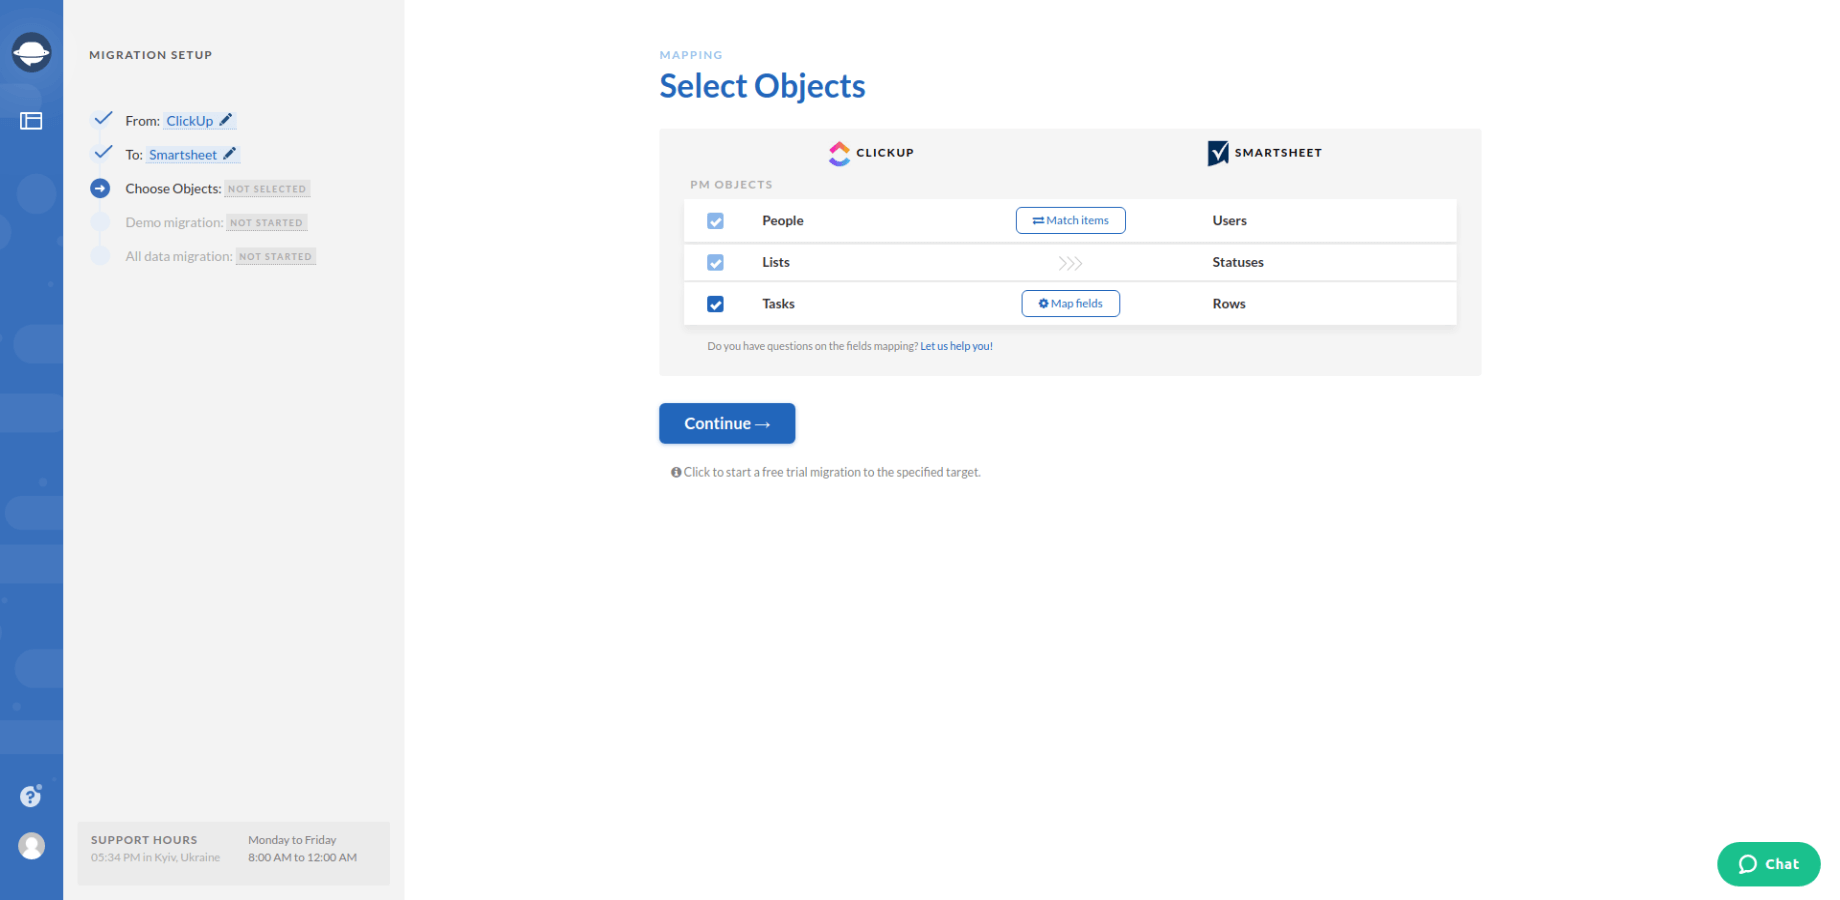
5. Now, select Tasks. The Migration Wizard will automatically select the other objects and open a mapping form.
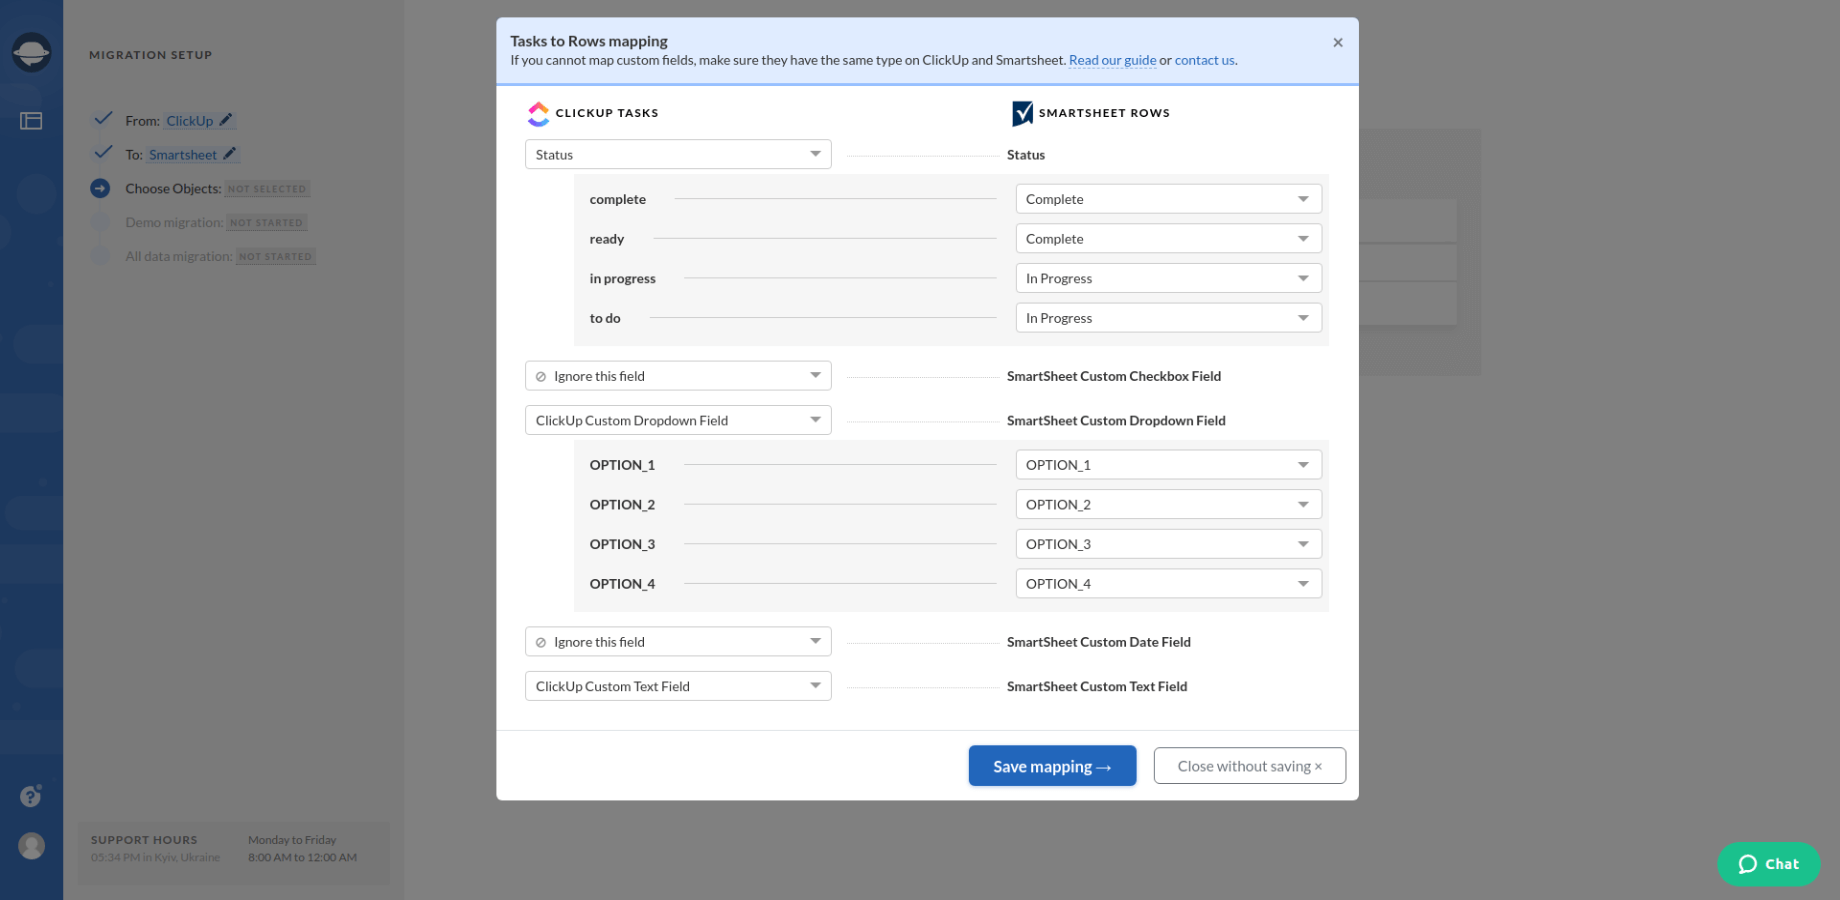
6. Map all the fields that you see on the form and save settings when done.
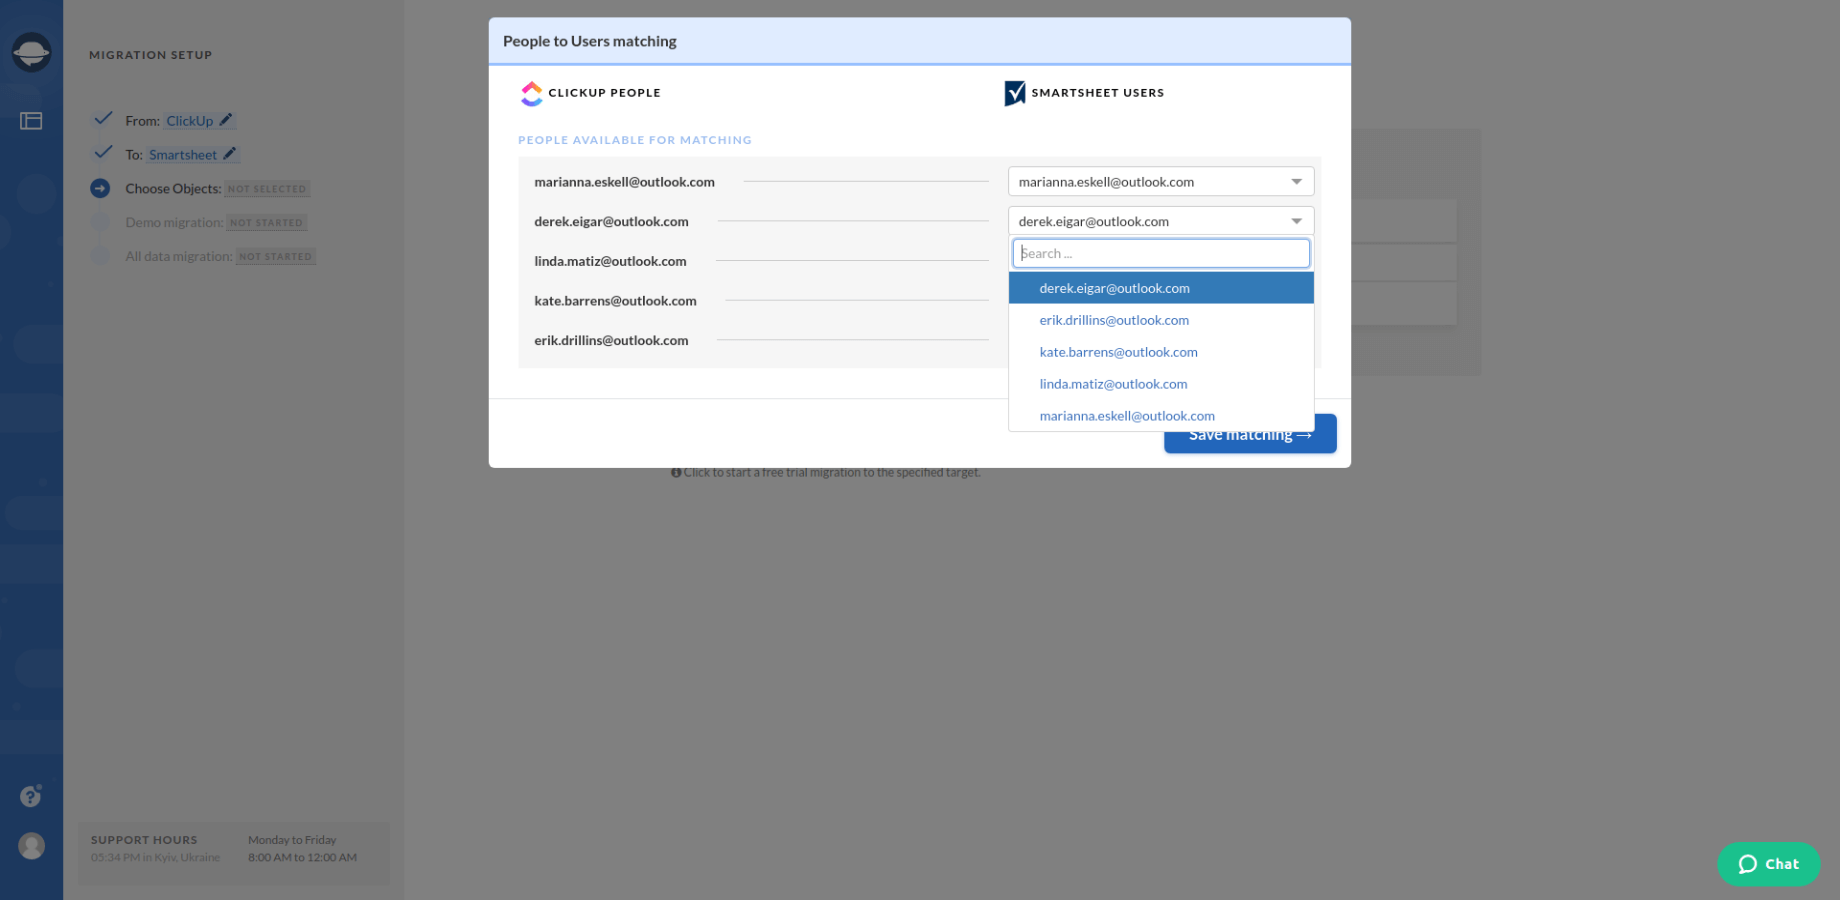
7. Next, click the Match items button next to Users to match users between the systems. Again, save the settings when done! Move to the next step, which is a Free Demo Migration.
8. Start a free demo migration and wait till it's completed. Once your Smartsheet import demo is complete, check a downloadable report. To make sure that your data migrated the way you wanted.
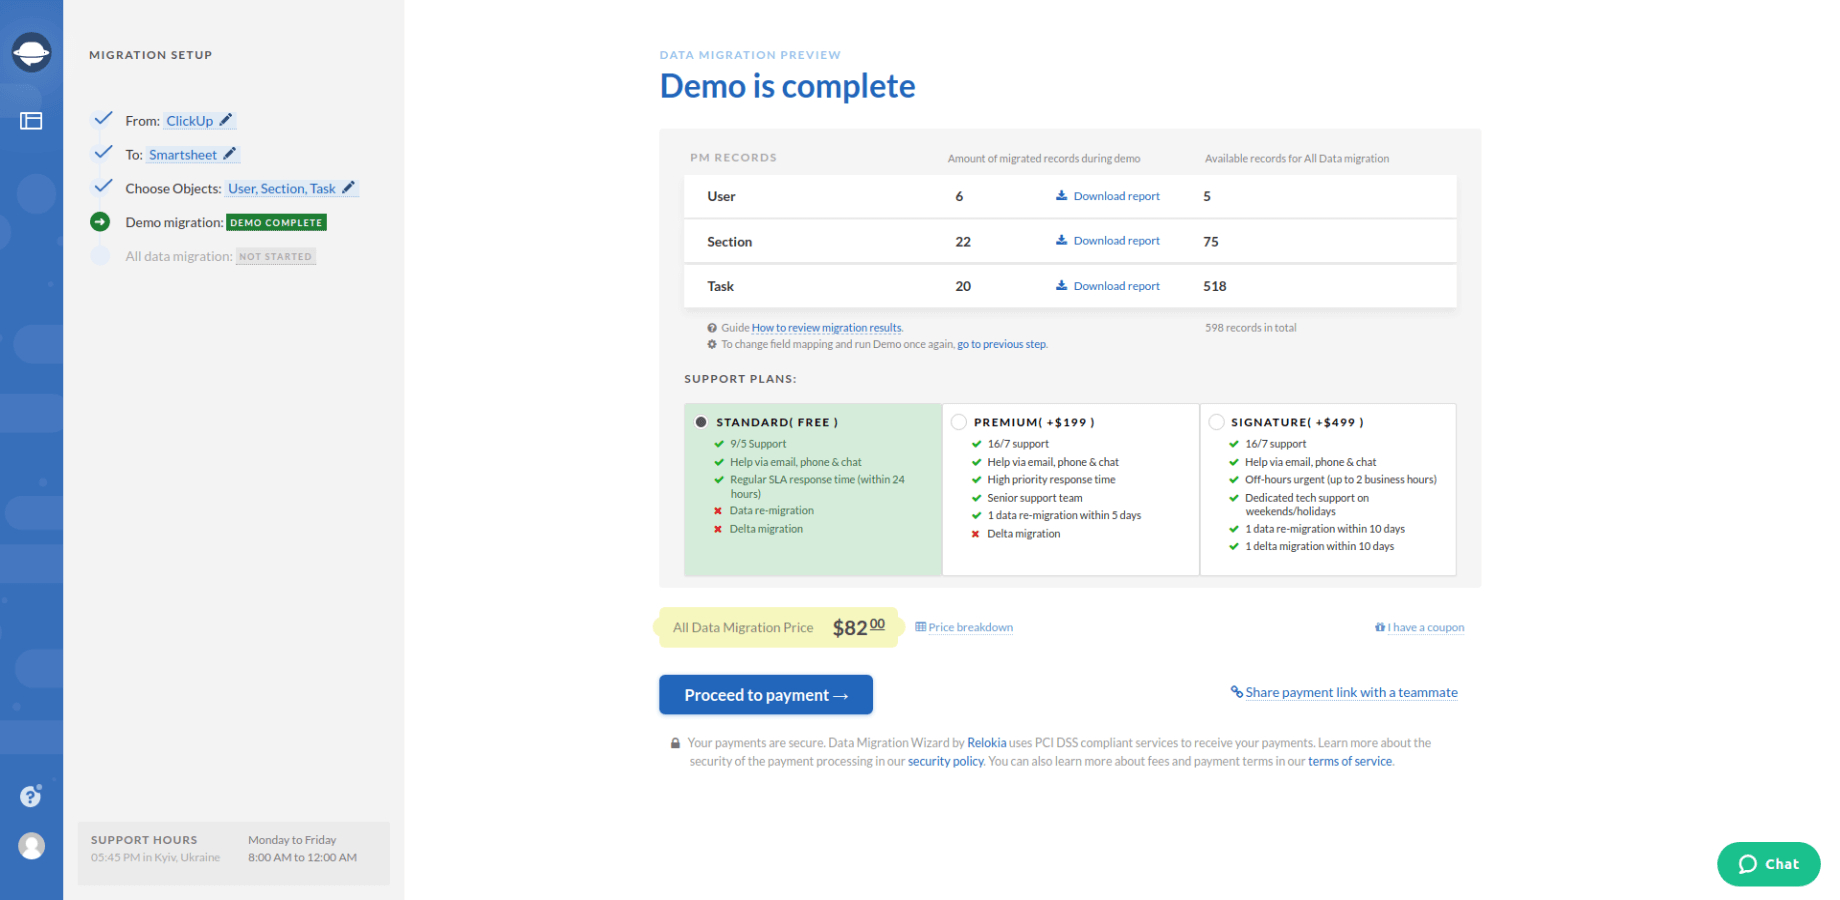
Note: Go on with the next step only if you are satisfied with the result of your demo migration. In case there is anything you would like to change, drop us a line.
9. Setup your full data migration and finish your Smartsheet import.
What Data Can You Import to Smartsheet?
Smartsheet import via automated service helps you migrate the following data:
- Groups for tasks
- Tasks together with Comments, Attachments and Custom fields
- “Started at” and “Completed at” dates of tasks
- Users
Note: “Created at” dates of comments and comment authors migrate in the description of task comments. In addition, task formatting doesn’t migrate.
Make sure that such fields as Title, Status, Assigned to, and Description should be present in the Project lists.
You can also customize your Smartsheet import to specific business needs. Contact our representative to figure out more details.
How to Prepare for Smartsheet Data Import?
Before running your data migration, it is important to prepare for it. So, check the following steps before proceeding with the data import process:
- If you have access credentials for both source and target platforms. Without it, our Wizard Migration tool won’t be able to create a connection with the project management software.
- If you acquire admin rights on both platforms to perform the migration.
Note: To make the migration process faster, check your entities before transferring and delete duplicates.
A Bottom Line
Automated Smartsheet import isn’t rocket science. If you’re planning Smartheet import soon, make sure you test-drive Project Management Migration Service.


