Have you thought about GitLab export? That idea comes across to business owners quite often. A project management system gives you the power to monitor the workflow, track down the blockers and assist your team members. It impacts your processes and projects directly. So, if you are looking for a way to export your GitLab data, here is an option for you.
Why Automated GitLab Data Migration?
Data migration presents many choices. The choices you make determine the future of your projects and team. Hence, if you are thinking about moving your GitLab issues, consider Project Management Migration Service. And here is why:
- Free testing enables you to check if your data migrates correctly.
- You don’t need to do any manual work to transfer your data.
- You can map records and thus, easily find them on the target platform after the export.
How to Launch Your GitLab Export?
Follow this guide to run your GitLab export automatically:
1. Sign up to Migration Wizard with your email or any social media. Or simply login.
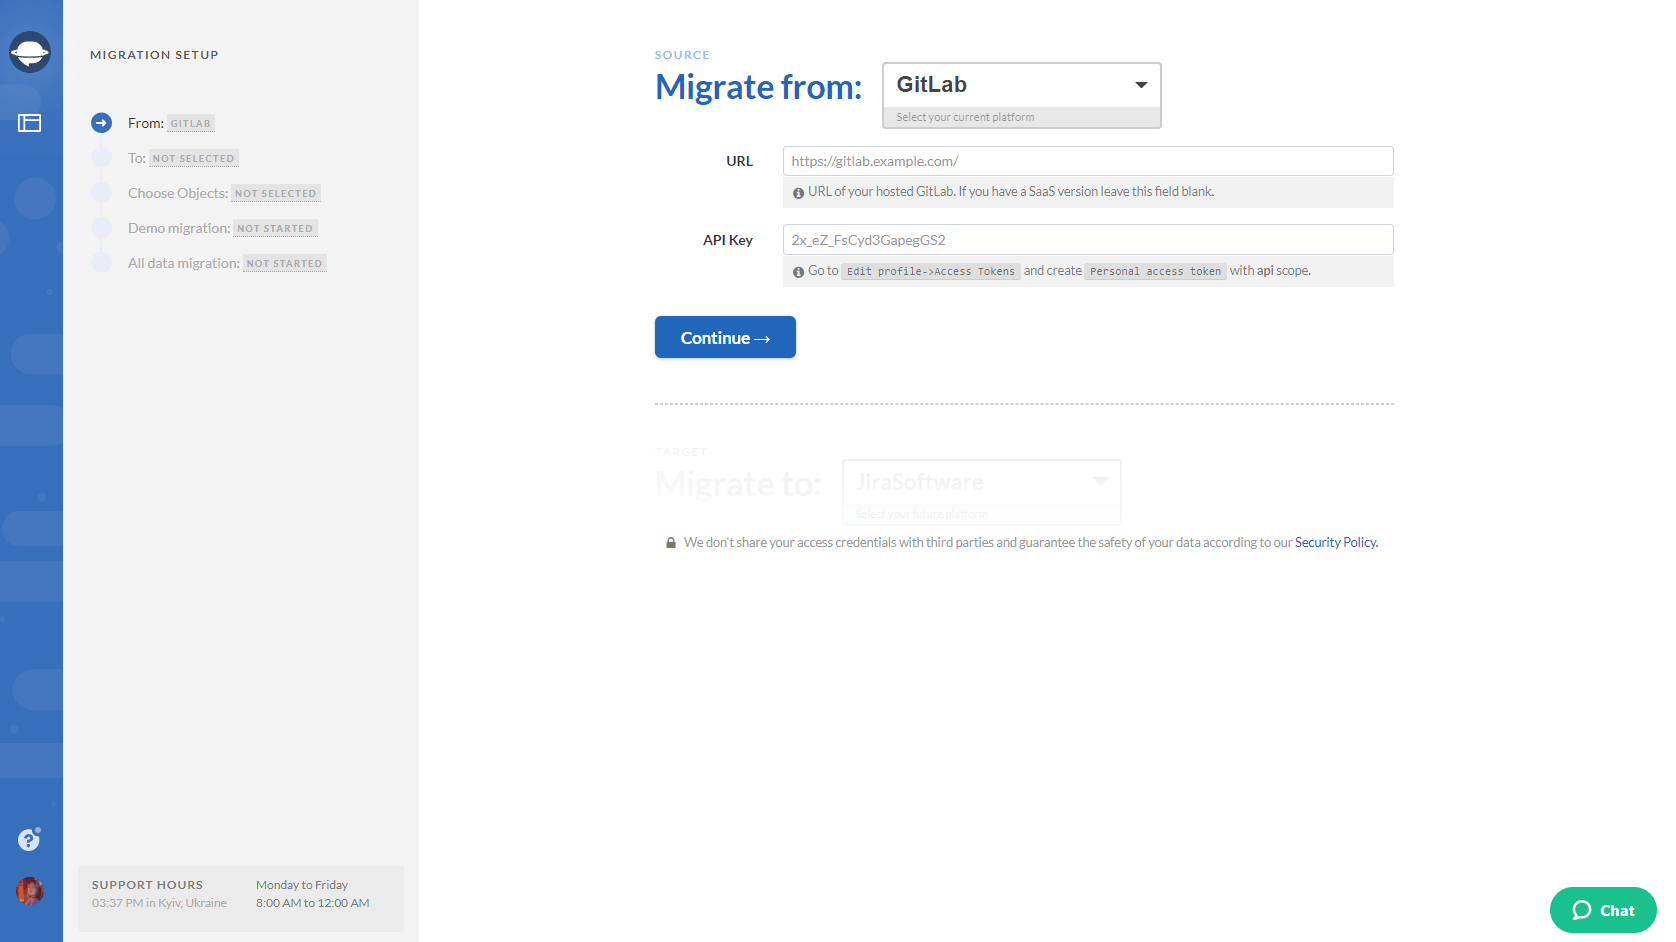
2. Choose GitLab as a source platform and fill in your URL and API key. Note that you need to specify the URL only if you're migrating from a hosted version of GitLab.
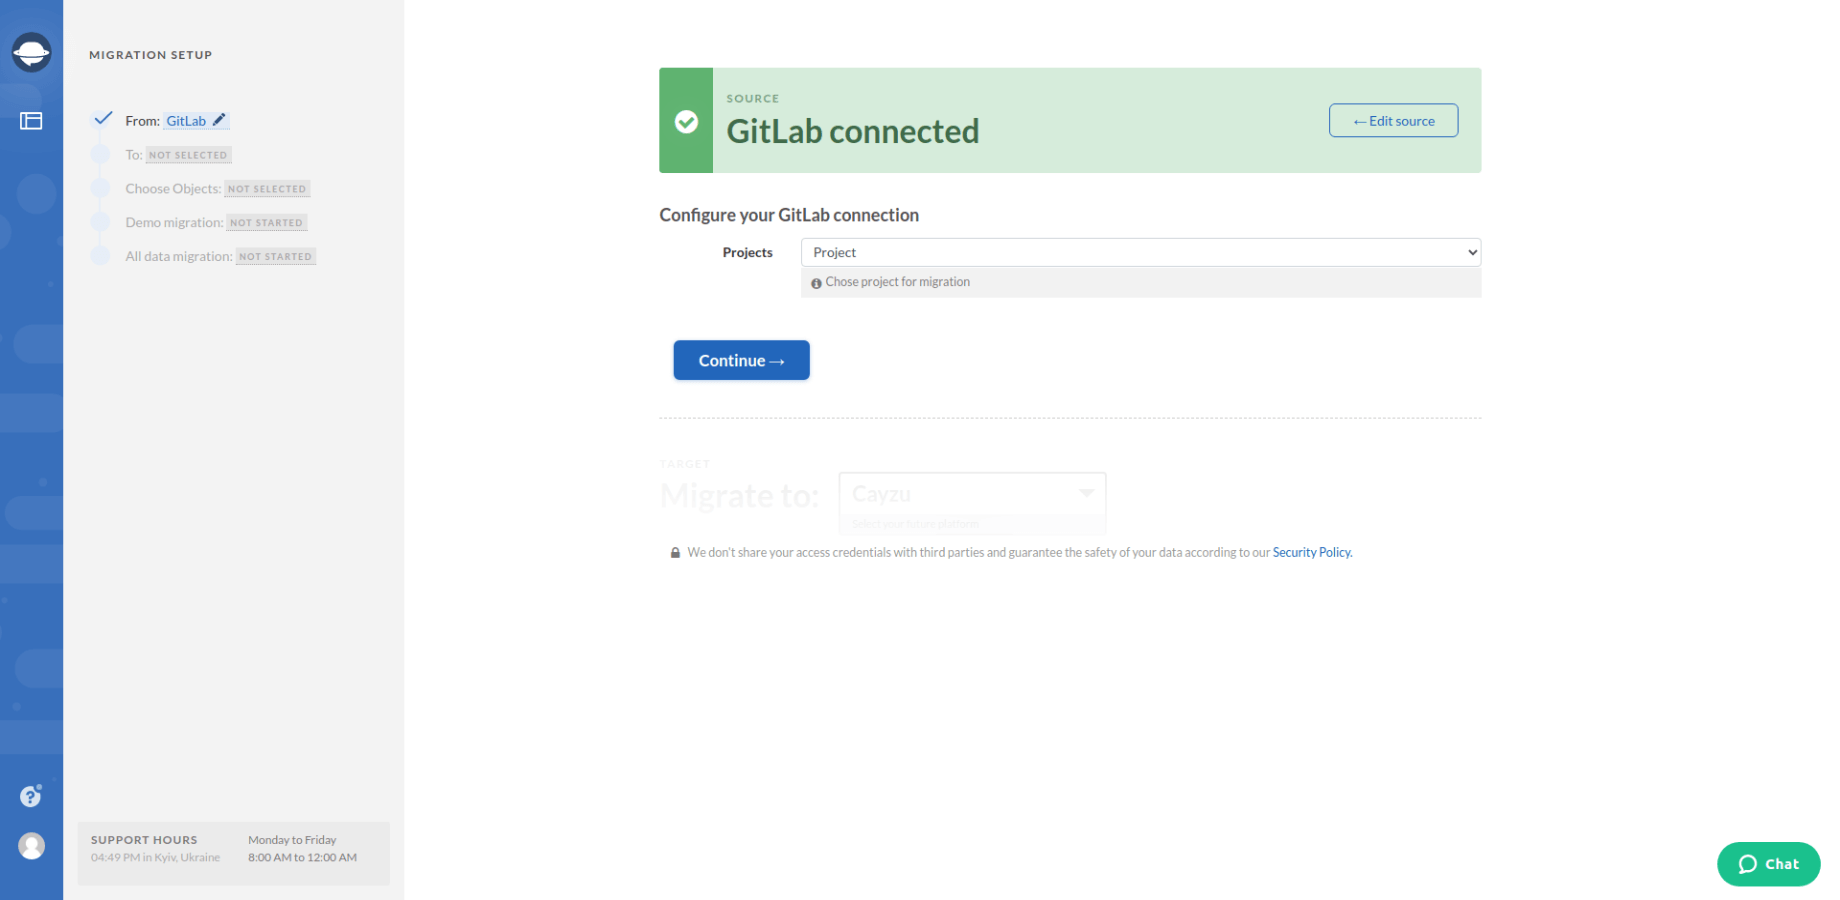
3. Configure your GitLab connection by selecting the source Project.
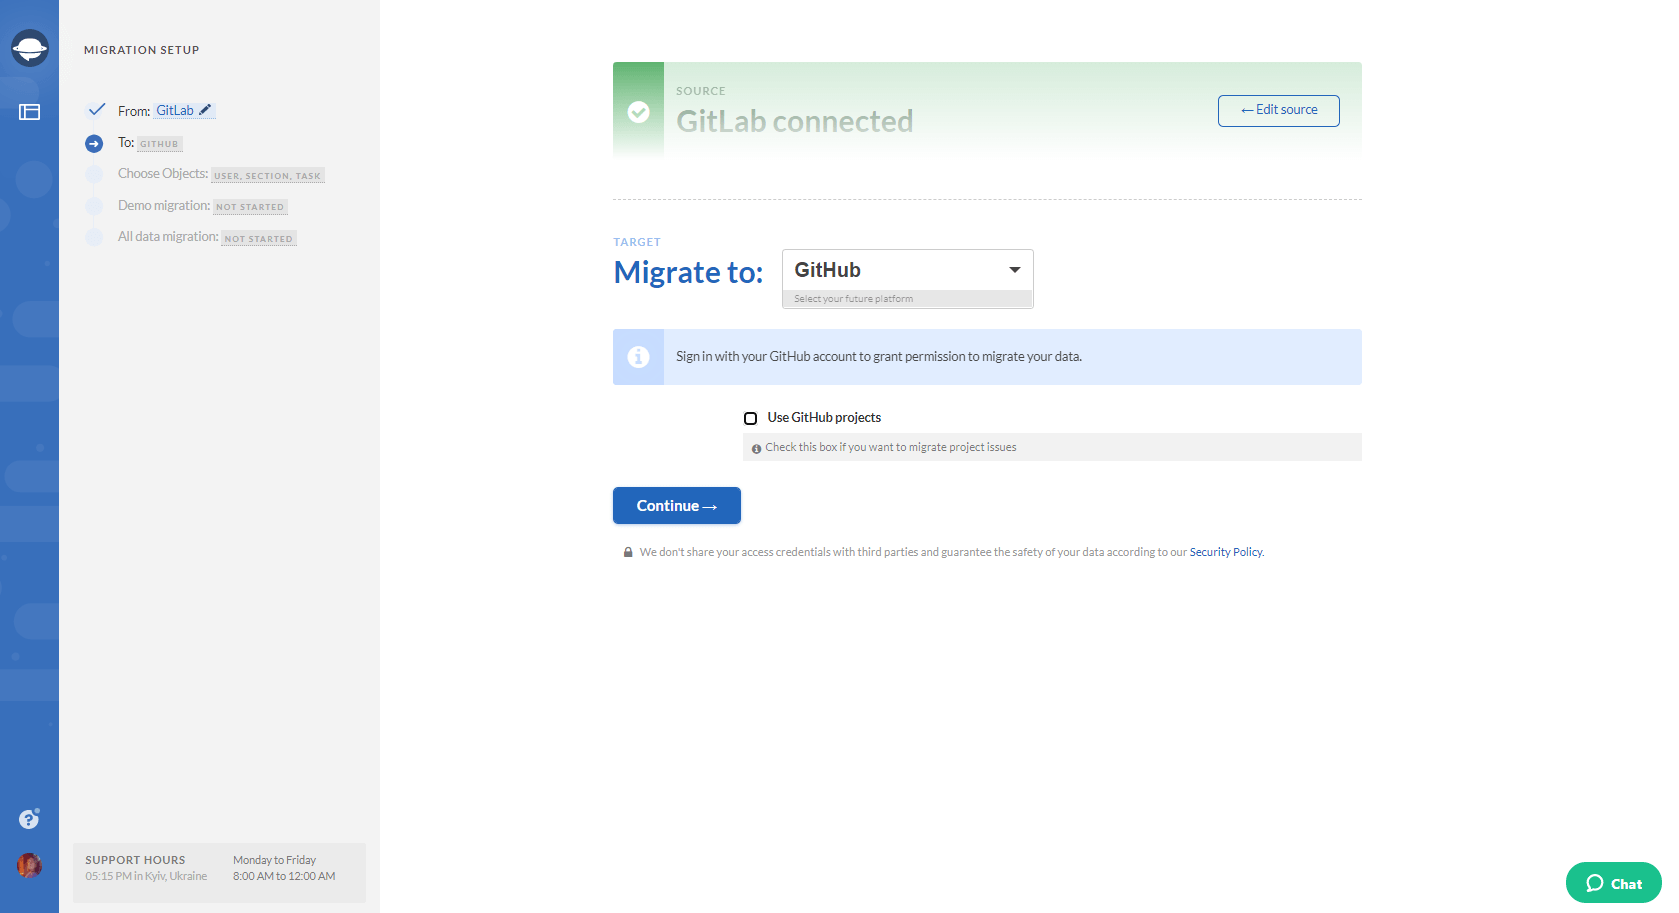
4. Select your target platform and provide the access credentials.
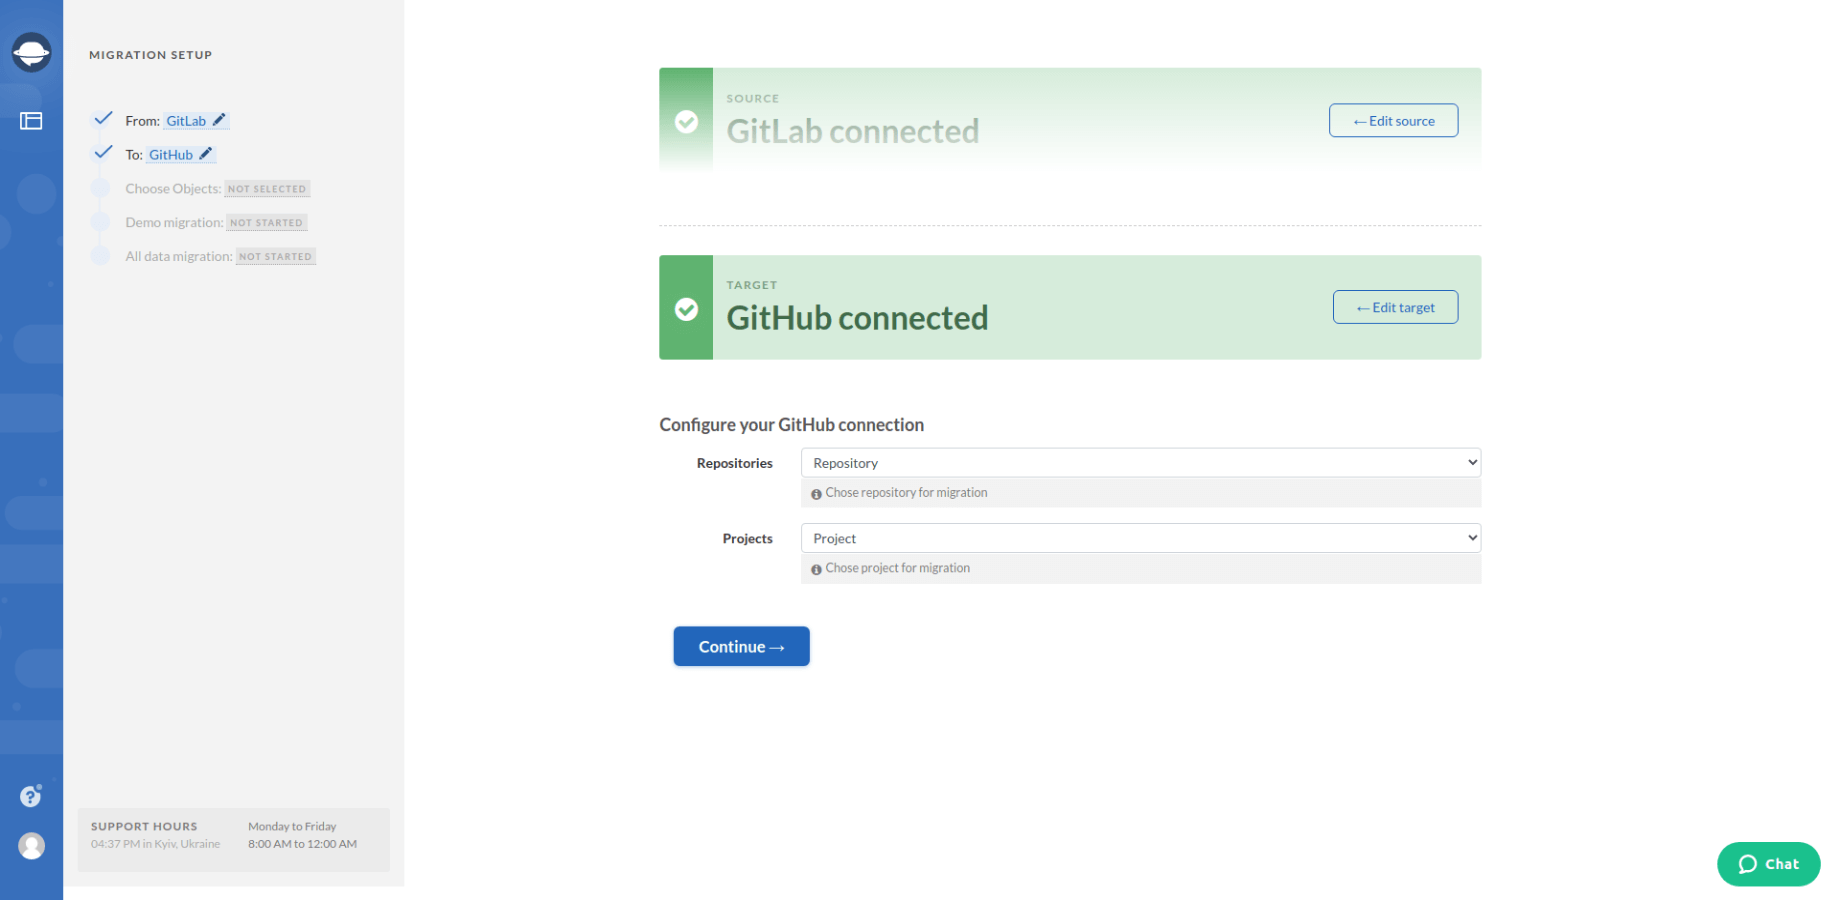
5. After that, configure the connection of your target platform.
6. Select records you would like to move from GitLab. Select Tasks and Migration Wizard will open a task mapping form.
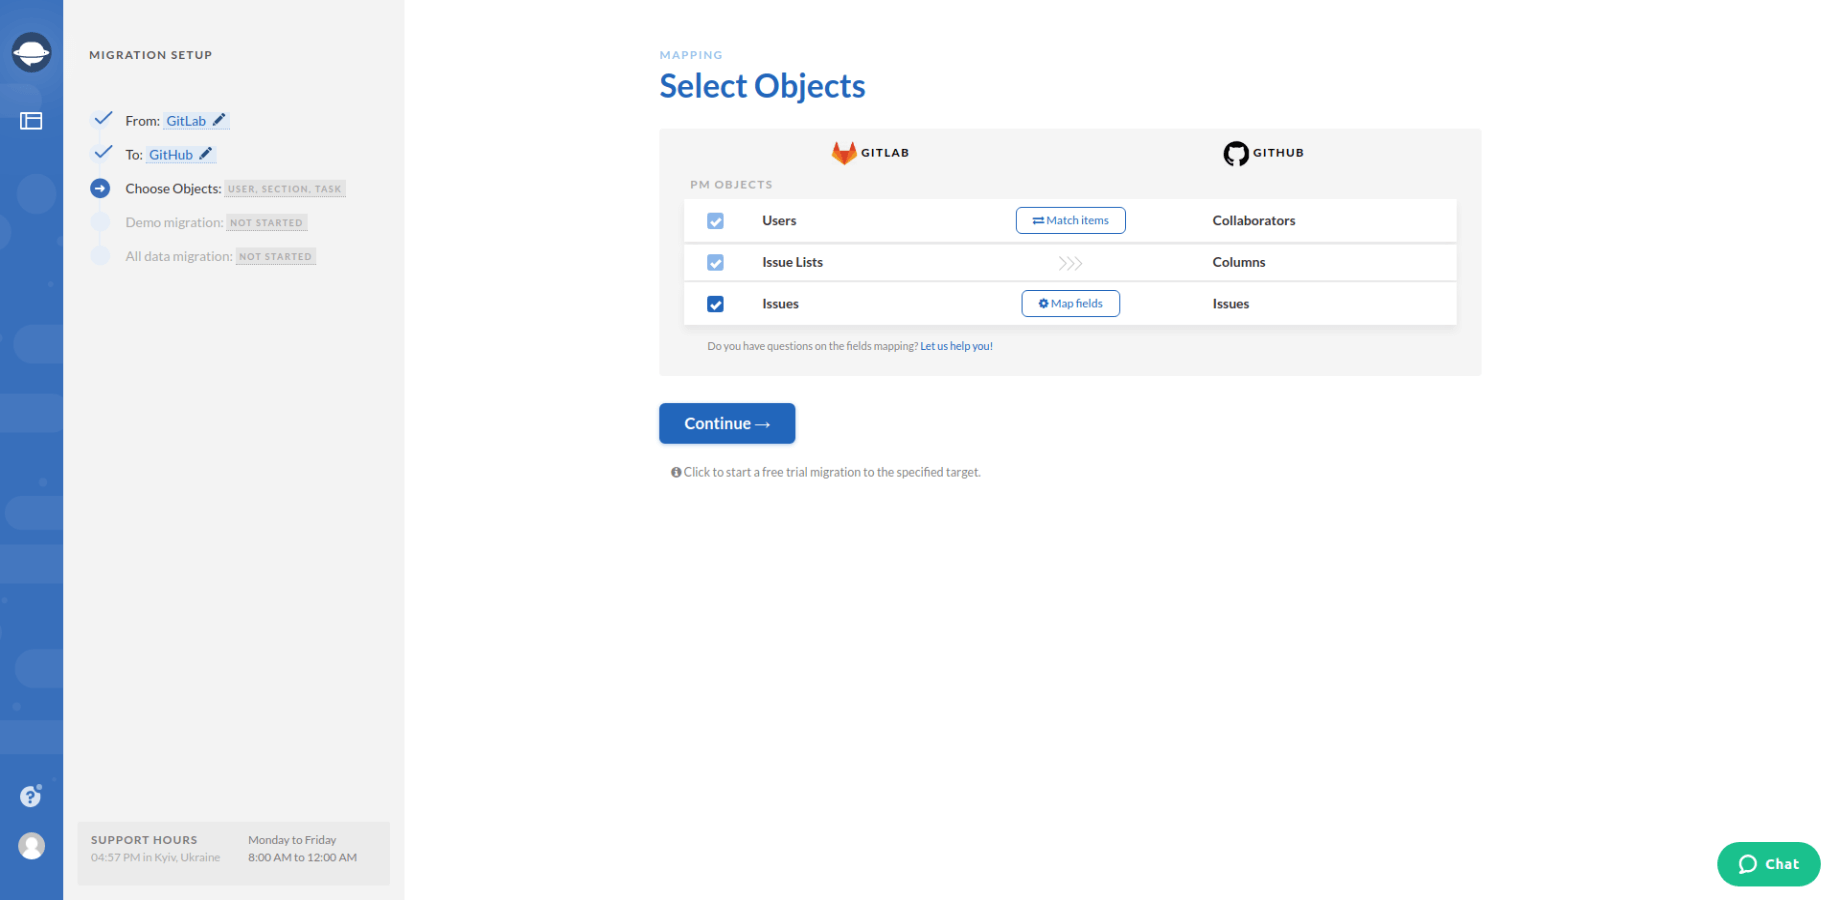
7. Map task fields to know where to find your data after GitLab export.
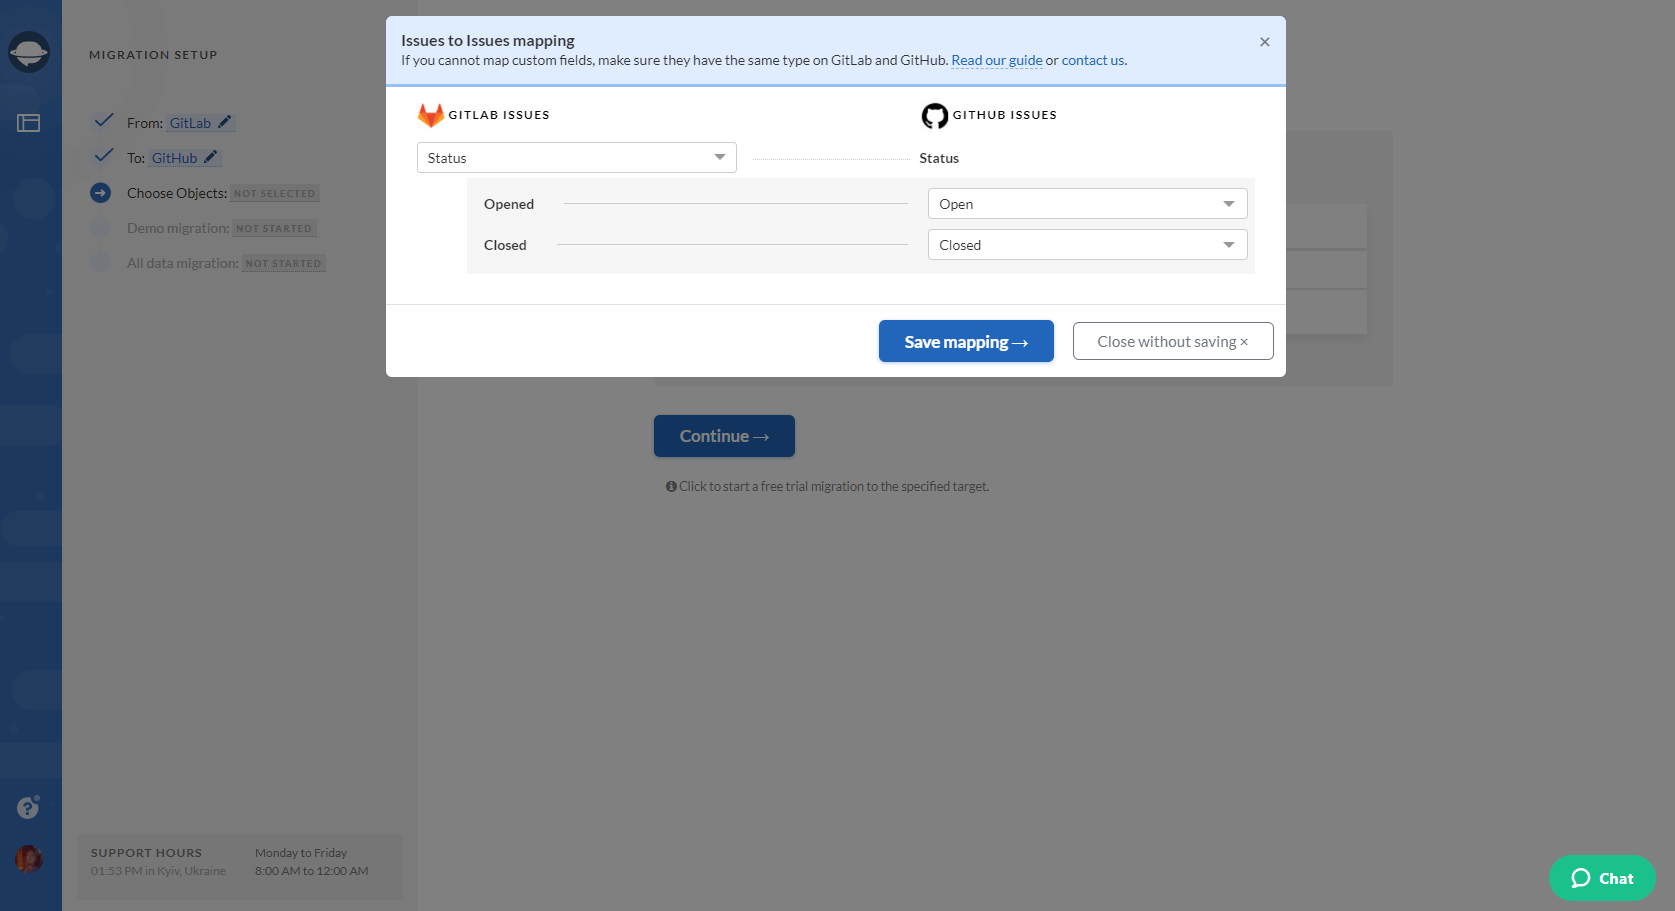
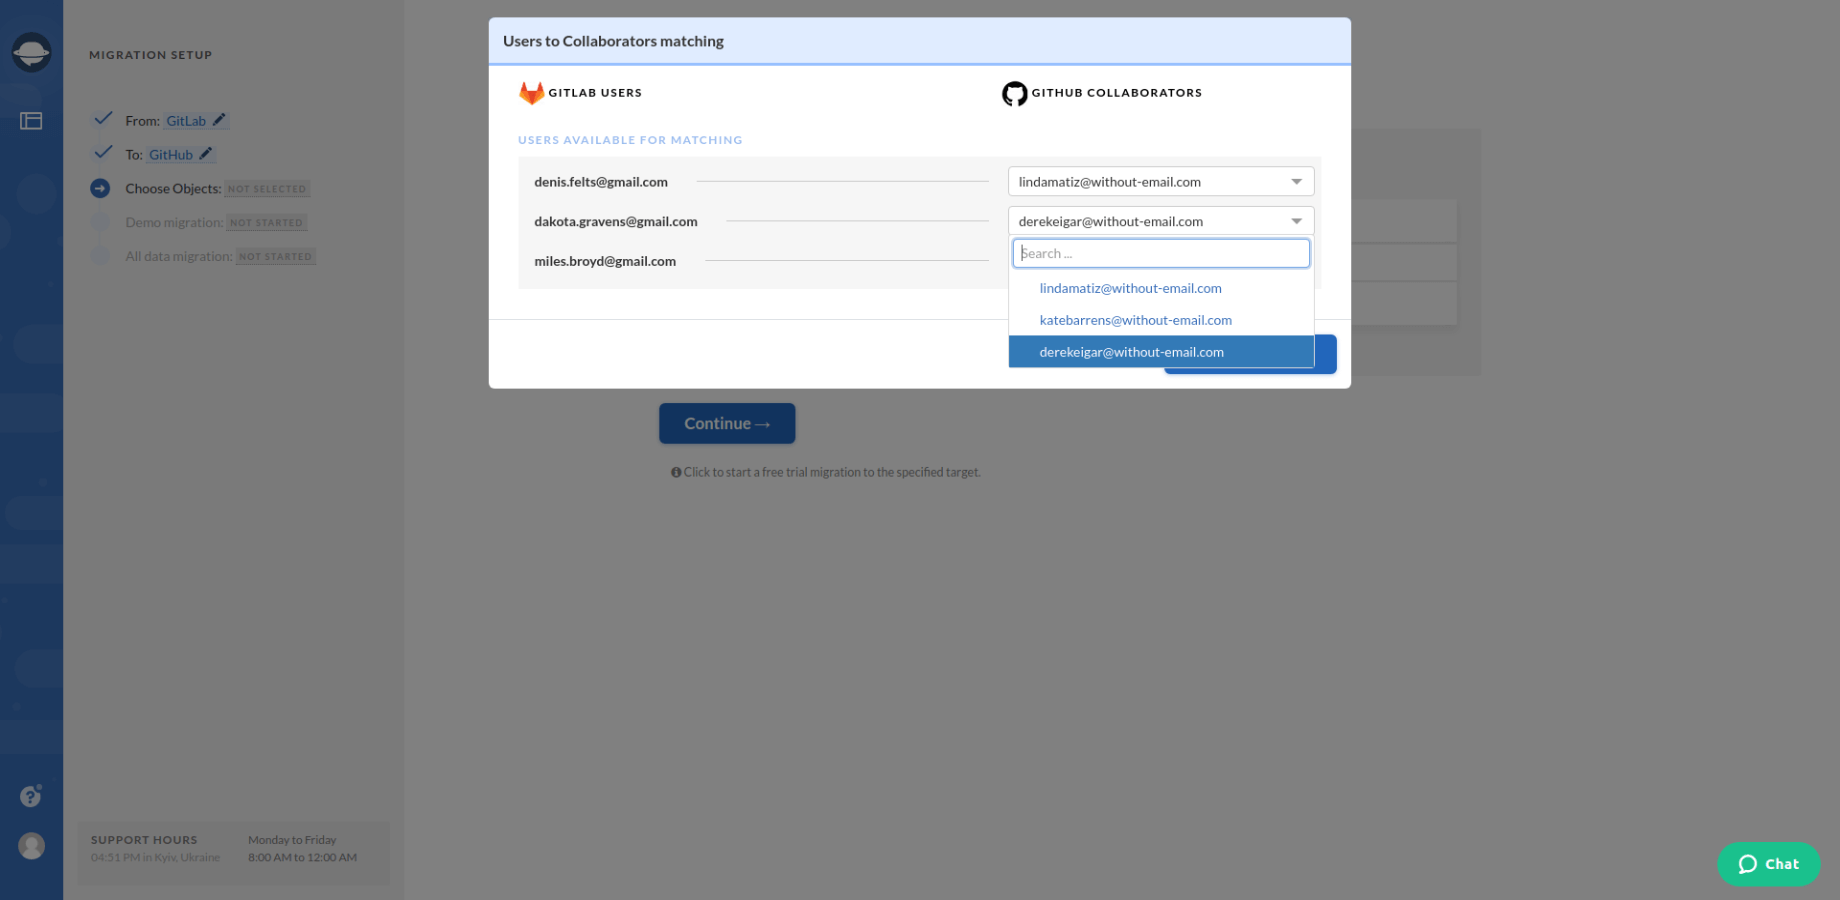
8. When Task mapping is done, move on to user matching. Click the Match items button and match users between the systems.
9. Launch the Demo Migration and check how your data will migrate. Look through the Demo results. Just to ensure that your records have transferred correctly.
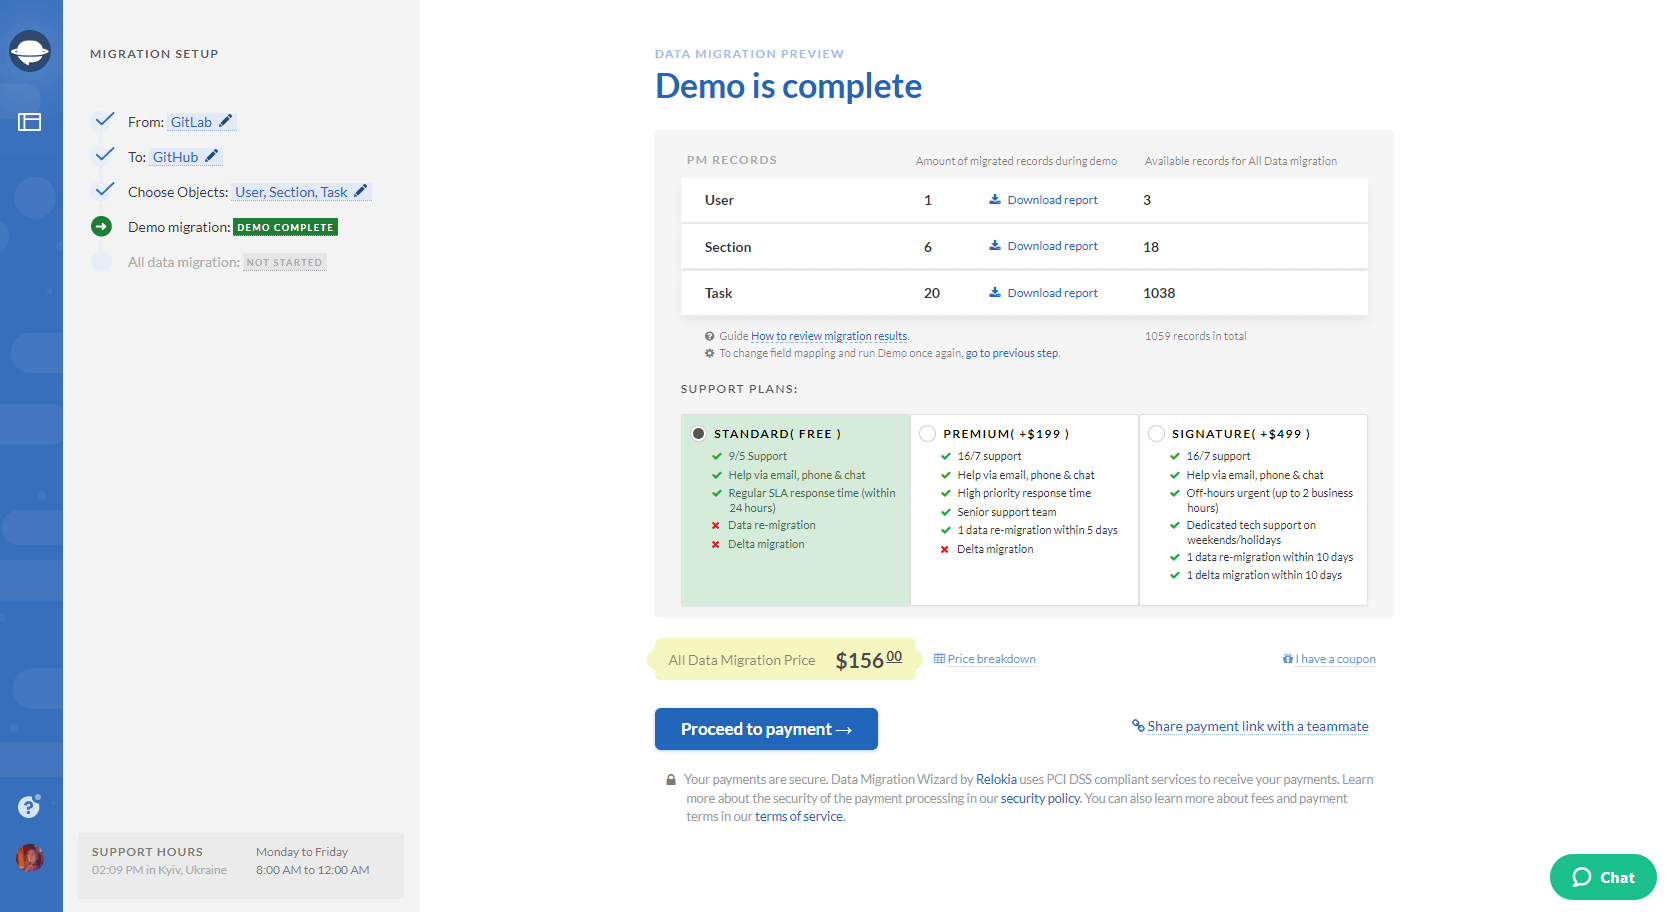
10. Start your Full GitLab data migration.
What Records Can You Export from GitLab?
With Project Management System Migration, you can move such objects as:
- Project lists (Task lists)
- Tasks together with their comments and tags
- “Due”, “Completed at”, “Created”, and “Updated” dates of tasks
- Users
Note: To migrate the user’s emails, you need to change their visibility settings. Also, the first tag migrates as a section.
Thus, if you want to export some specific records from GitLab, order customization of your data migration. Drop a line to our support representatives for more details.
Quick Tips
To launch your GitLab export, make sure that you check out the following steps:
- Create an account on the desirable target solution. You need space to migrate your data.
- Assure that you have access credentials to both source and target platforms.
- Check if you have admin rights on your source and target accounts. Only users with admin rights can enable the data migration.
That’s how you migrate your data from GitLab automatically. So, if you are thinking about exporting your projects, do a test drive of the Project Management Migration Service.


