If you’re looking for a tool to move your project management system migration, look no further. Here is a guide to succeed with an automated, secure Freedcamp import from other project and task management solutions.
What is a Freedcamp?
It is the platform to fix all your project management woes. Freedcamp helps you monitor and control all your tasks and subtasks. Just at a glance, you see what
- you’ve done recently
- you need to do
- the team needs to do
- your team is working on
The toolset also includes Gantt/timeline View, milestone, status and project time tracking, project and task scheduling, reporting, resource management, QA management, and collaboration features.
Why Automated Freedcamp Migration?
Looking for a way to transfer all your projects along with tasks and subtasks to Freedcamp, think about the Project Management Migration service. And here is a list of arguments for that:
- Automated data migration saves time.
- A user-friendly interface makes it easy to set up and run the data importing.
- The mapping option helps to route your records to the right places.
- Free Demo allows you to see how your data looks like on Freedcamp.
Migrating to Freedcamp: The Records List
Project Management Migration Service enables you to import the following data to Freedcamp:
- Project lists (Task lists)
- Groups for tasks
- Tasks along with Comments, Attachments, and Custom fields
- “Started at” and “Due” dates of tasks
- Subtasks (in task)
Notes to pay attention to:
- “Created at” date of task adds in the description field during the data migration.
- Comment attachments migrate to the task, but not to the comment itself.
- During the data migration, the name of the comment author adds to the comment description. The same applies to “Created at” dates of comments.
How to Start the Automated Freedcamp Import?
1. Register your account at Migration Wizard. You can sign up via email or any social media account.
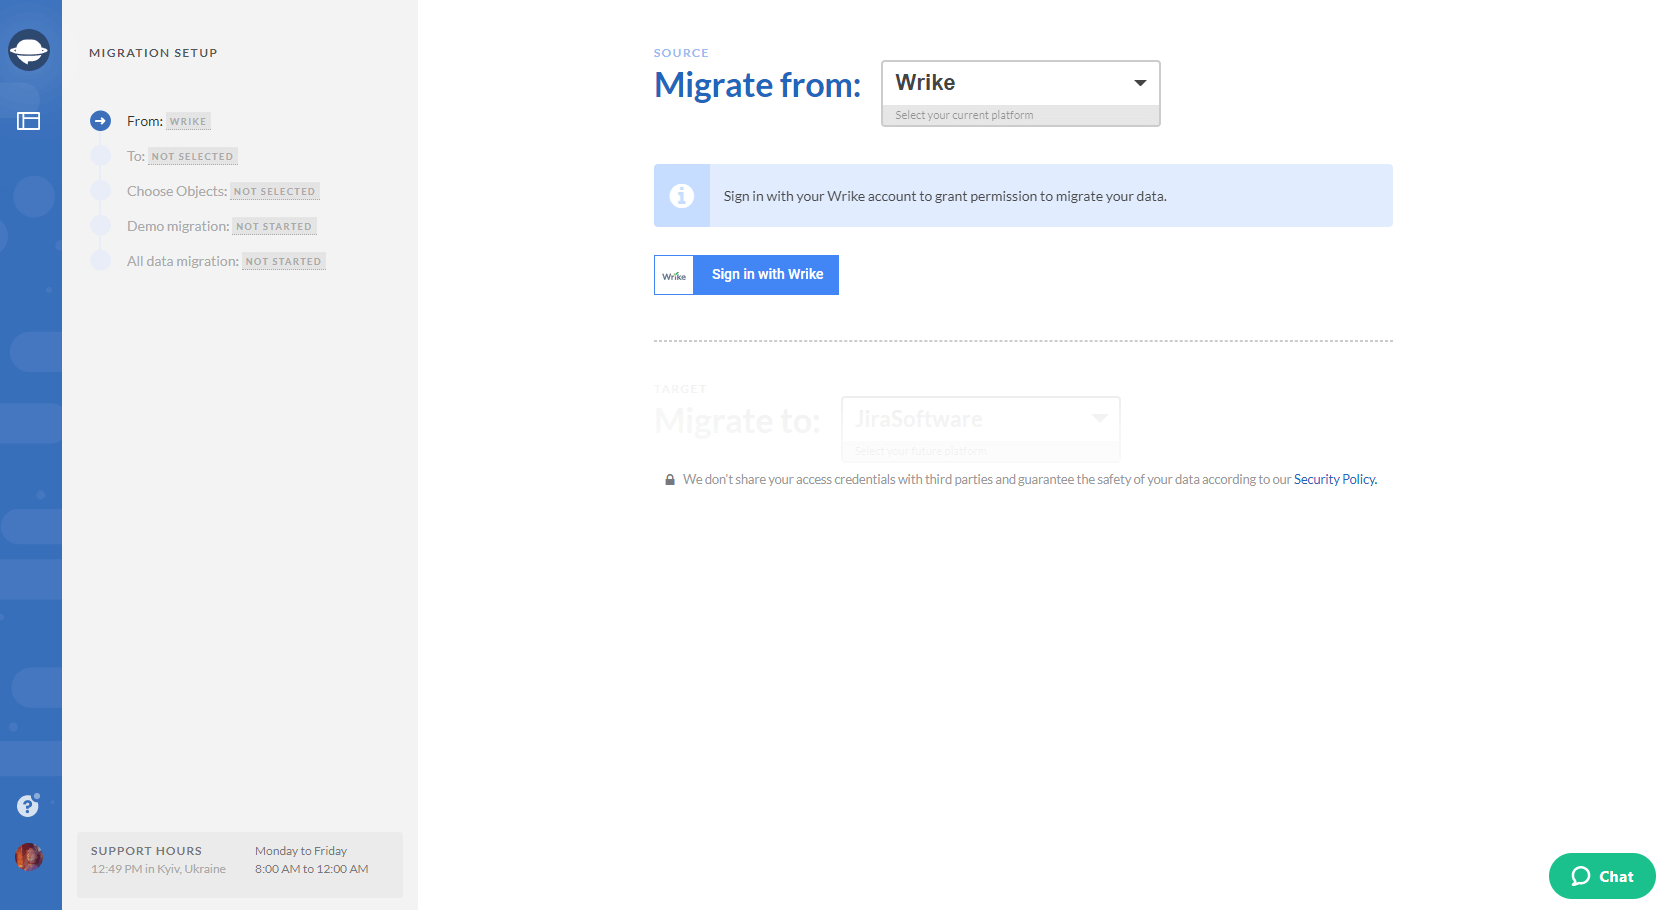
2. Choose your current project management platform as a source and connect your system.
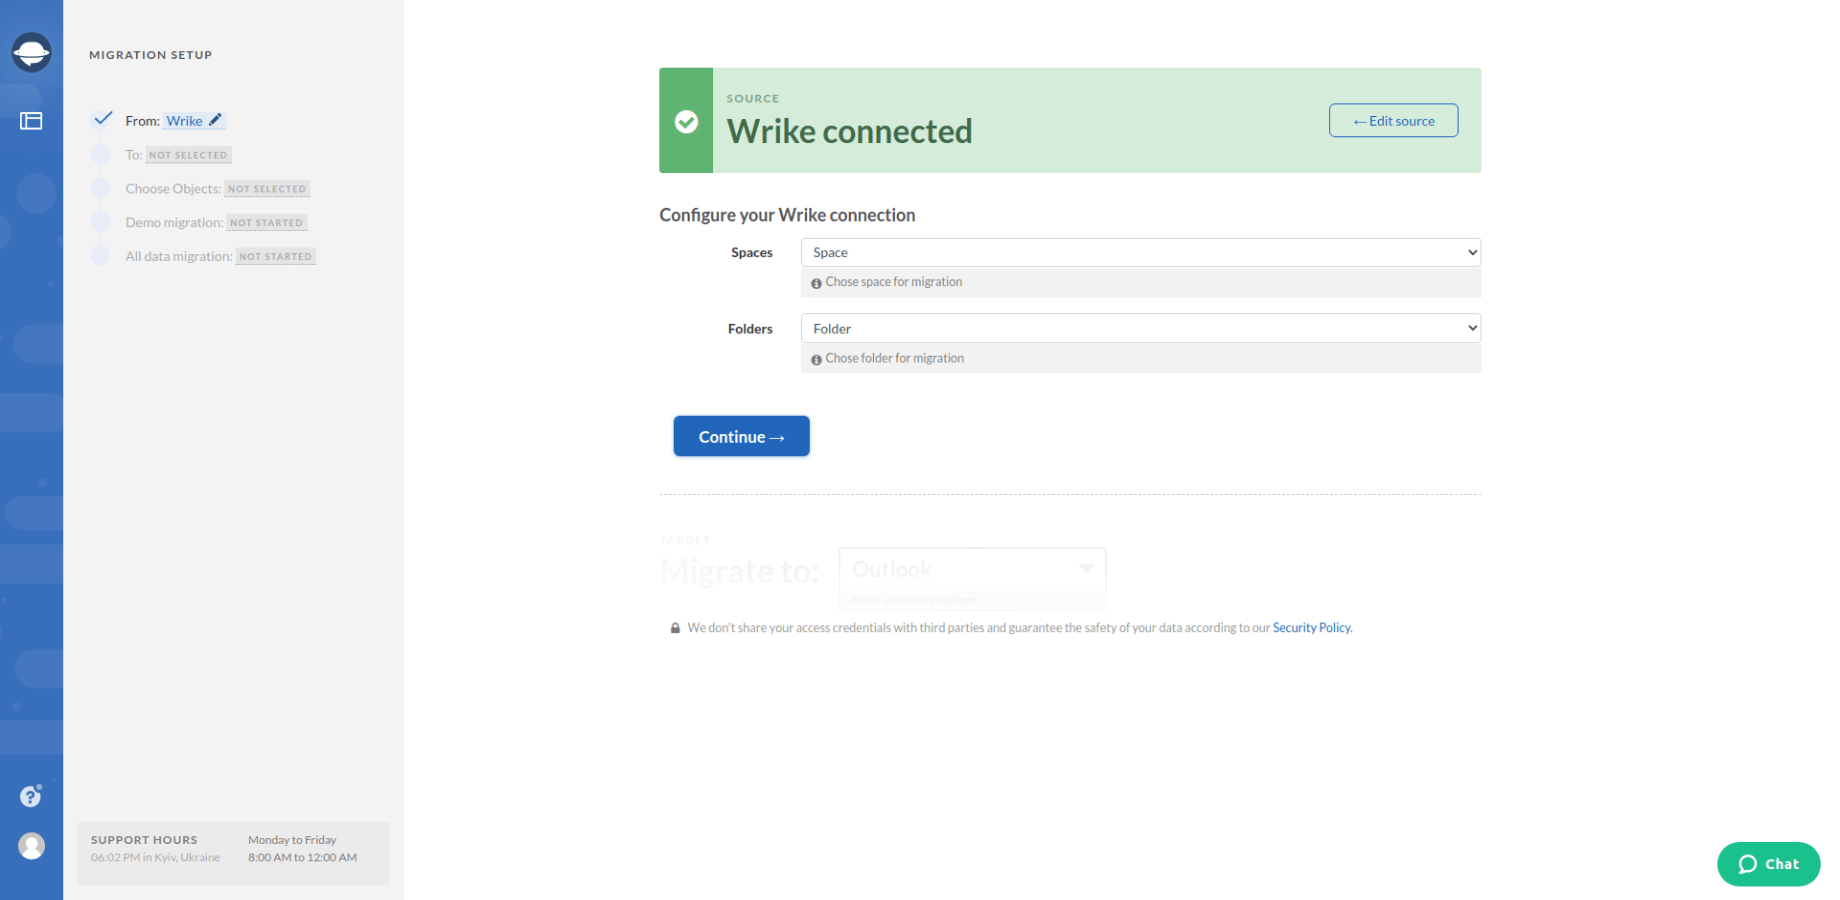
3. Select Freedcamp as your target platform and provide API Key and API Secret.
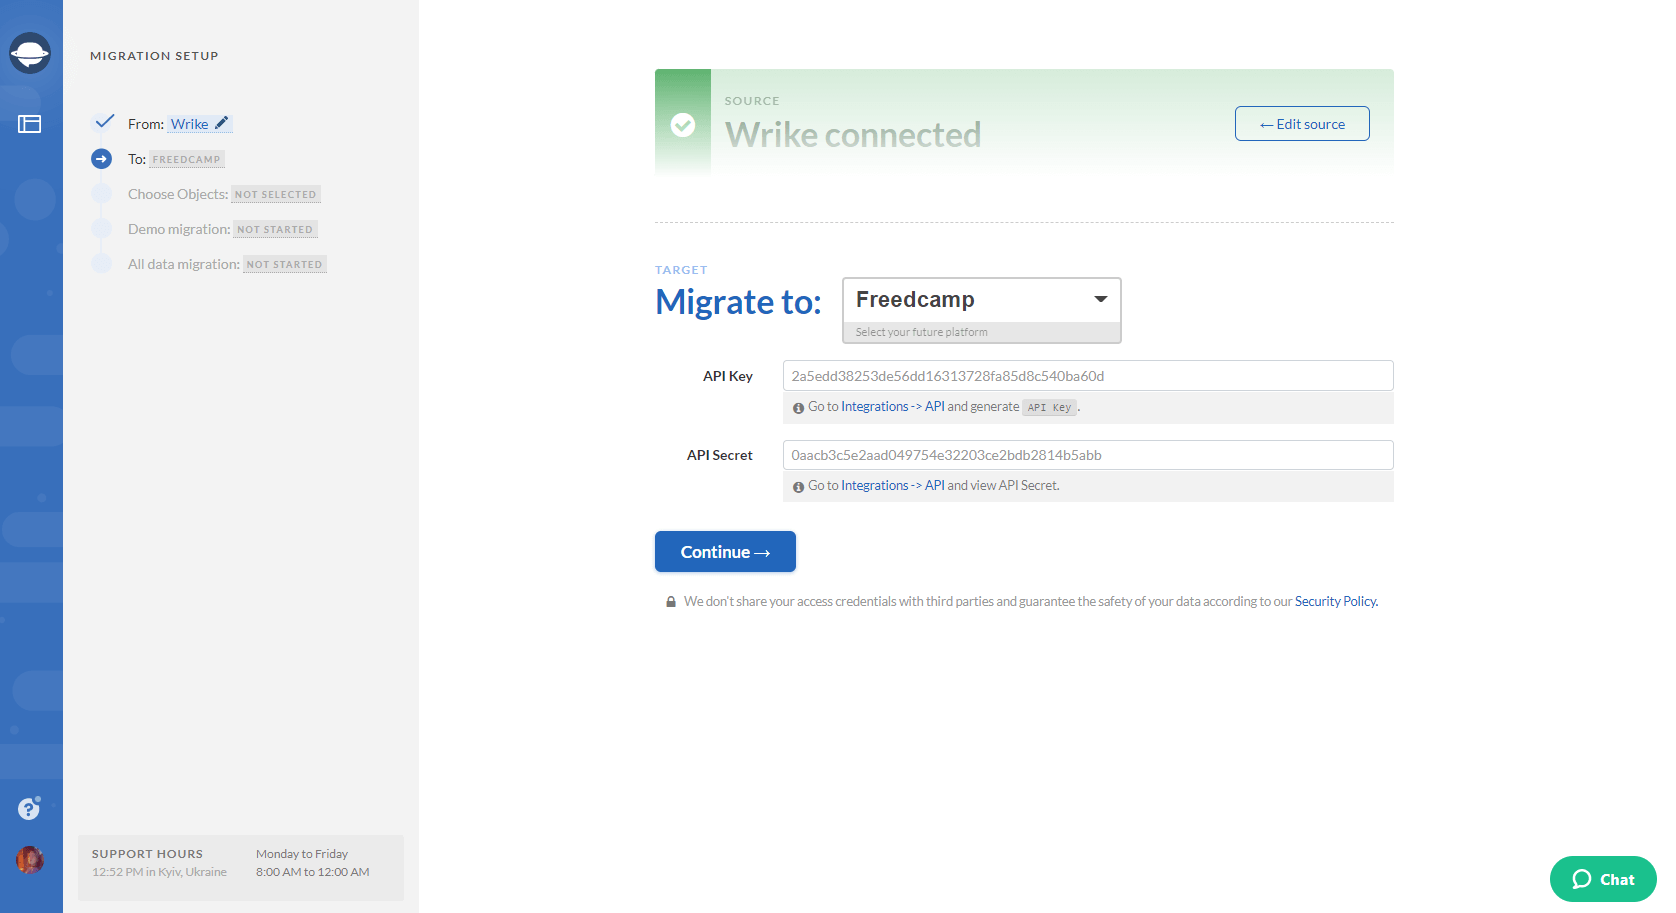
4. Then choose a required project to configure your Freedcamp connection.
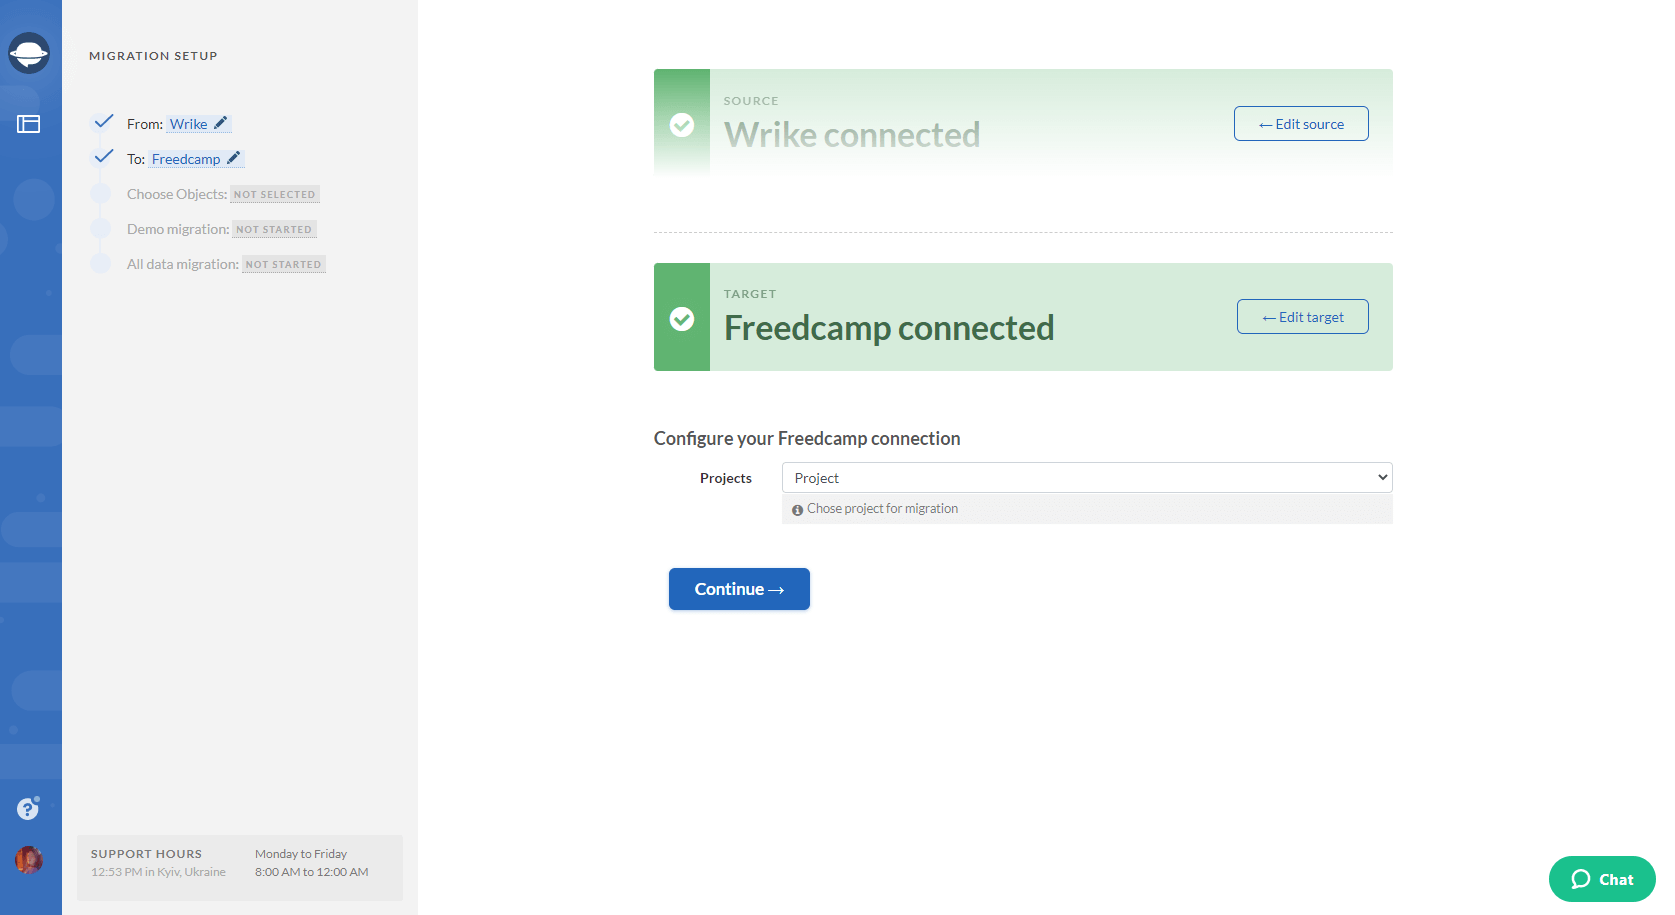
5. The next step is to select the records that you want to export from Wrike. Select Tasks and Migration Wizard will open a task mapping form.
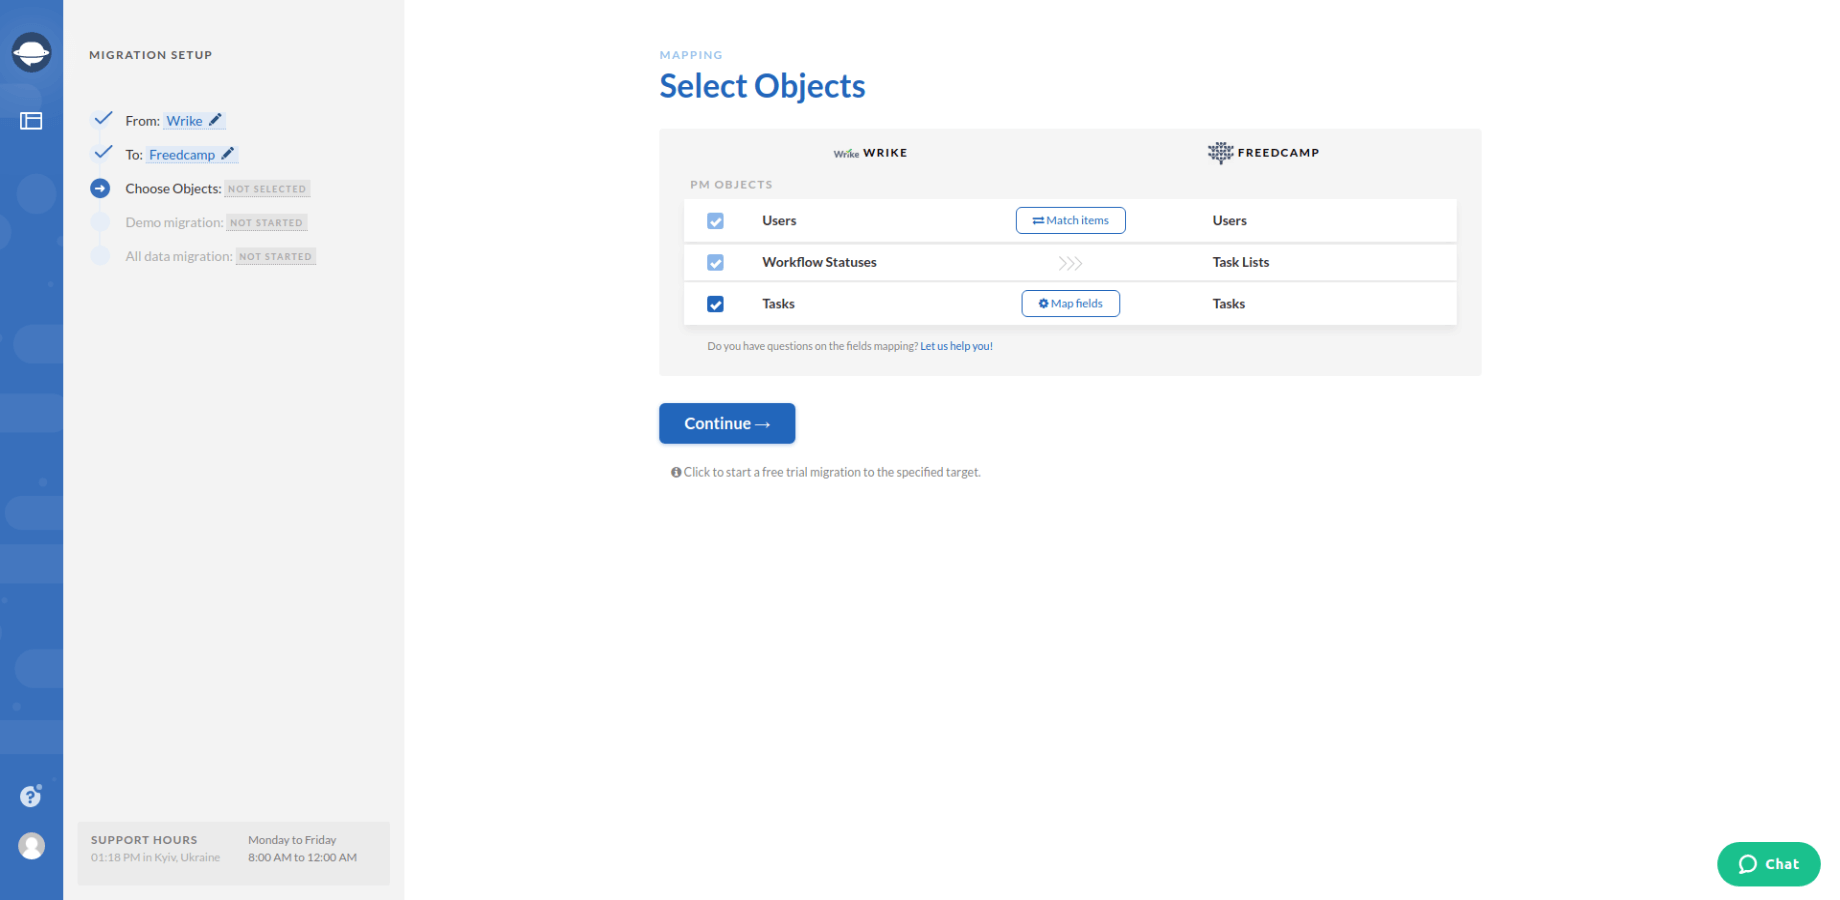
Note: Before launching the Freedcamp import, check out what data you can migrate.
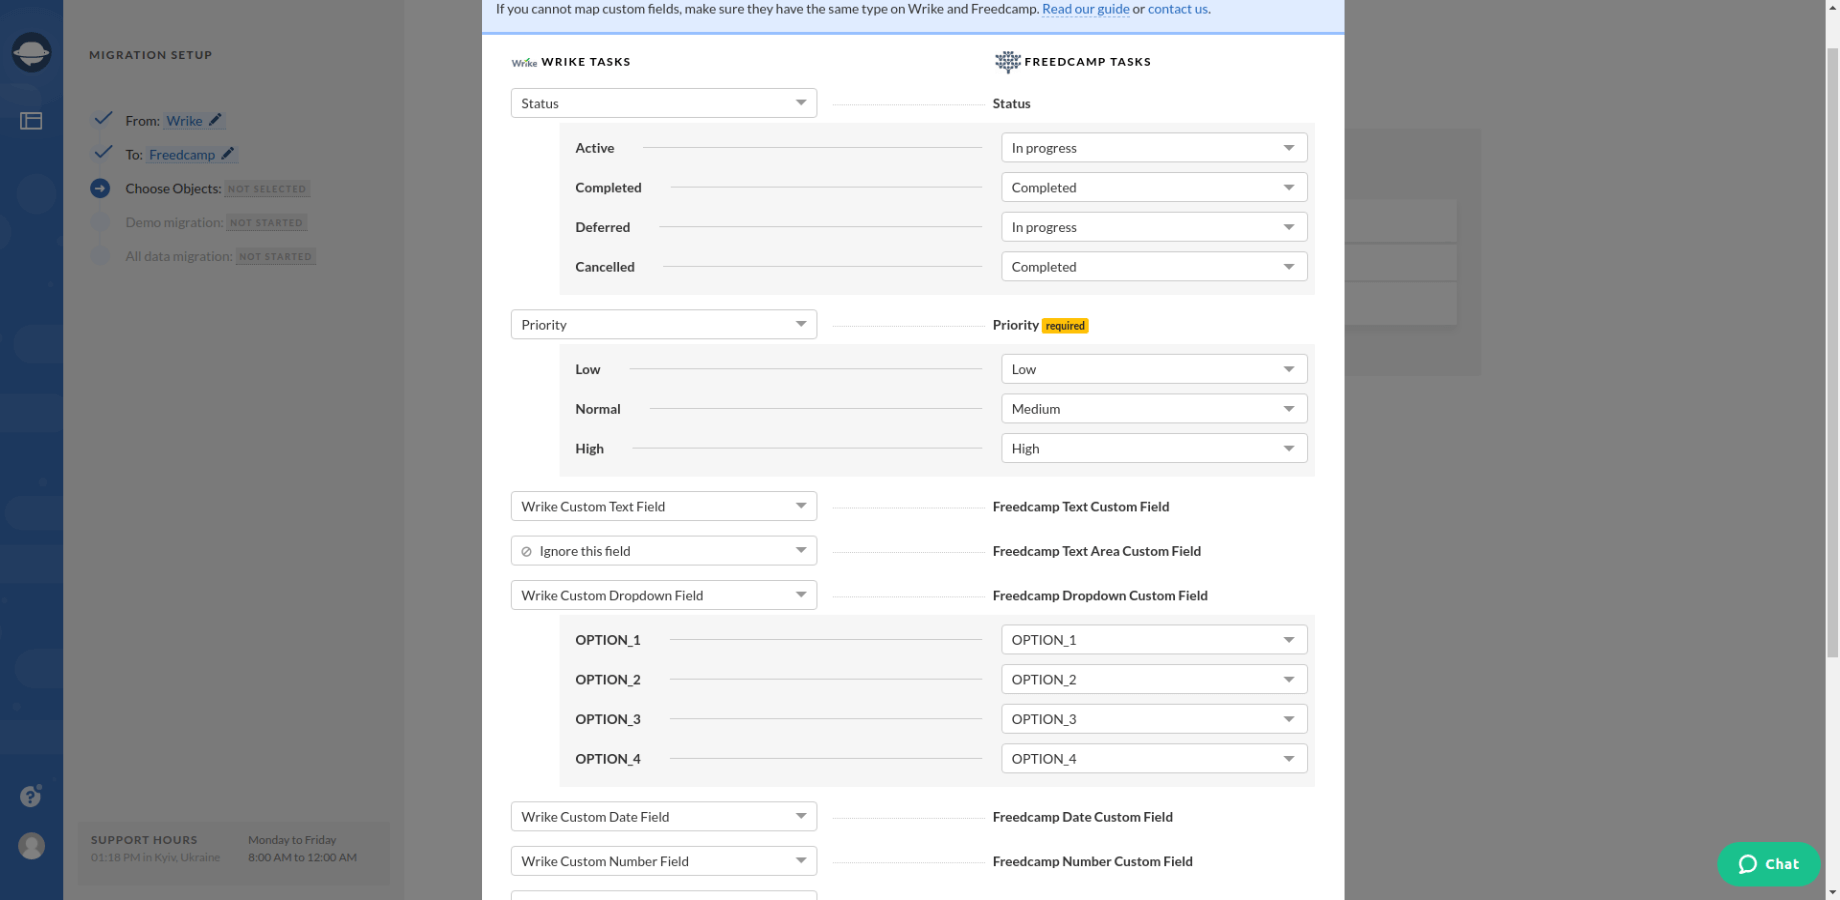
6. Set up the field mapping. In such a way, you will know where to find your data after the Freedcamp migration.
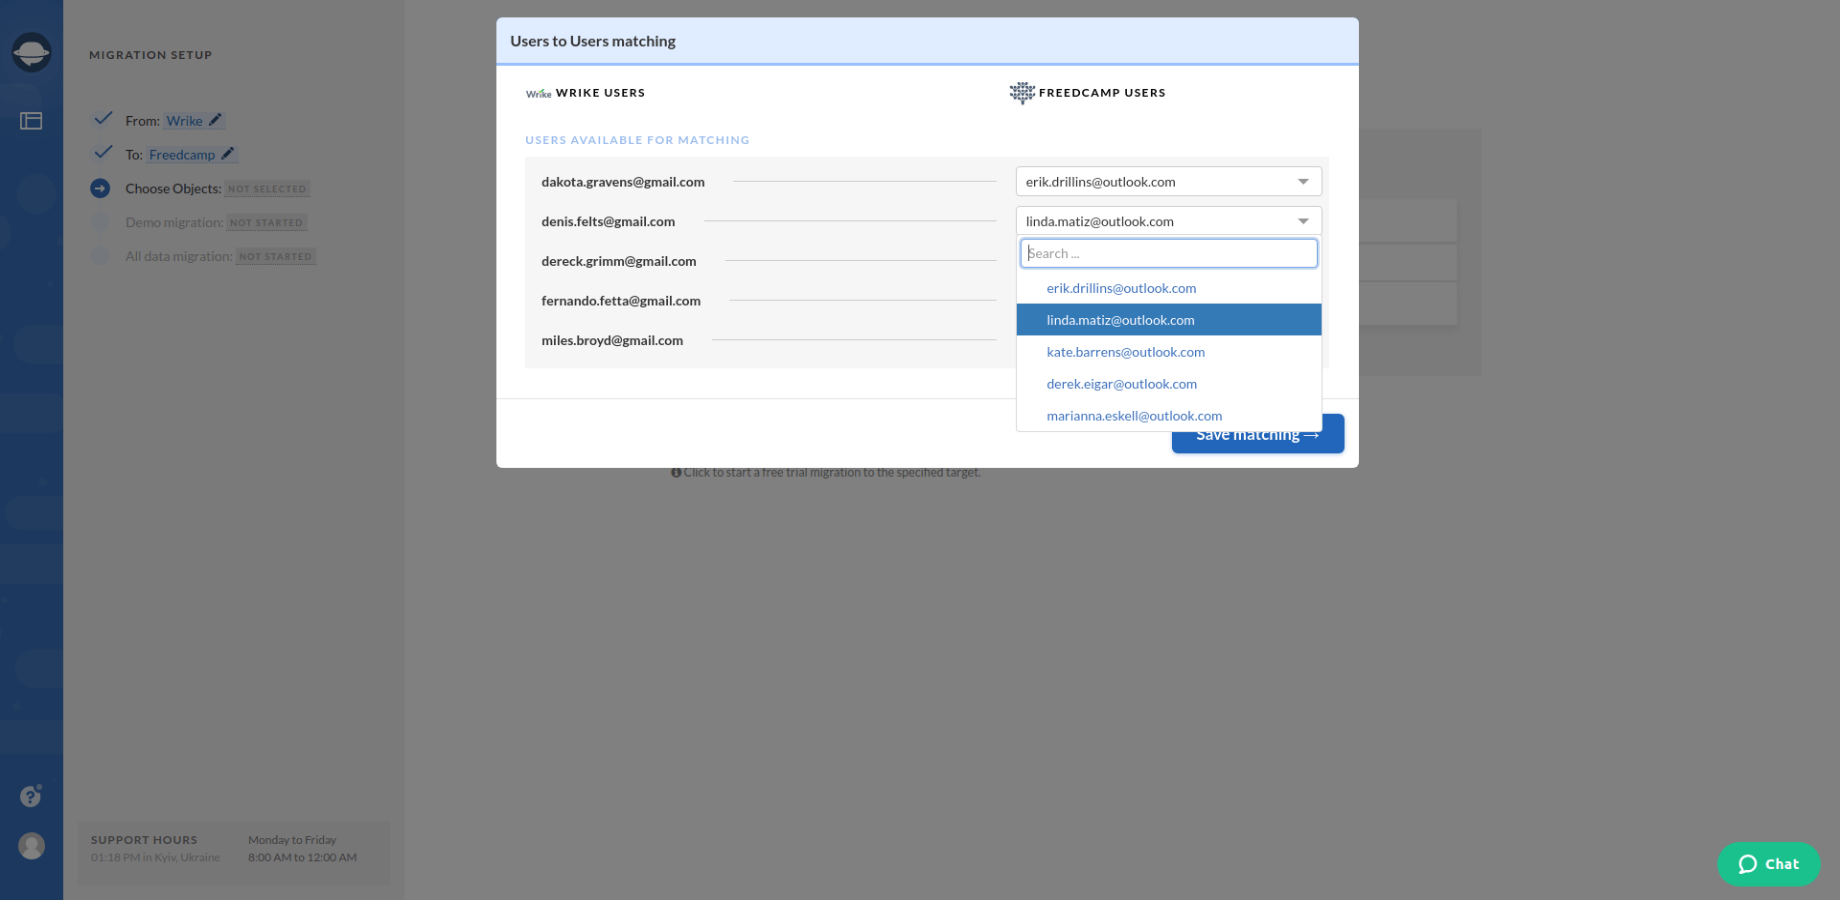
7. When Task mapping is done, move on to user matching. Click the Match items button and match users between the systems.
8. When everything is ready, click on “Continue” and start your Demo Migration. Check the results of Freedcamp Demo migration by pressing “Download report” next to the records.
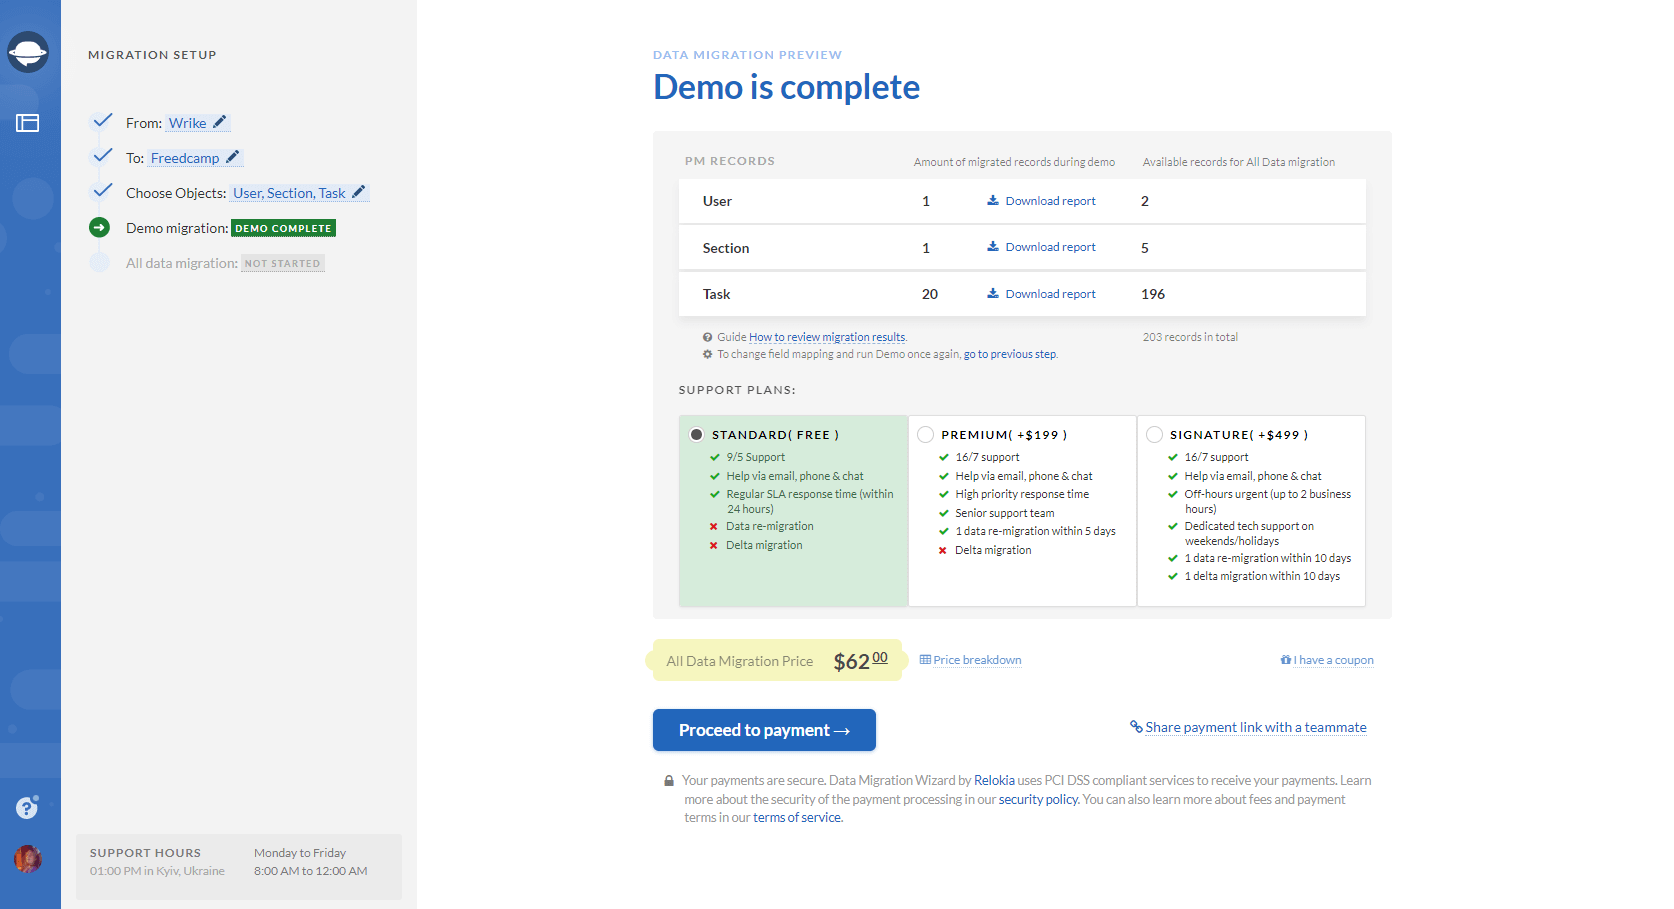
9. Launch the Full Data Migration if you are satisfied with the results of Demo migration.
Note: Support representatives are ready to help you in case of any questions you might have before/during/after your migration.
Wrapping Up
You need to check out the following things before performing your Freedcamp data import:
- Check if you have access credentials to both source and target project management systems. Migration Wizard requires this information to set up the connection with the accounts.
- Ensure that you have the admin right on your source and target platforms. Only users with the admin right can initiate the data migration.
If you are thinking about moving your projects to Freedcamp, Project Management Migration Service is what you need.


