Many companies tend to review their ways of managing their projects and think about switching off to a more powerful PM system. Some of Wrike users are seeking an opportunity to export their data to boost their teams. So, if you also want to switch to another project management system, you’ve come to the right place.
Options to Export Wrike Data
Wrike itself offers some data export options. First of all, you can export your tasks and subtasks to Excel. Along with these entities, their statuses, start and due dates, assignees, time log entries, and dependencies also transfer. However, you can’t export attachments and comments. What’s more is that your export is limited by the maximum size of an Excel file, 65 000 rows. It means you can’t export folders/ projects/spaces with the bigger number of tasks/ subtasks.
Another option is B1 Export, a tool provided by Wrike. This tool allows you to transfer the core Wrike data. The data is stored in the tables as separate CSV files. However, only enterprise account users and admins with the right to “Export account data” can use B1 Export.
As you can see both options have some limitations to what you can export from Wrike. However, our tool goes beyond those limitations. Migration Wizard provides you with an automated way to export your Wrike data. You don’t waste time dealing with Excel and CSV files. All users with admin rights can run the data migration. Let’s see how the export process to Wrike works.
What migration from Wrike looks like with an automated tool
To make your data migration from Wrike as smooth and swift as possible, follow this guideline:
1. Go to the Migration Wizard page and log in there. In case you don’t have an account with our service, sign up with your email address or any suitable social media network;
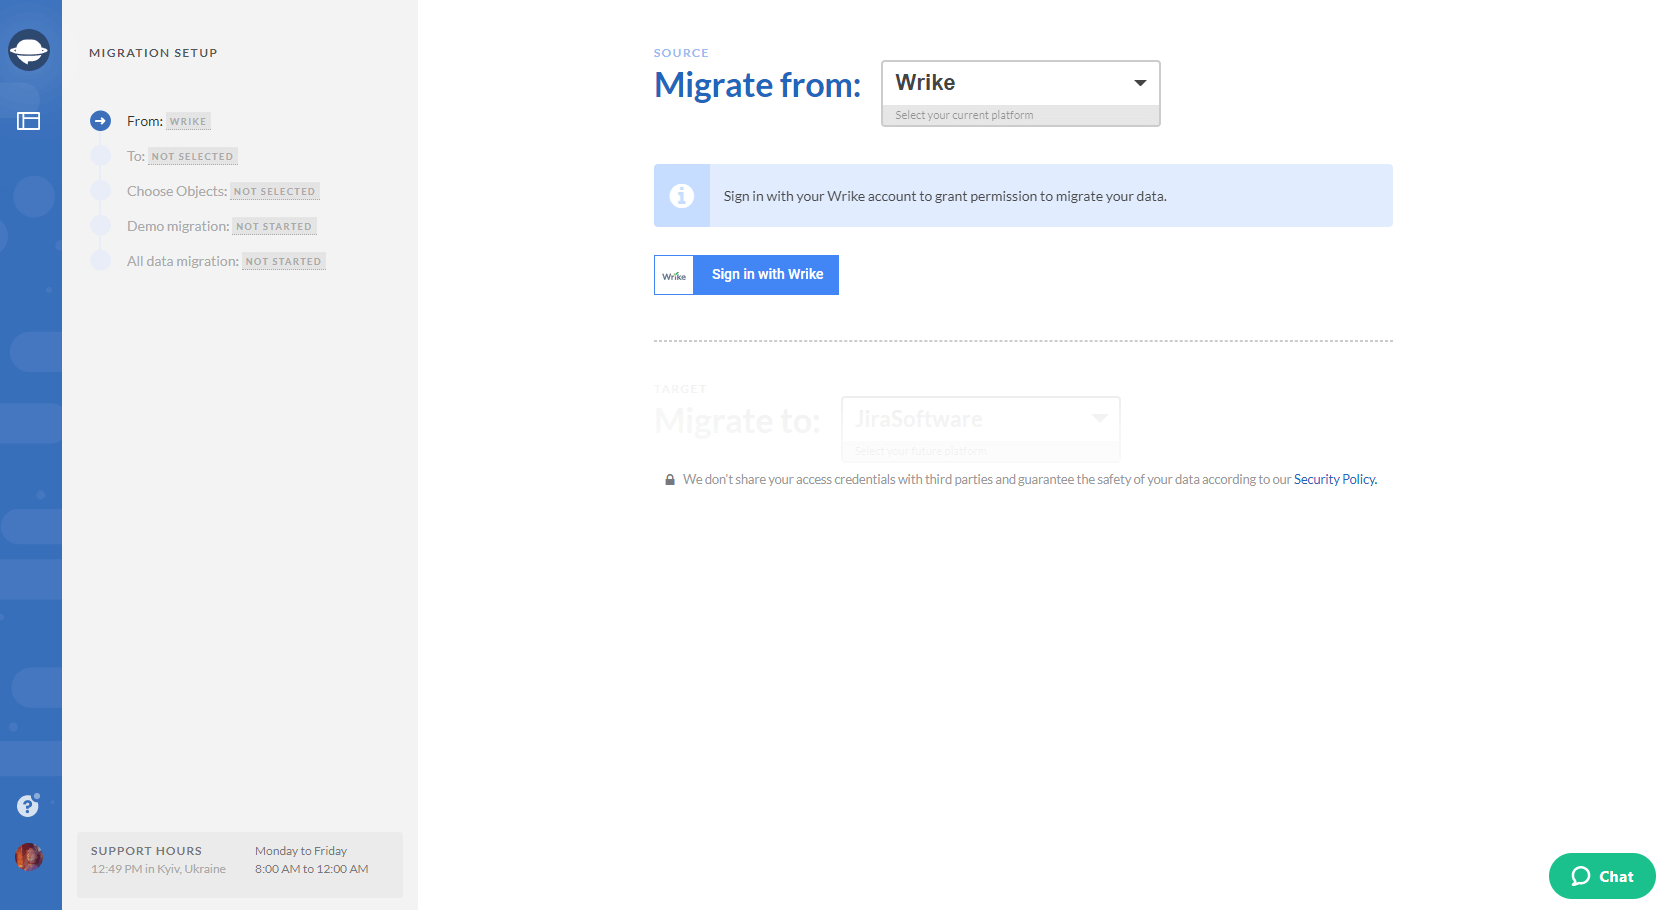
2. Choose Wrike as your source platform and provide the access credentials so that Migration Wizard can export your Wrike data.
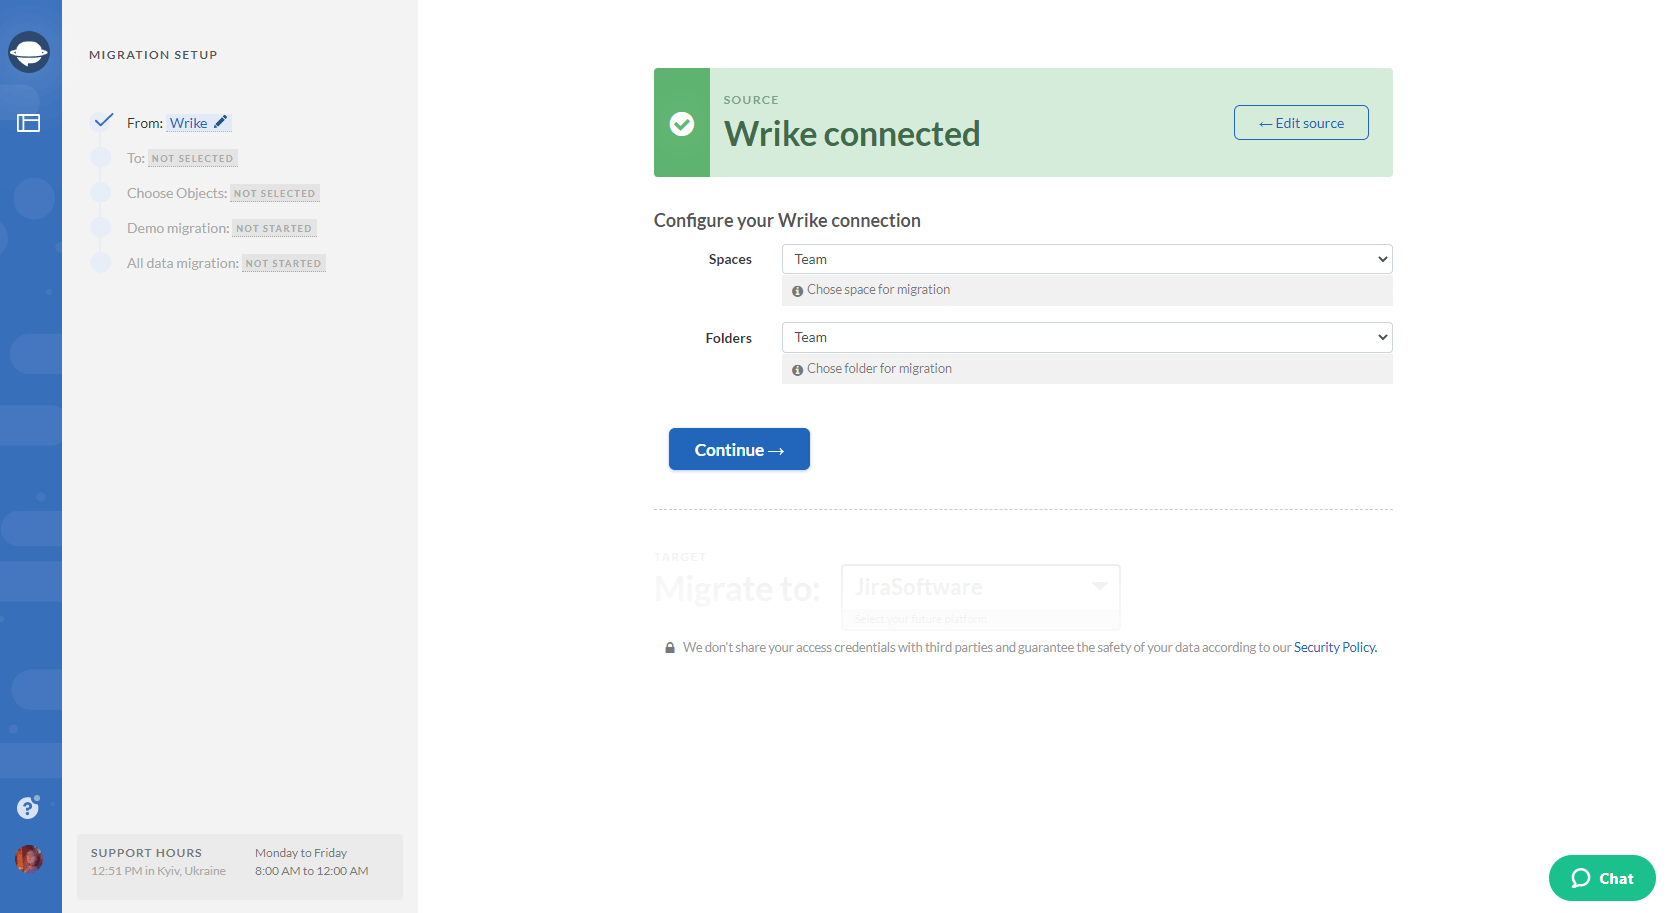
3. Configure your Wrike connection by selecting the needed Space and Folder.
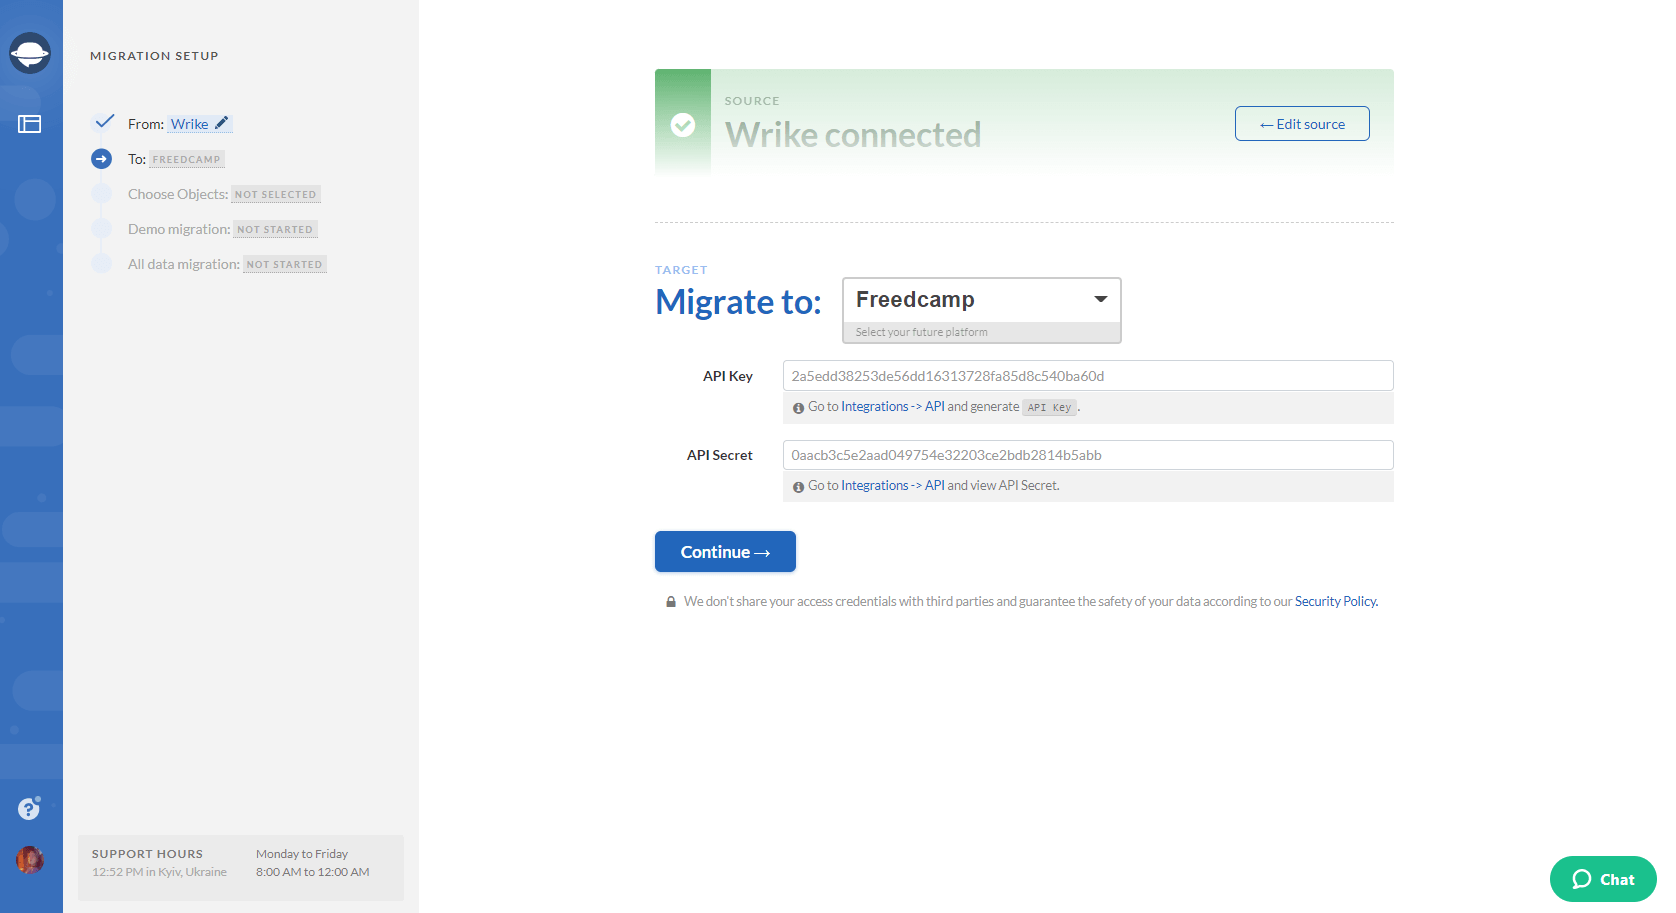
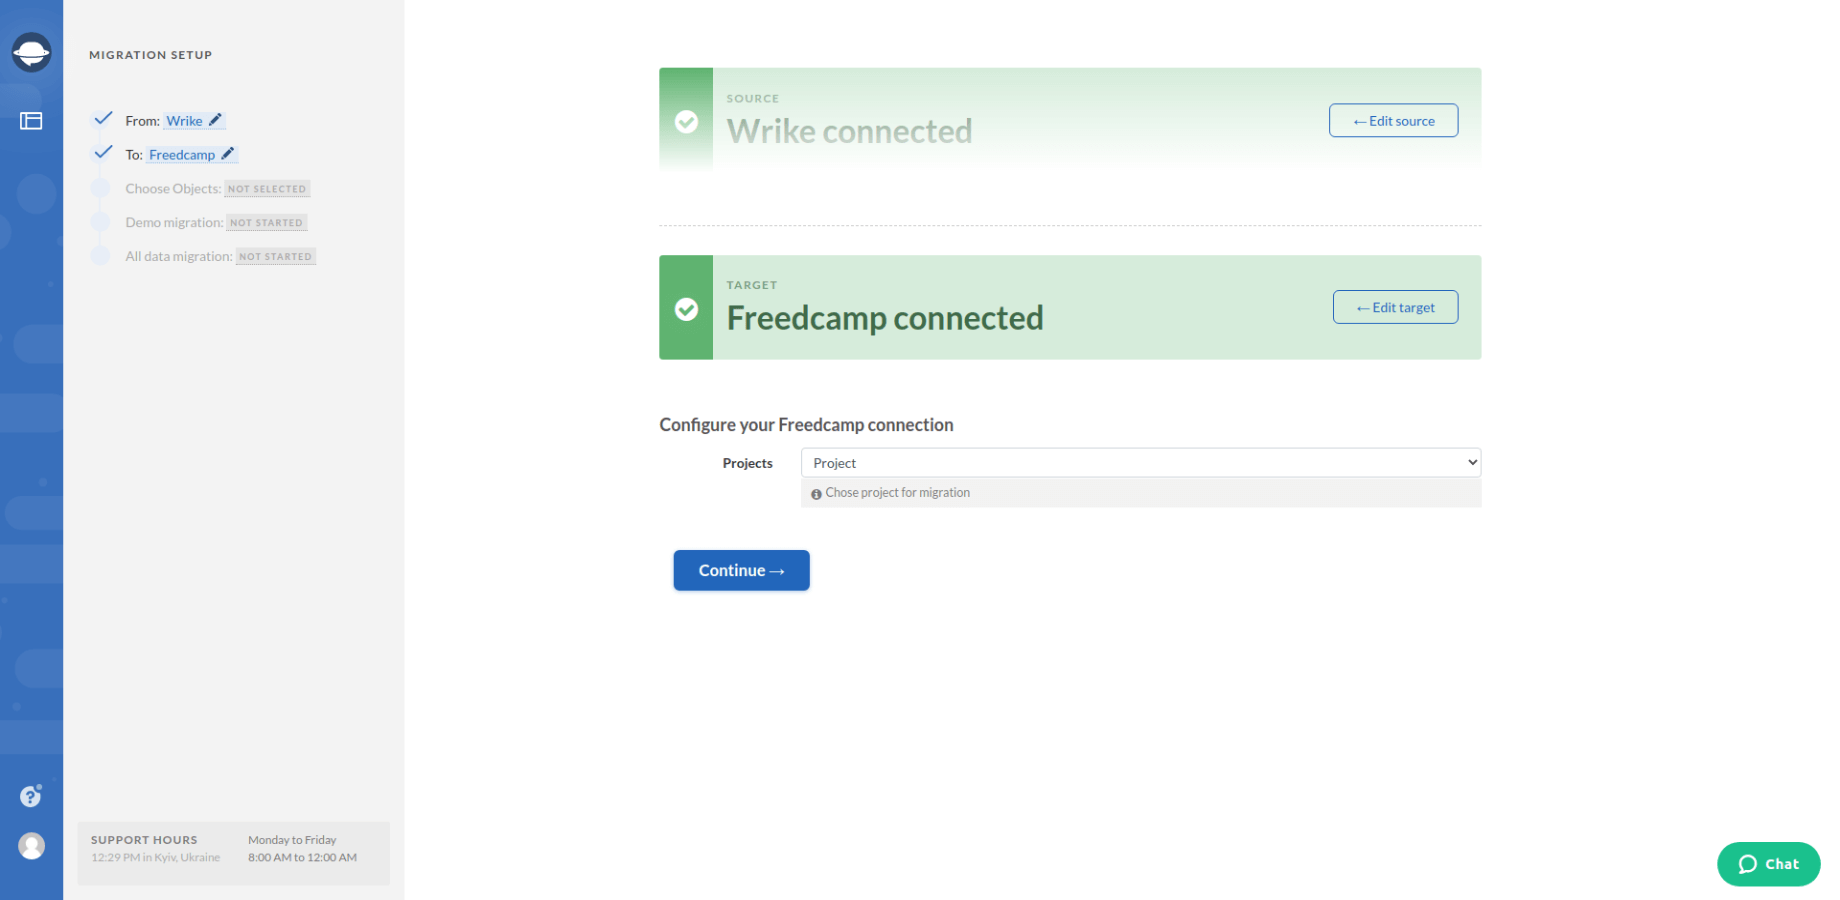
4. Choose your target platform and fill in the necessary information to enable your Wrike data export. Configure the connection.
5. The next step is to select the records that you want to export from Wrike. Select Tasks and Migration Wizard will open a task mapping form.
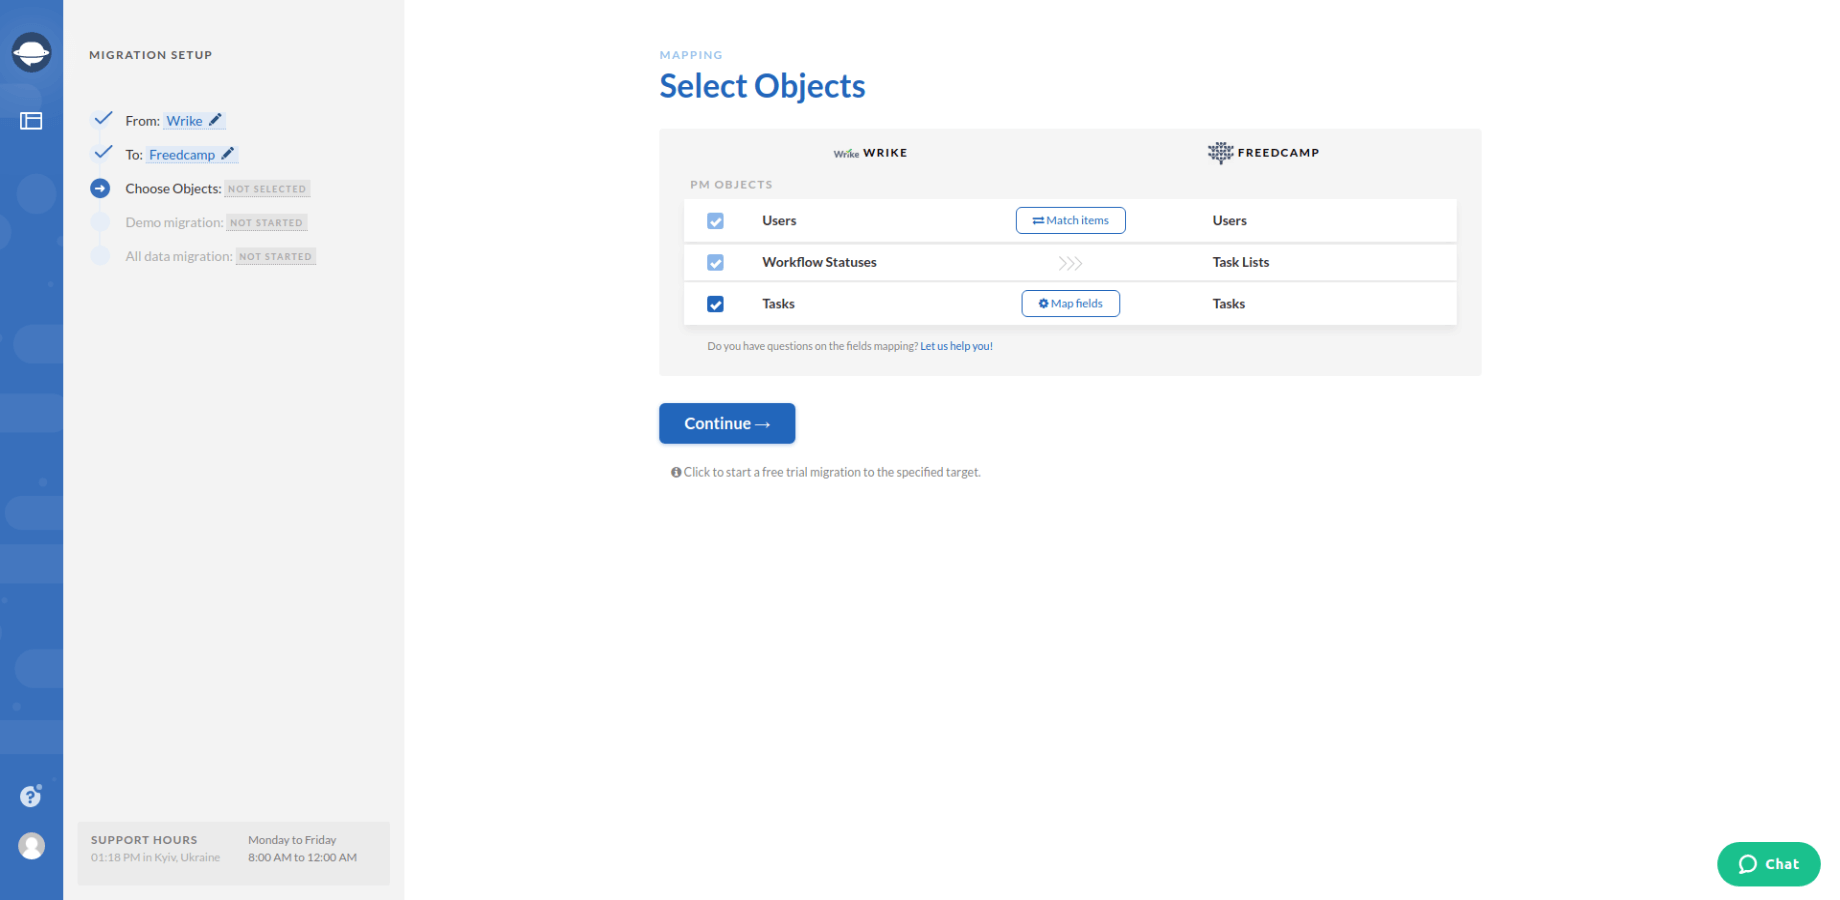
Note: Pay attention to the table on the Select-Object page, as it shows the modifications the names of certain records can undergo after the migration process.
6. Set up field mapping to make sure that you know where you look for your data after the export.
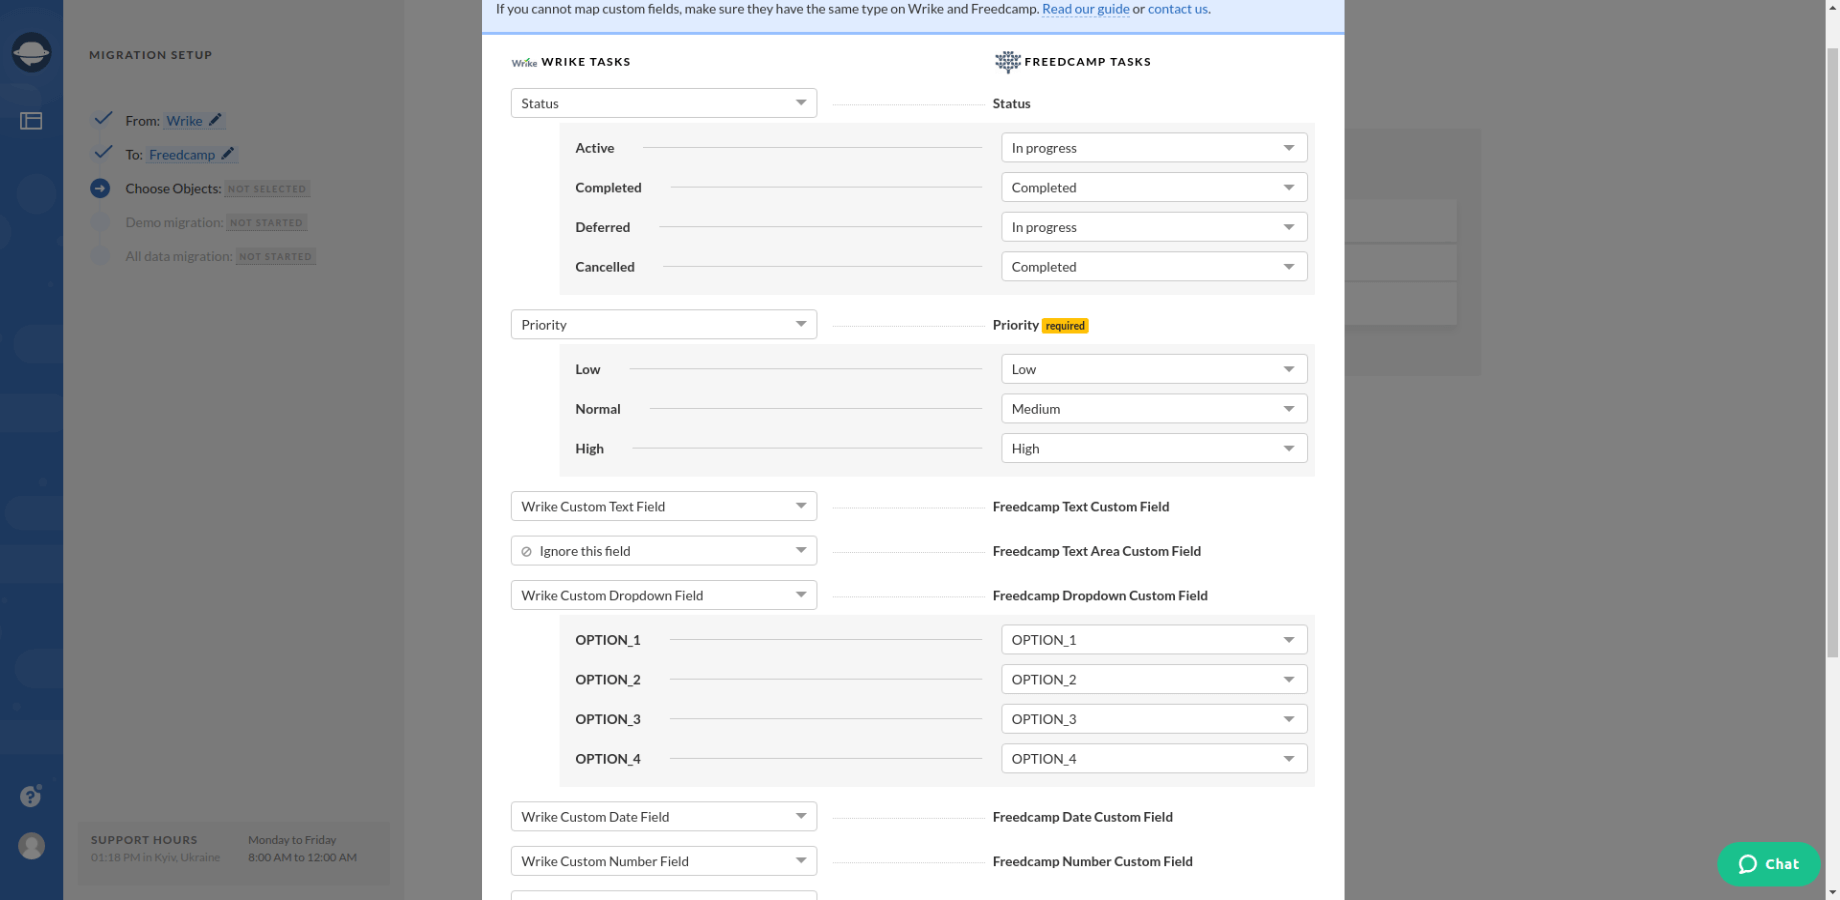
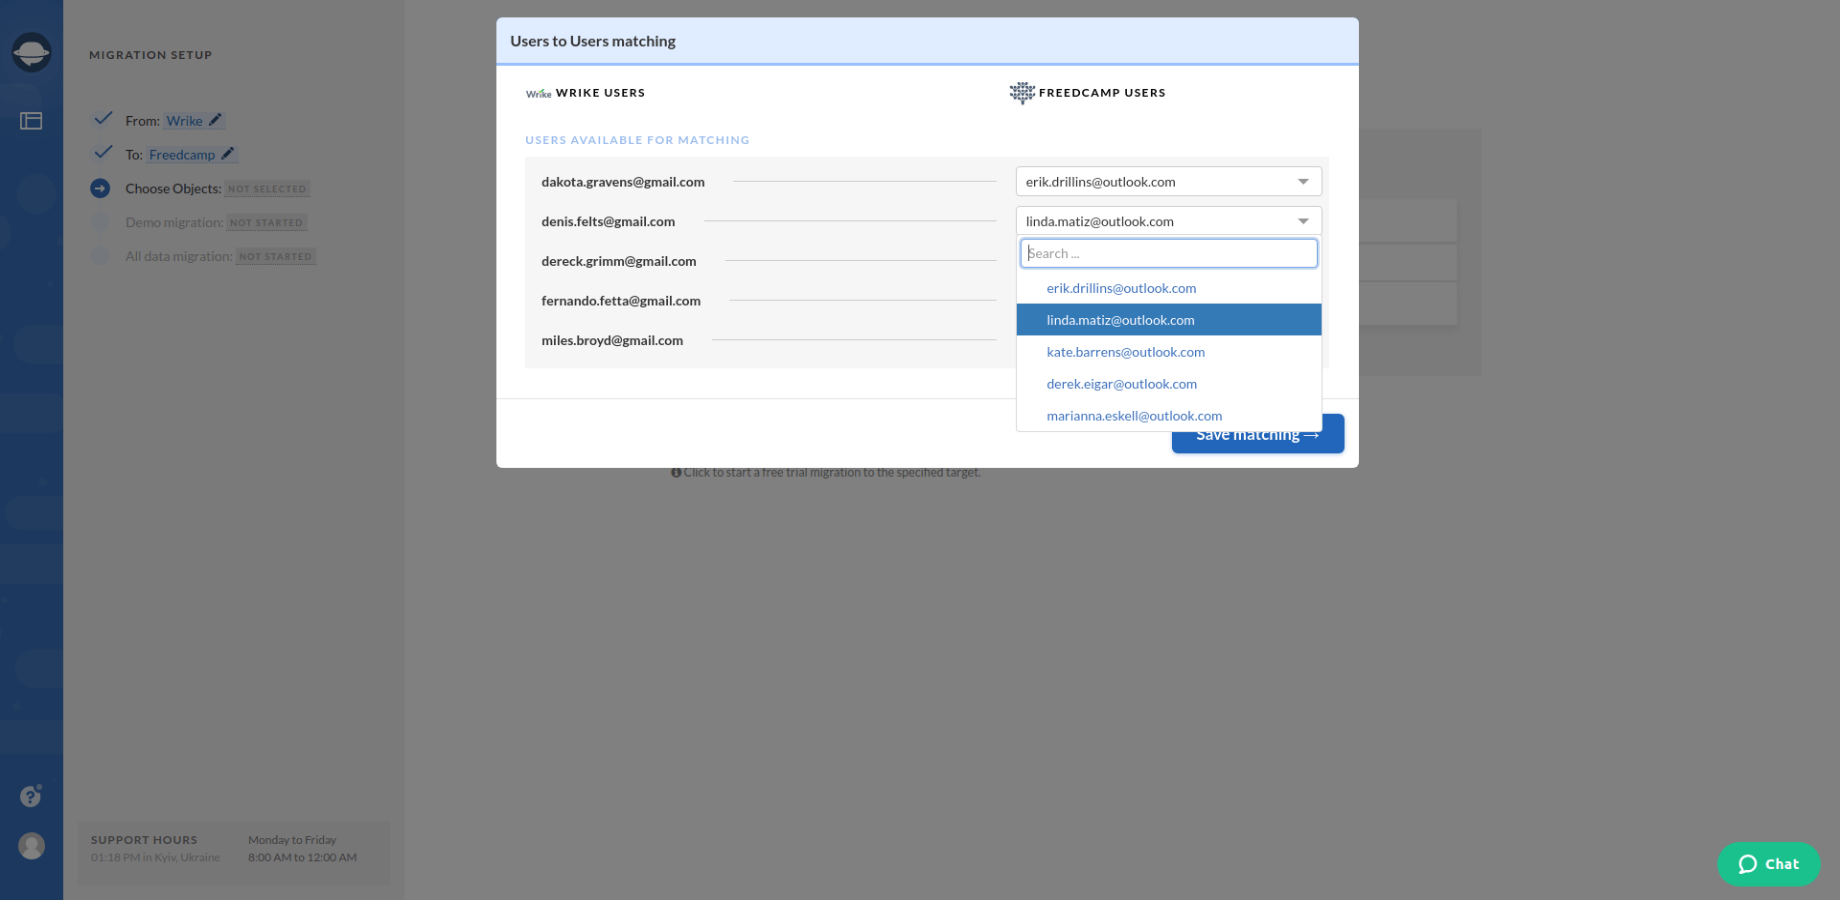
7. When Task mapping is done, move on to user matching. Click the Match items button and match users between the systems.
8. Perform a free demo migration to get a sneak peek at how your data will look after the export process and how our tool works. As soon as your demo is complete, study the reports to ensure that your Wrike data has been exported correctly:
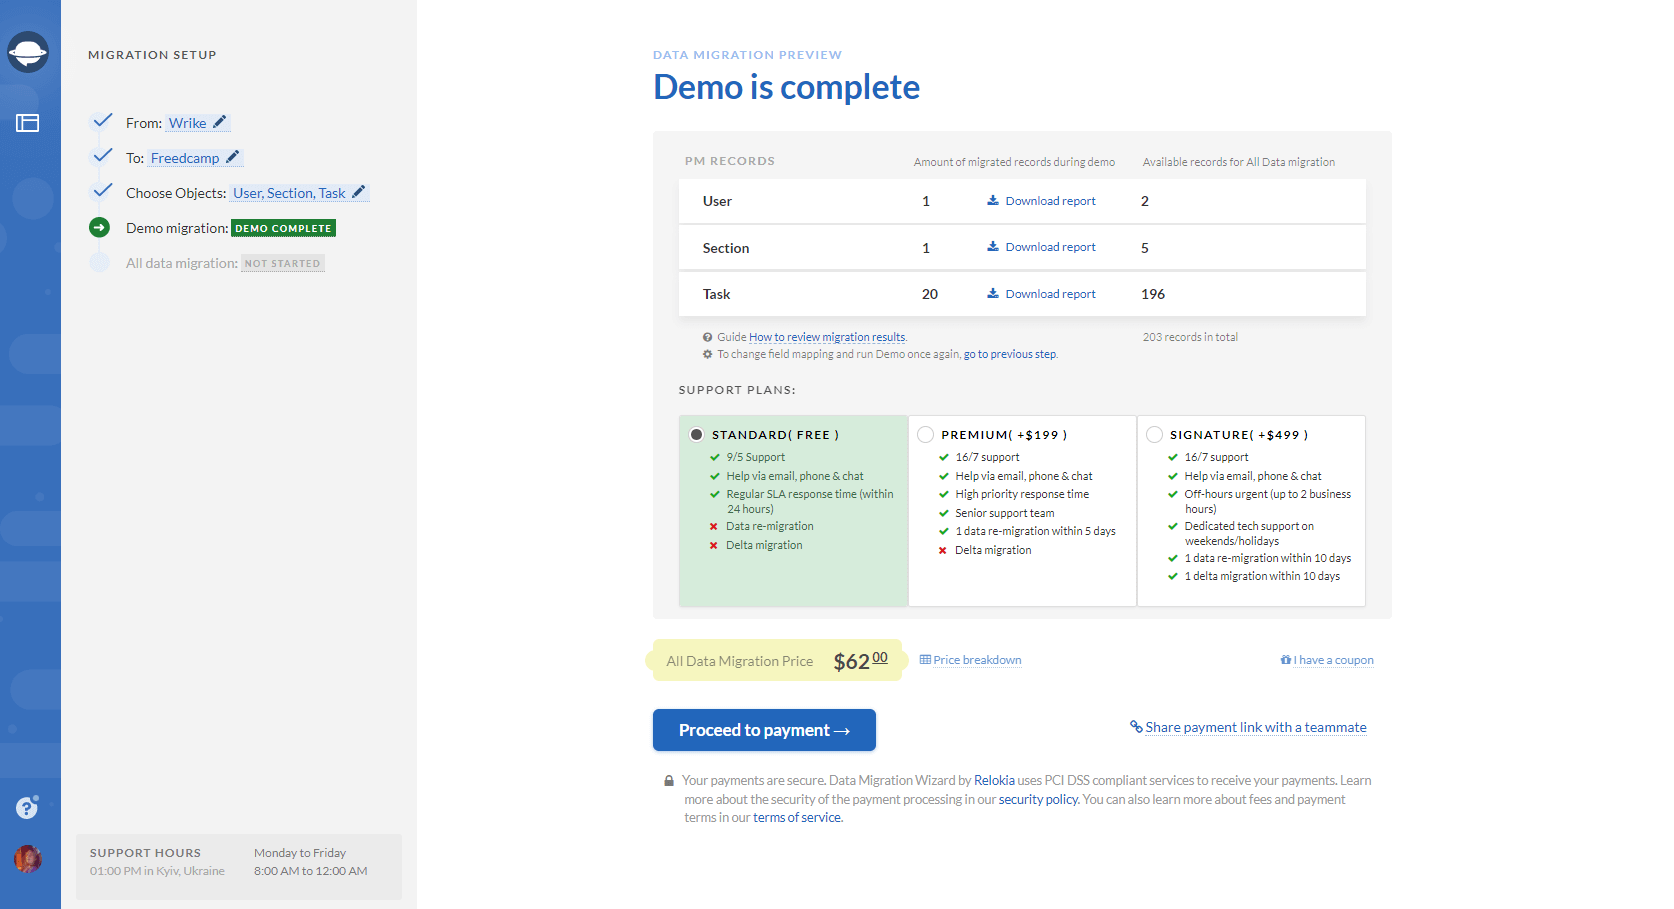
9. If you are satisfied with the results of the demo export, start the full data migration immediately or schedule it on any suitable date.
Note: If any questions appear during your Wrike export or you would like to apply any changes, feel free to contact our support agents right away.
What data you can export from Wrike
Here is the list of data Migration Wizard can export from Wrike:
- Projects/ Folders;
- Project lists (Task lists);
- Groups for tasks;
- Tasks along with Comments, Attachments, Custom Fields;
- “Started at”, “Due”, “Completed at” and “Created” dates of Tasks;
- Users.
Therefore, you can migrate a wide variety of records from Wrike while using Migration Wizard. However, if you would like to discuss the customized migration, you can drop a line to our support agents. They will share all details on the process.
Important steps before your Wrike export
Everything becomes perfect with some preliminary preparation, even the data migration. For this reason, before performing your data export from Wrike, take the following steps:
- Check that you have access credentials to your Wrike account. Migration Wizard doesn’t create a connection between project management systems without this information;
- Ensure that you’ve created an account on the target platform. You need a place where to export your Wrike data. Check out our list of supported platforms in case you haven’t made up your mind;
- Make sure that you have the admin right on both systems to perform Wrike export.
Wrike Alternatives
Choosing your next project management system may be a challenge because there is a huge selection of them and it’s easy to hit the paradox of choice. The more options you have, the harder it is to pick. To make it easier for you, we’ve prepared a short list of alternatives that can meet your needs.
First of all, it is Trello that never ceases to amaze. This project management system can make your work life easier by offering you different boards, lists, and cards. The advanced features help you set up meetings, projects, and goals. Trello cards contain all the information you need to manage your workflow, track your tasks and progress.
Monday.com is another great project management system that helps you manage your work in one place. It provides you with many different visual and customized templates for your projects. Moreover, you can create your own. Monday.com helps you automate and visualize your work. What’s more, is that Trello provides customer support and self-learning tools.
Summing Up
And that’s it for now. We hope this guide will help you to migrate your data from Wrike without any downtime. A new project management system can boost your team more than anything. So, why don’t you do the first step and set up the Wrike export now?


